Calling up
The web application for Cert+ can be accessed via the following link:
https://certplus.securepoint.de
The registration is done via the reseller portal, the user needs the necessary rights to use the application.
End customers
On the start page, the user sees a list of all the companies (end customers) assigned to him. If he wants to create an audit for an end customer, he clicks on the right + icon.
If an end customer is not listed, they can add themselves in the reseller portal (my.securepoint.de).
If an end customer already has an audit this is indicated by a red > next to the name, the entry can then be expanded.
The audit
Editing an audit can be achieved either by creating a new audit Create or by editing an audit (pencil icon).
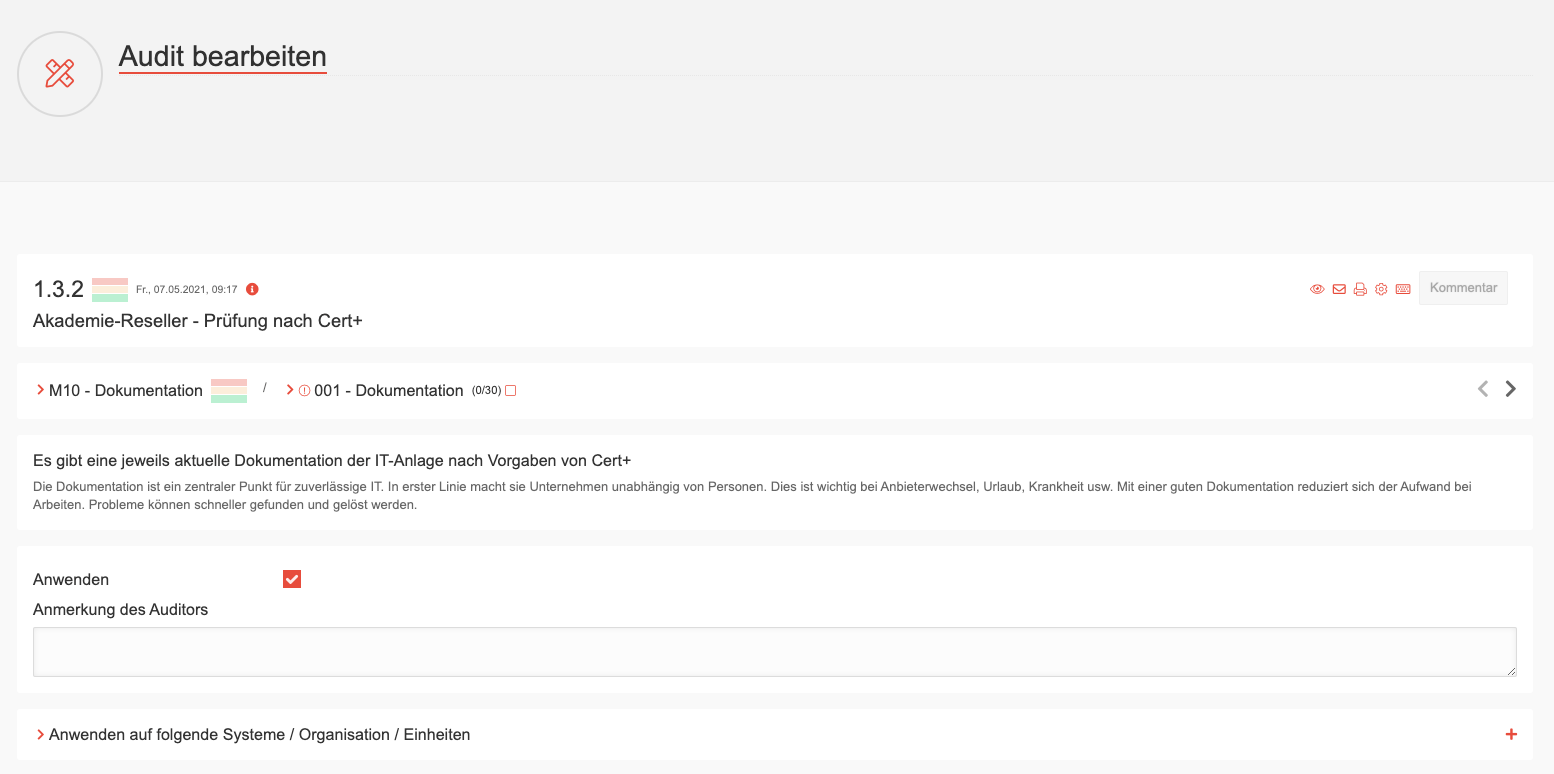
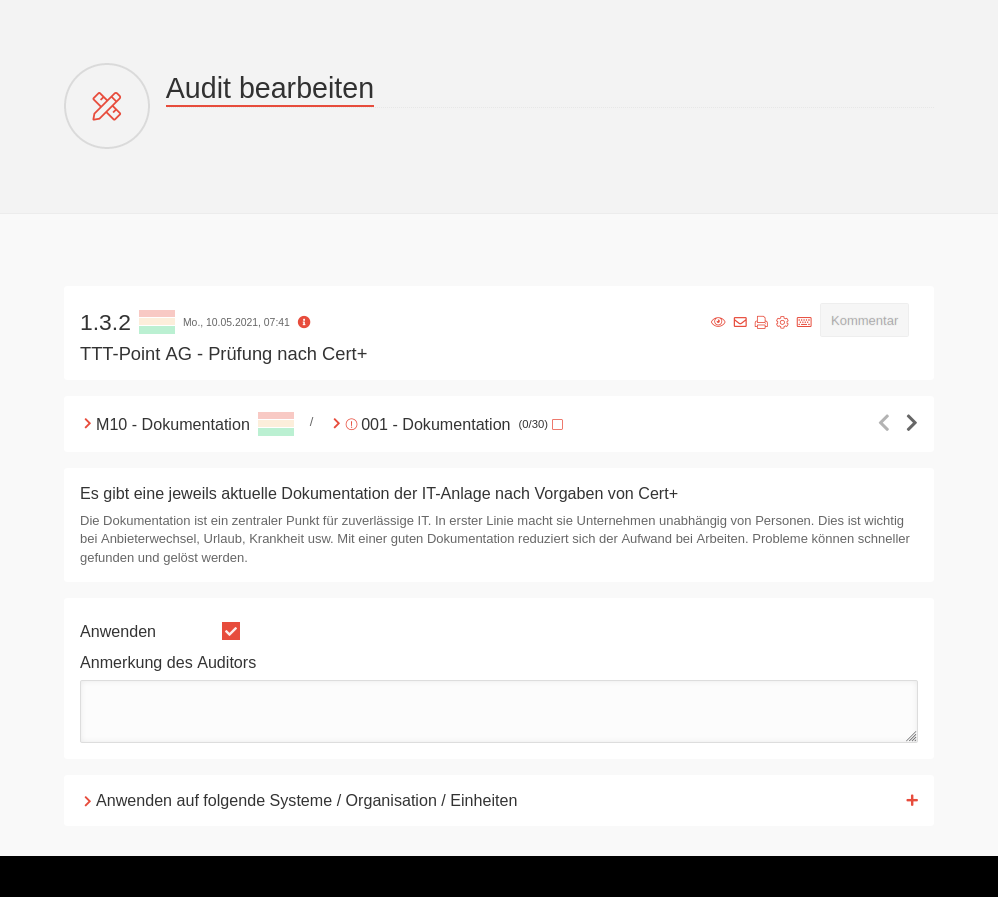
In the header area you can see which catalog version is used, which end customers and which audit was accessed.
On the right side of the header there are some functions available:
- Eye - displays an overview of the current assessment.
- Envelope - Allows editing the auditor contact information.
- Printer - creates a comprehensive PDF of the audit.
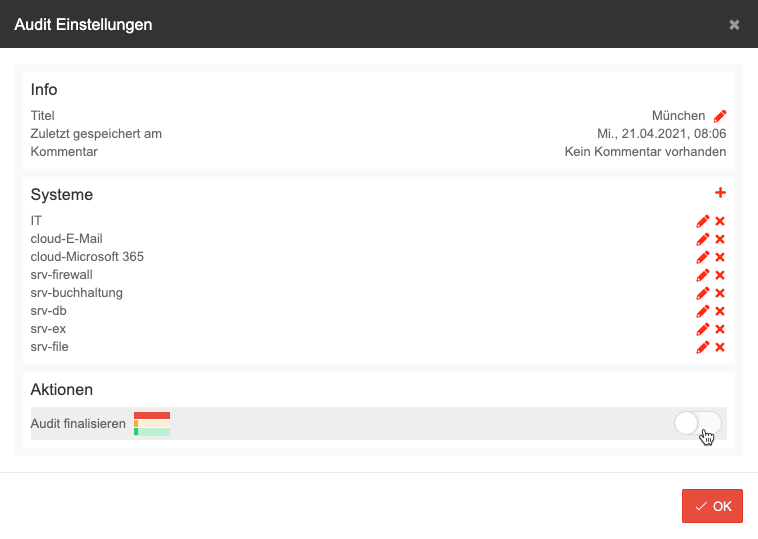
- Gear - allows to change settings of the audit - an audit can also be finalized here.
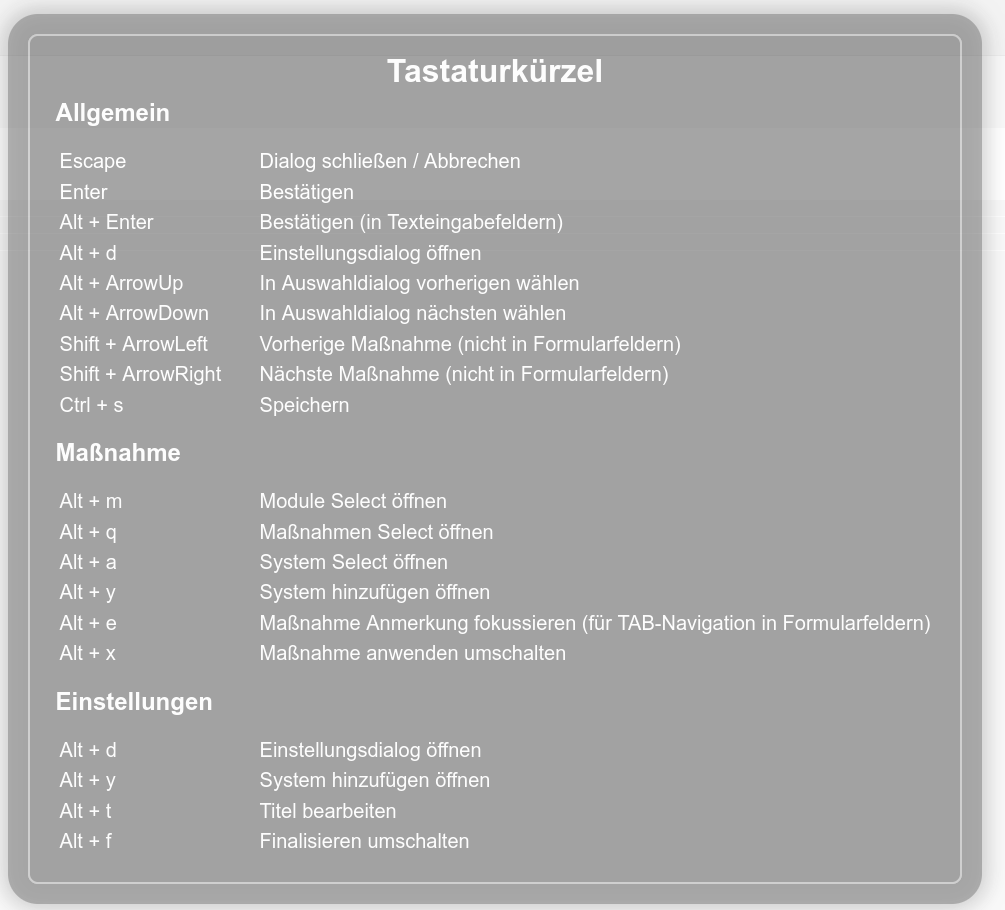
- Keyboard - displays the keyboard shortcuts, these can be used to quickly navigate through the application.
In the next field you can see the position in the catalog. First the area (here M10 - Documentation) and then the question (here: 001 - Documentation). Both entries can be clicked and you can jump directly to another point of the catalog. Behind the question is the current evaluation (score) - here 0 of 30 points.
The following are fields of the question itself.
First, a heading with an explanation.
Then the question whether this area should be applied, followed by a remark field. It is recommended to always fill in this box. If a question is not applied, a remark must be entered.
After that, the selection of individual systems takes place. After the audit has been created, there is only the system "IT" - this designates an entry that applies to the entire IT. Therefore, for documentation, for example, there is no need to make an entry for each system, but the question can simply be answered for the entire "IT".
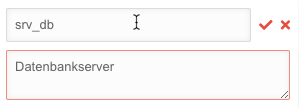
However, many questions require a more detailed answer and for this purpose e.g. servers, printers etc. can be created as individual systems. To do this, click on the "+" on the right.
Here you enter a name and a description for the system.
Once you have created a system, this will appear on the left when you click on ">" for each additional question.
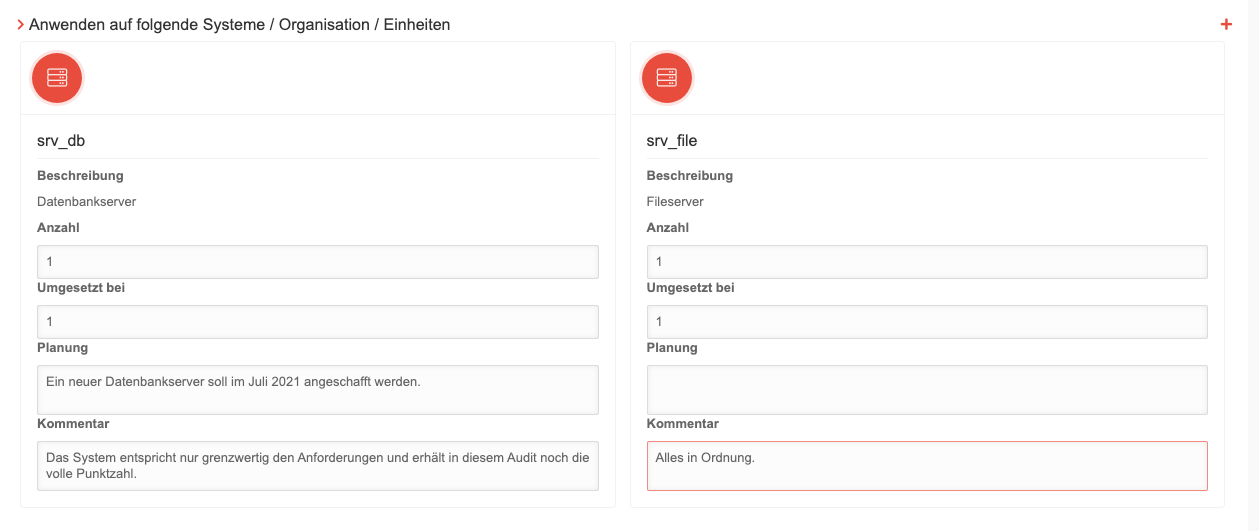
Once you have selected one or more systems, they appear and must be filled out. In the first field, enter the number of systems. In the second field, enter the degree of implementation. From an evaluation point of view, decimal numbers can also be used here - see also Cert+ training.
The planning field is used to enter future changes and improvements.
The comment field provides further information as to why a rating was made the way it was.
Features of the home page
When an audit is created, there is a ">" next to the customer name on the start page to expand it. Here you can see all audits that exist for a customer. To the right, there are various information and functions.
Audits can be continued accordingly, and old audits, once completed, are always retained and serve as evidence and documentation.
The following functions are available:
Plus - is active only when the last audit is completed, it creates a new audit based on the last answers and, if necessary, includes them in a new catalog.
Pencil - edits the current audit. Finalized audits can no longer be edited.
Arrows - If a new catalog is available, the audit can be updated to this catalog version even while it is running. It is recommended to finish an audit in the catalog version you started with. Afterwards one can transfer the audit into a new one ("+") and has then created it with the new catalog version.
- Eye - shows an overview of the areas and questions incl. evaluation.
- Printer - Creates a comprehensive report of the audit as a PDF.
Finalizing
Once an audit has been completed, it must be finalized. To do this, open the audit (pencil) and click on the gear rim.
Here you click on "Finalize Audit" and then fill in a final comment for the audit.
Before a report is handed over to the customer, it is always recommended to finalize the audit and then create a new version ("+") for later changes.
