notempty
- Translation
Introduction
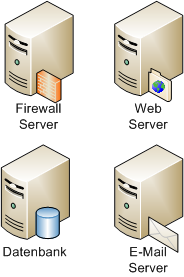
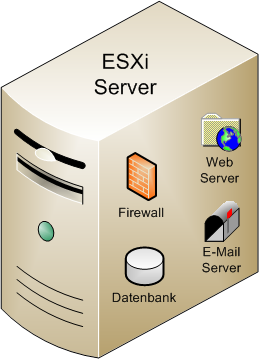
Virtualization software makes it possible to install different systems on a physical computer and use them simultaneously. The individual system is made to believe that it is the sole user of the physical hardware. The aim of this is to divide up the resources of a computer. It is therefore possible to operate several separate systems without having physically separate hardware.
The individual systems are created as virtual machines (VM). The physical computer is called the host. The virtualization software (in this example vSphere Hypervisor formerly ESXi from VMware) is installed on this, which manages the computer resources such as processor power, RAM and network connections and allocates them to the individual guest machines.
The client software vSphere Client from VMware can be used to connect to the vSphere Hypervisor server and administer the host.
Preparation
- The products vSphere Hypervisor and the vSphere Client are required from the VMware homepage.
- Both products are downloaded.
- An installation CD is created from the vSphere Hypervisor ISO file.
- First, the server operating system vSphere Hypervisor is installed on a suitable machine or server.
- Instructions for this can be found on the VMware homepage under the title "Getting started with ESXi Installable".
- Then the vSphere Client is installed on the computer from which the server is to be administered.
Using vSphere Client
The vSphere Client is the central tool for managing and editing the vSphere Hypervisor Server. Here, the virtual machines are installed, users are created and the configurations of the various guest systems are defined.
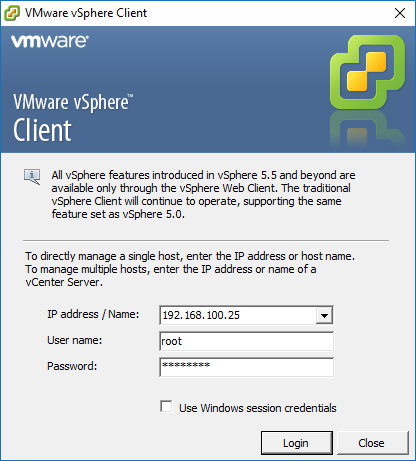
Logging in to the server
- The client is started.
- The first login to the vSphere Hypervisor server is with username root and no password. :The credentials are changed after the first login.
- The certificate is confirmed.
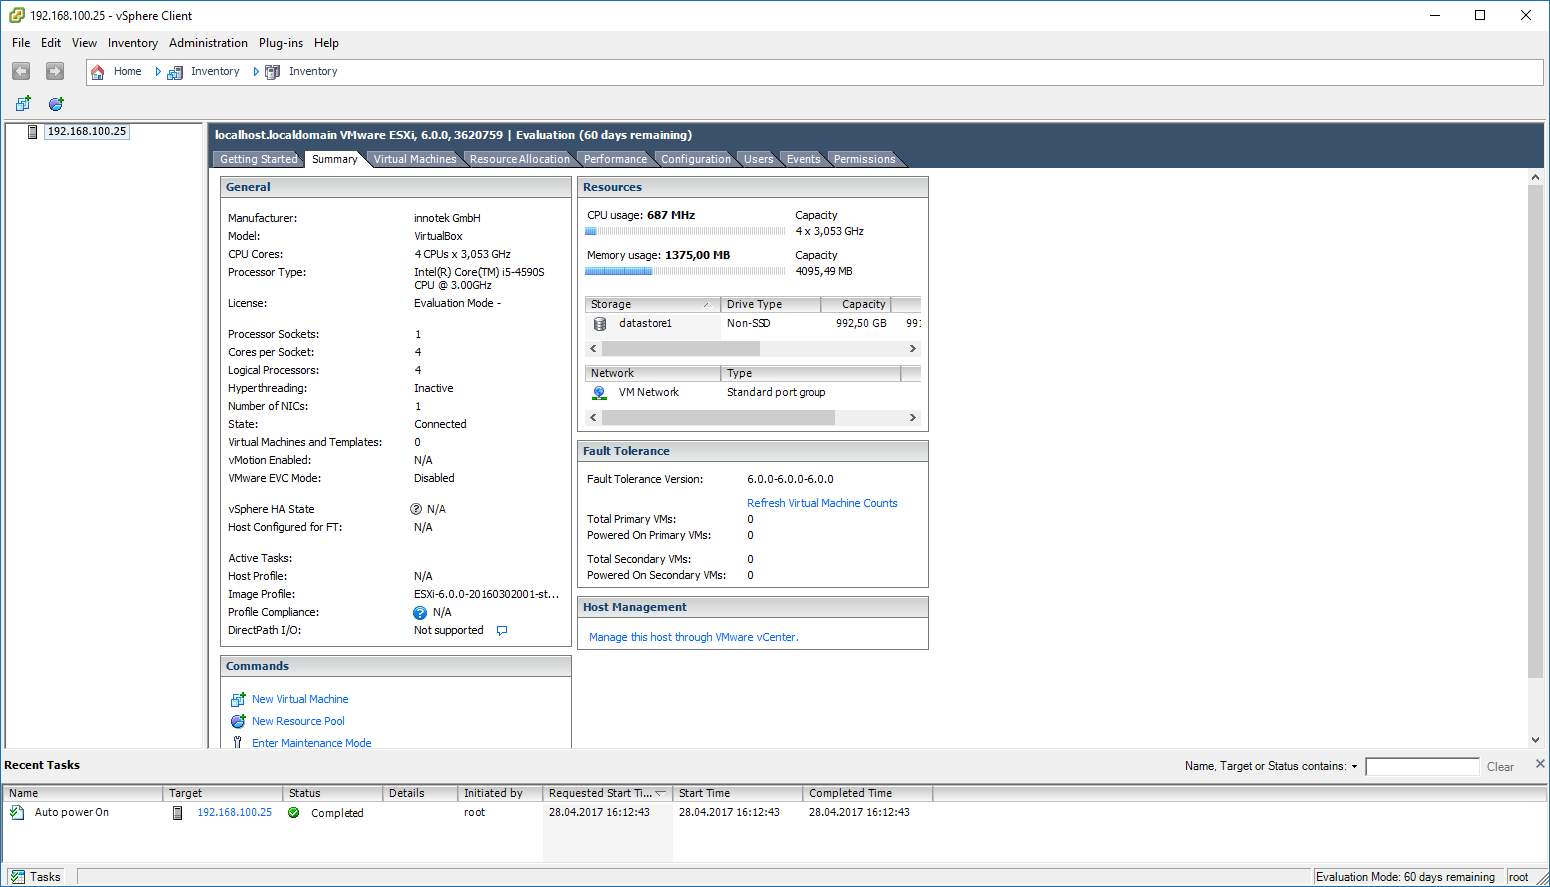
Overview
Create a virtual machine
In order to install the Securepoint Unified Mail Archive, a guest system, a so-called virtual machine, is required on the server. This is a virtual machine that is assigned resources of the server by the vSphere Hypervisor.
Requirements
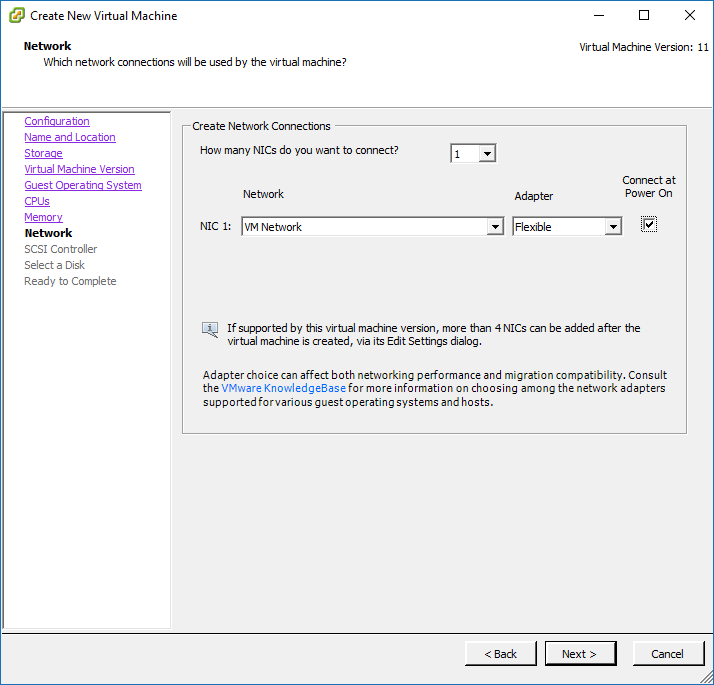
- Up to version 2.1.2, two network cards must be available to the virtual machine. These network cards must be connected to different networks (virtual switches).
- As of version 2.1.3, only one network card is required.
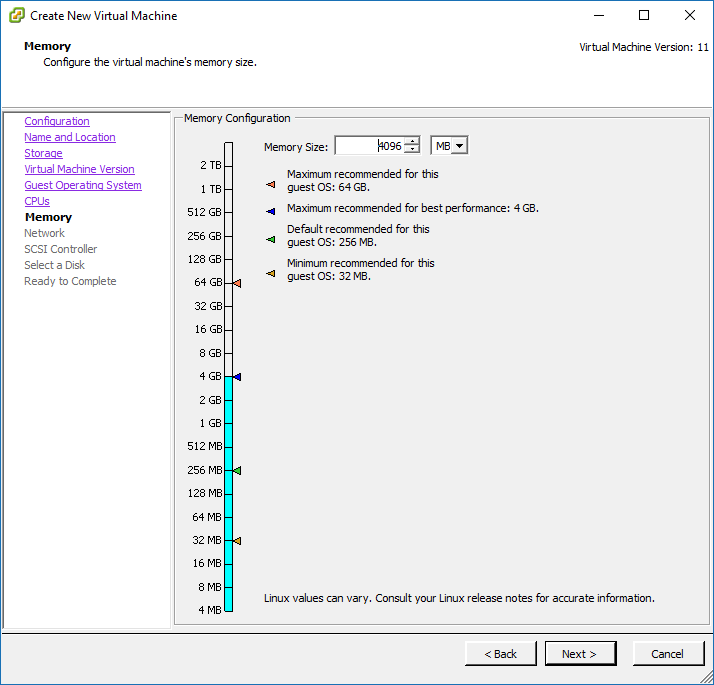
- At least 4GB of main memory must be available.
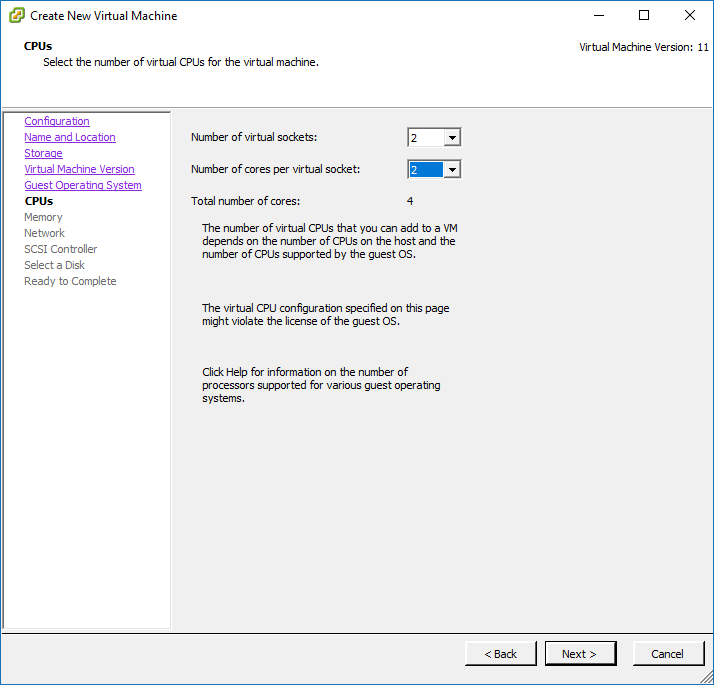
- At least 4 vCPUs must be integrated for productive use (current Xeons are recommended).
- 4GB as first hard disk for the UMA firmware
- Depending on the email traffic, sufficient hard disk space must be available. At least 200GB.
Rough calculation basis for archive storage with the recommended 50% safety buffer on the increment:
Inventory data to be imported + data growth for 3 - 5 years x 3.5 = archive storage size
Discrepant size information in screenshots should be ignored.
To create a new virtual machine, there are several ways:
- via the menu item File -> New -> virtual machine
- via the icon
 New virtual machine
- in the toolbar
- in the Overview tab in the Commands section.
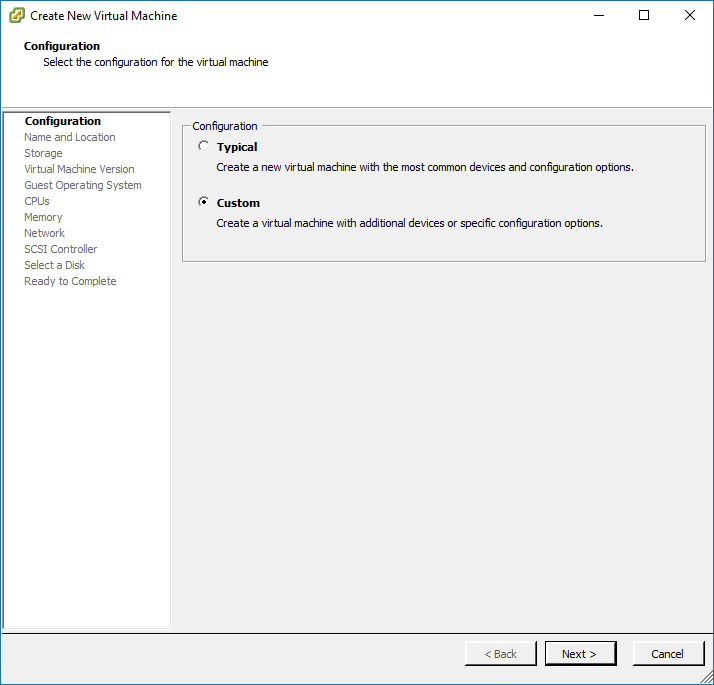
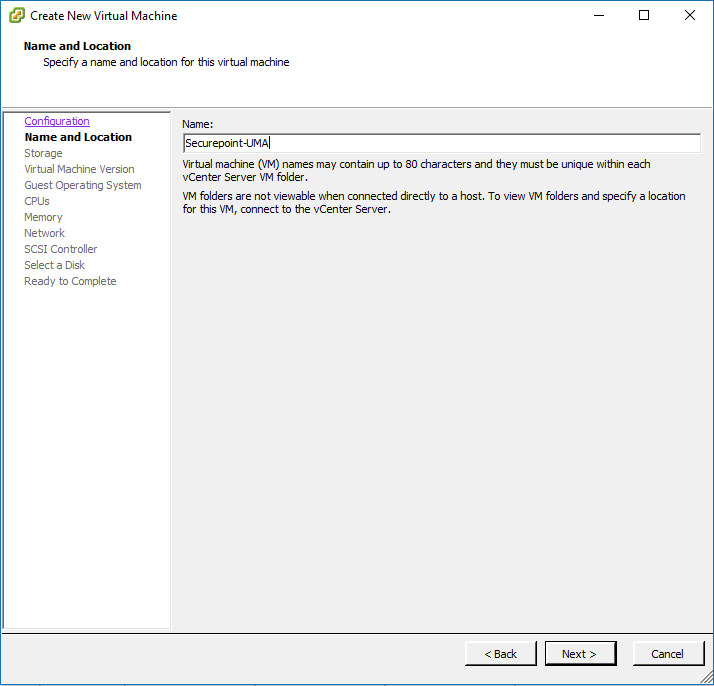
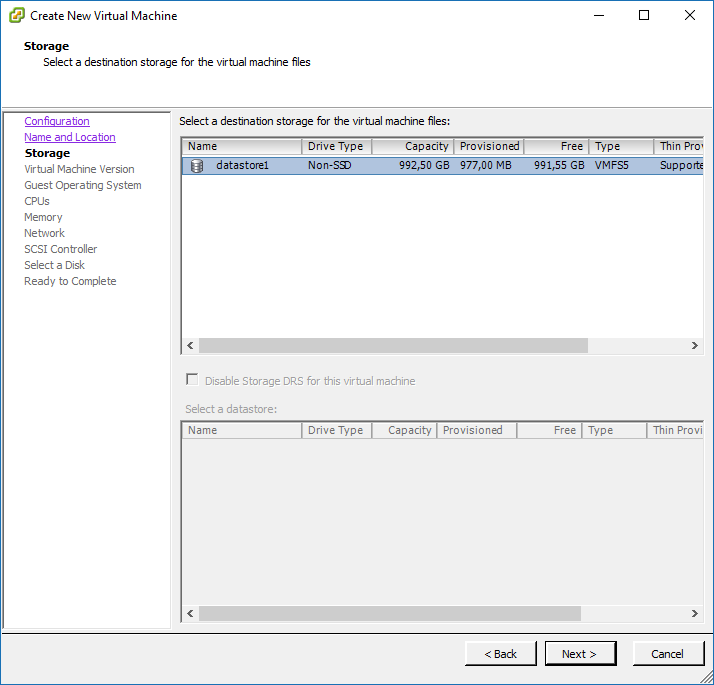
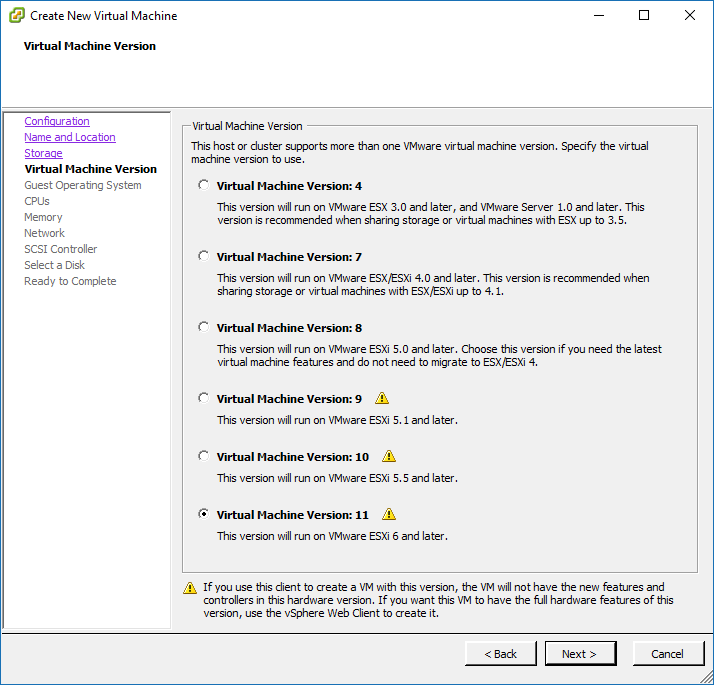
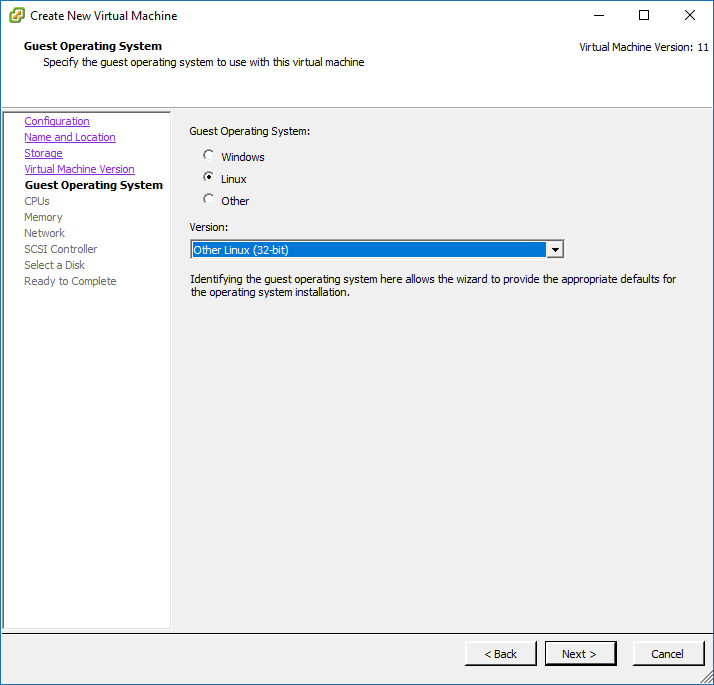
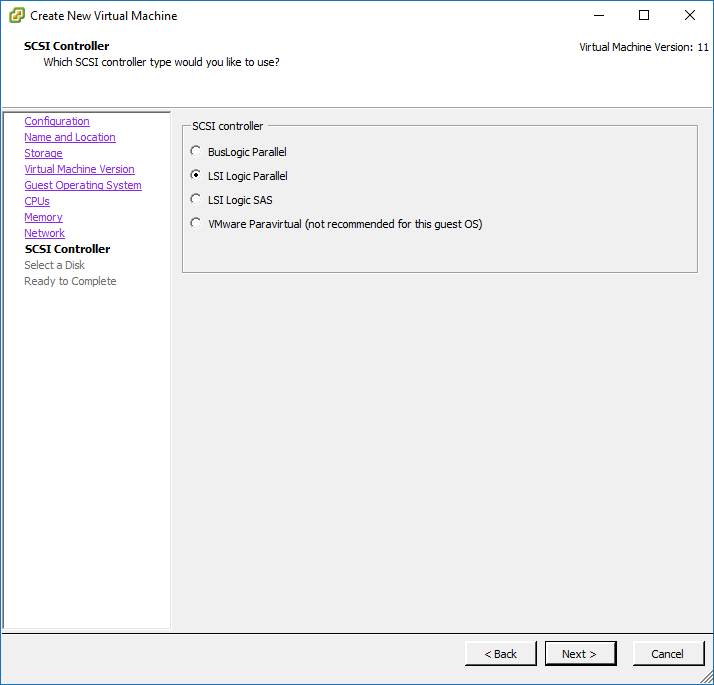
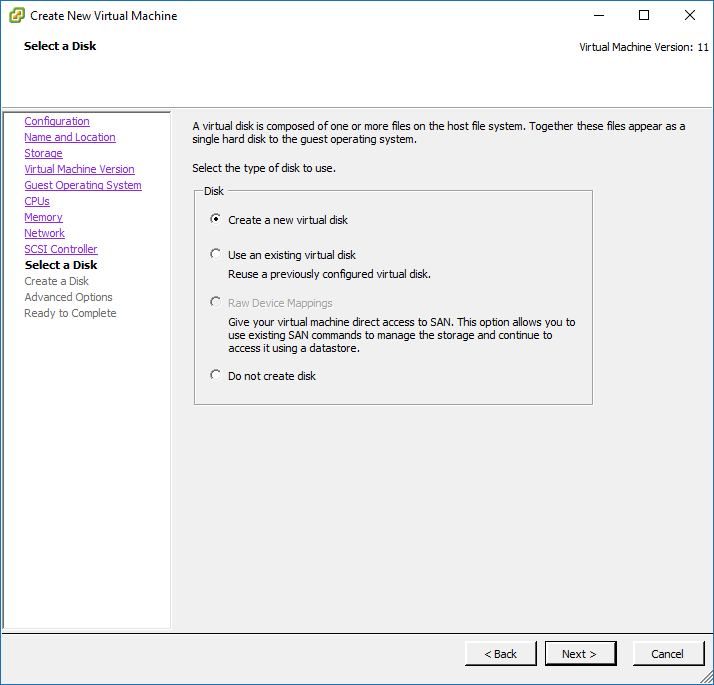
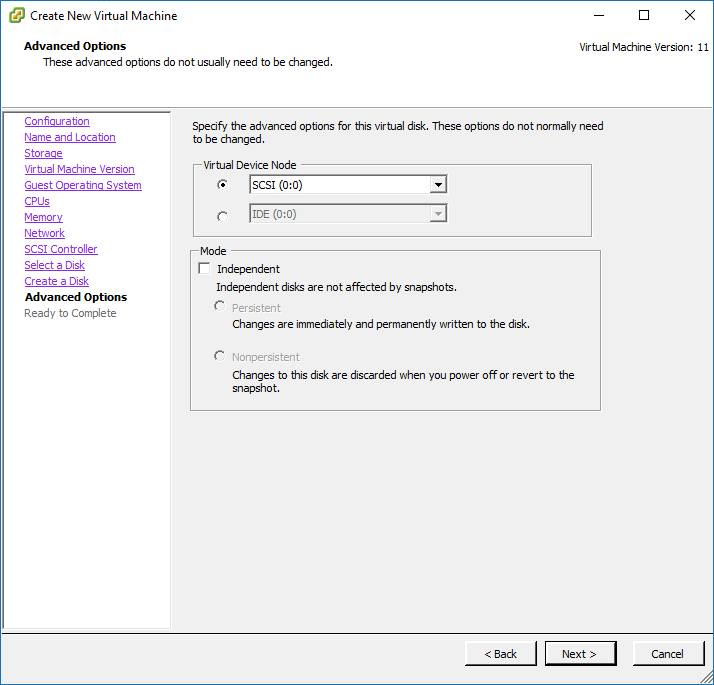
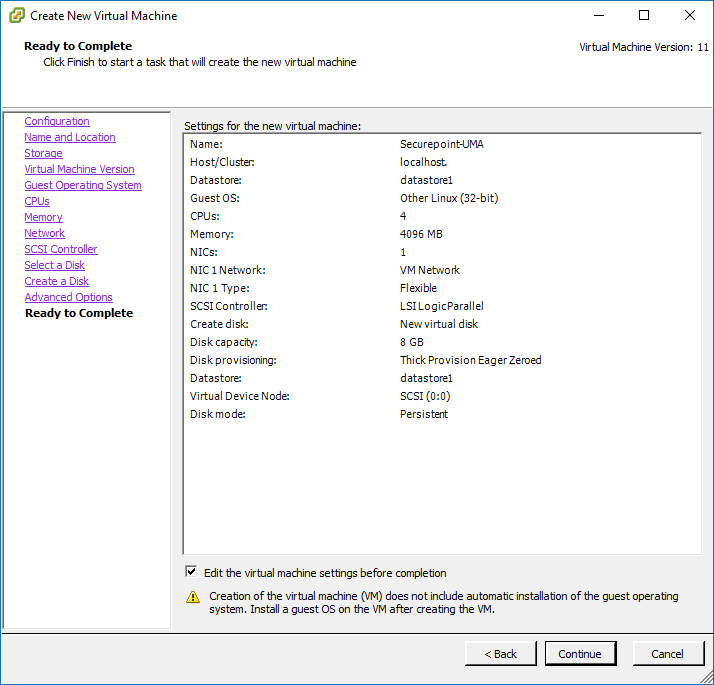
The Create New Virtual Machine wizard opens.
Create New Virtual Machine Wizard
The wizard will help you to create a new virtual machine.
Configuration adjustments
Selecting the installation medium
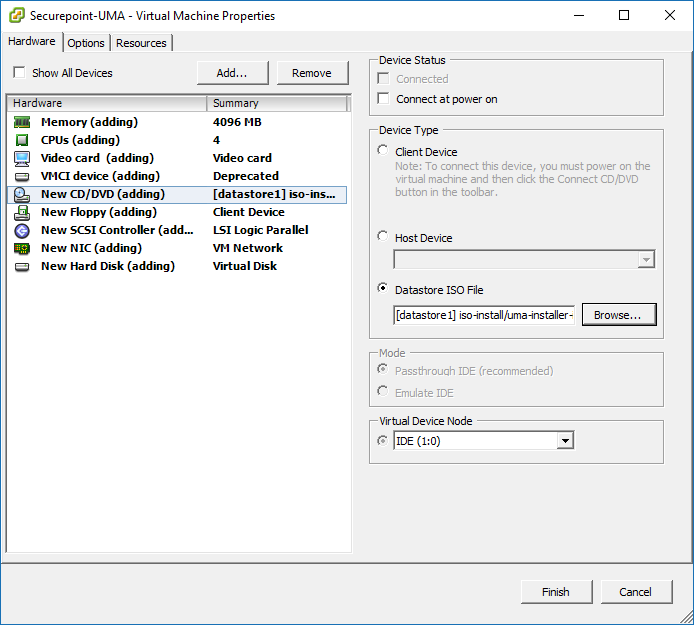
Next, the UMA ISO image must be included in the virtual machine. To do this, the following is selected.
- In the Hardware tab, select the entry New CD/DVD disk 1.
- Under Device status, activate the checkbox Connect on power up.
- In the Device Type area, activate the Data Storage ISO File radio button.
- Click on the Browse button and select the uploaded ISO image in the next dialog.
- Finally click on OK in the Browse dialog.
Adding another hard disk
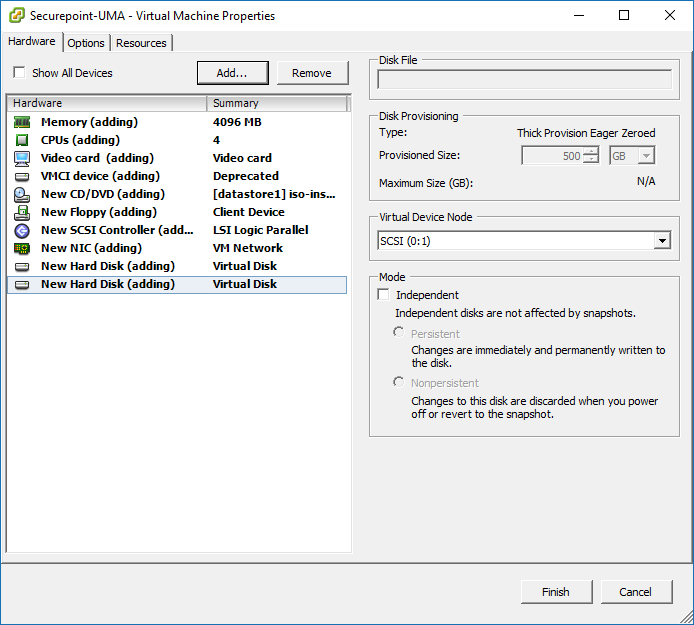
We need a second hard disk for the data archive of the UMA. It should be at least 200GB in size.
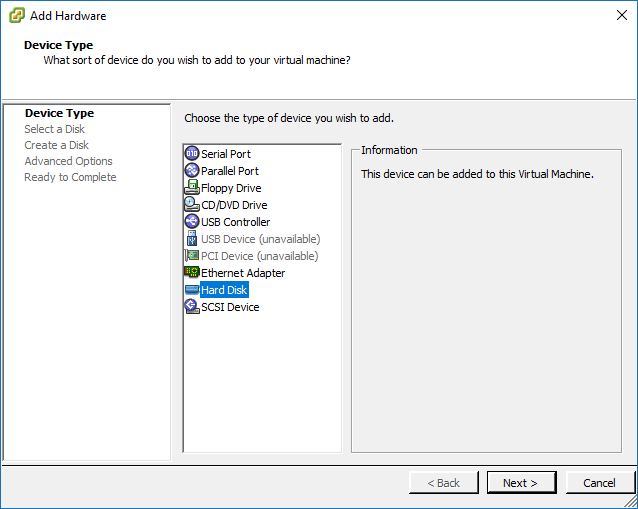
- Click on the button Add to add another hard disk.
- A new dialog opens in which the device type Hard disk is selected first.
- Click on Next.
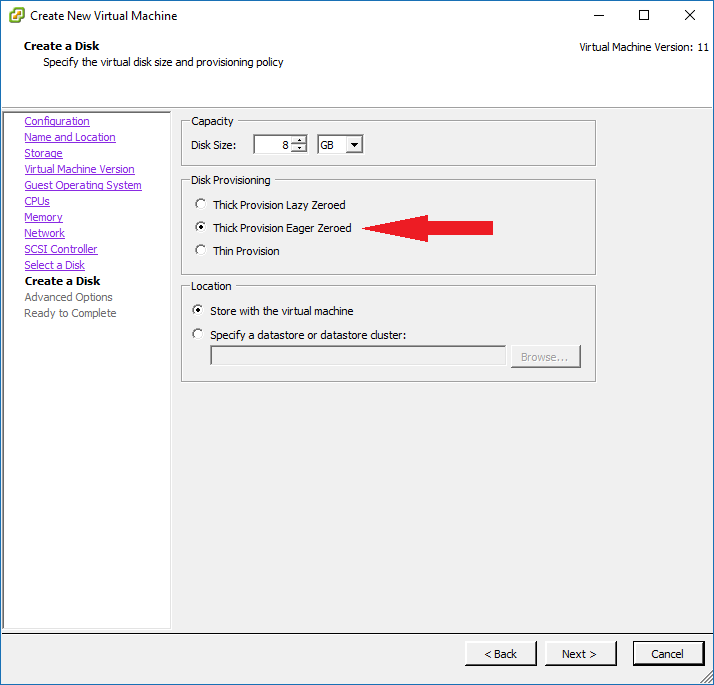
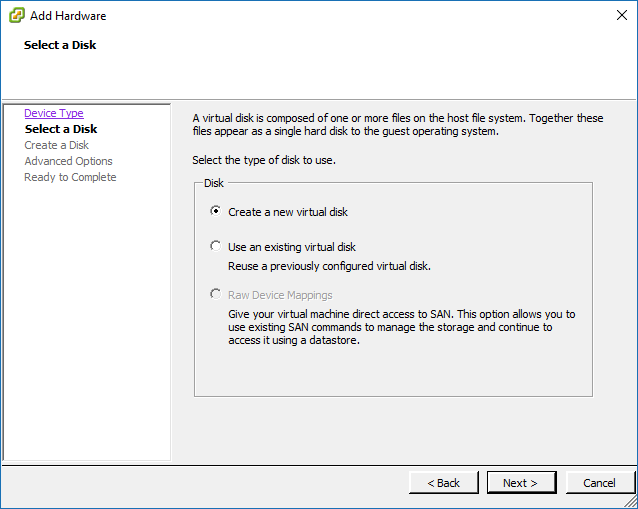
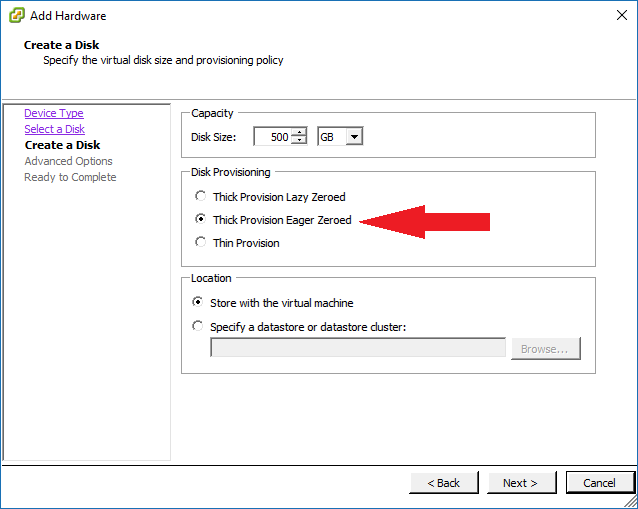
- The size of the new hard disk is specified here. Since all emails, documents and other data are stored on this hard disk, it must be dimensioned according to the formula above.
- Again, for better performance, the setting Thick-Provision Eager Zeroed should be selected.
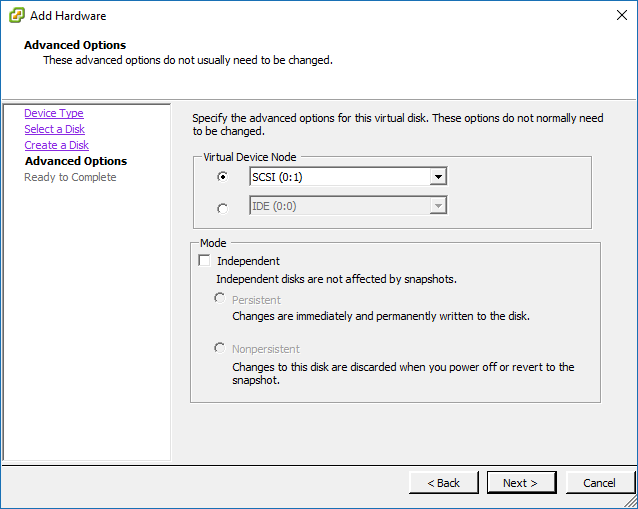
- Click on Next.
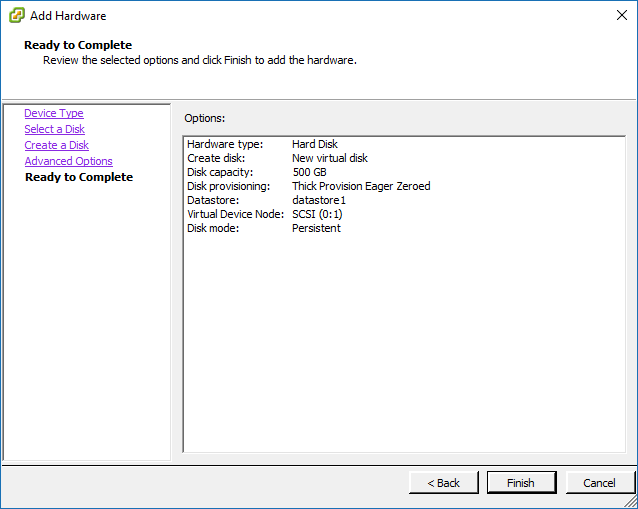
- Finally, all selected settings are displayed. The settings should be checked again before they are saved by clicking on Finish.
Enable static RAM allocation
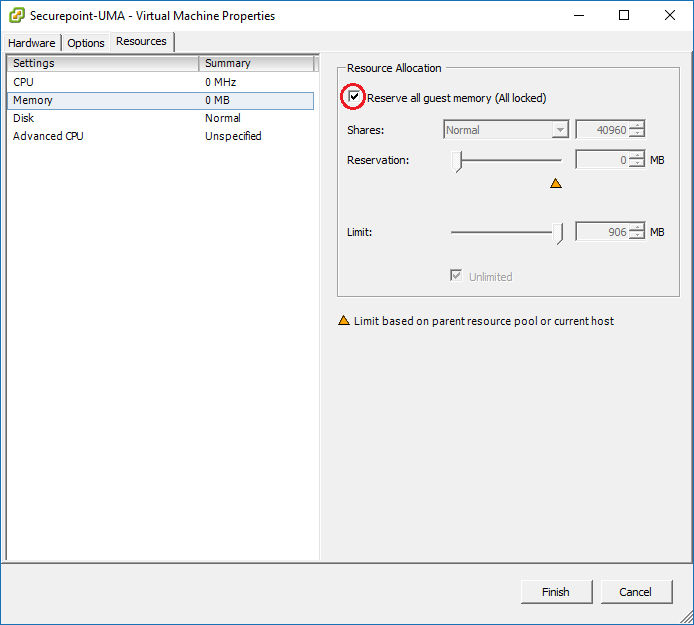
The RAM is dynamically allocated by VMware by default. We recommend assigning this statically to the UMA.
- This is done in the configuration overview under the Resources tab under Working memory.
- Check the "Reserve all guest memory" box.
- Finally, all selected settings are displayed. The settings should be checked again before they are saved by clicking on Finish.
Transparent mode
Transparent mode is no longer included as of UMA version 2.5.8.
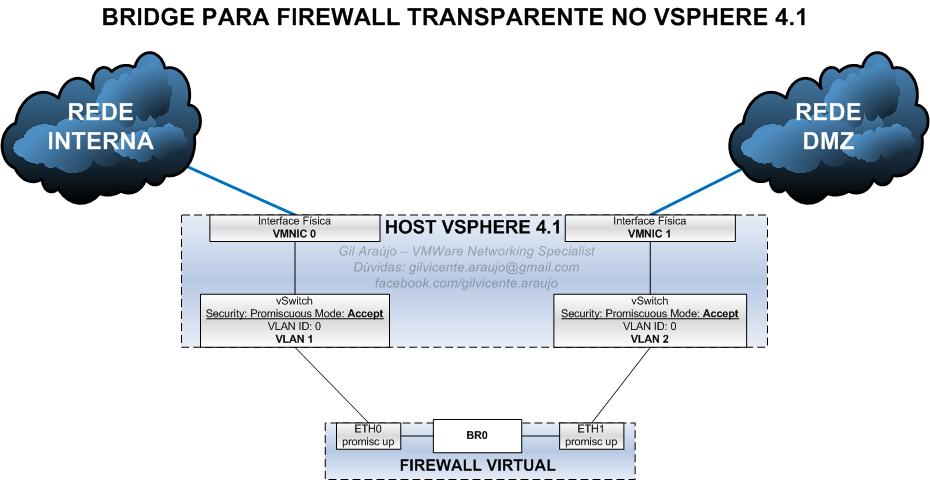
For the "Transparent Mode" at least 2 physical NICs are needed, the setup of the bridges can be seen in the following figure:
In addition, the NICs must then be accepted in " Promiscuous mode":
