Jump to:navigation, search
Wiki


De.png
En.png
Fr.png


Import of a G3 configuration into a new hardware with v12 software (incl. change of interface names)
Last adaption: 11.2023
New:
notempty
This article refers to a Resellerpreview
-


Starting point

Video: Import of a G3 configuration into a G5 hardware
The interfaces receive new labels with v12, which correspond to the labeling on the hardware.

If a device is rebuilt with a v12 software the new interface labels (LAN1, etc. oder A0 etc.) are used.
In some cases a conflict with old interface labels (eth0 etc.) may occur during import:

  • Import of an old configuration (with labels eth) to new hardware or VM
  • Import of a BlackDwarf configuration (with LAN label) to an RC300 or larger (with A0 label etc.)
  • Importing the configuration of an RC300 or larger into a VM

Requirements

  • G5 hardware or other hardware with initial, current v12 version
  • Hostname and date are set
  • A valid license is imported
  • The backup of the configuration (11.8 or newer!) is saved on the local computer

Import of a configuration

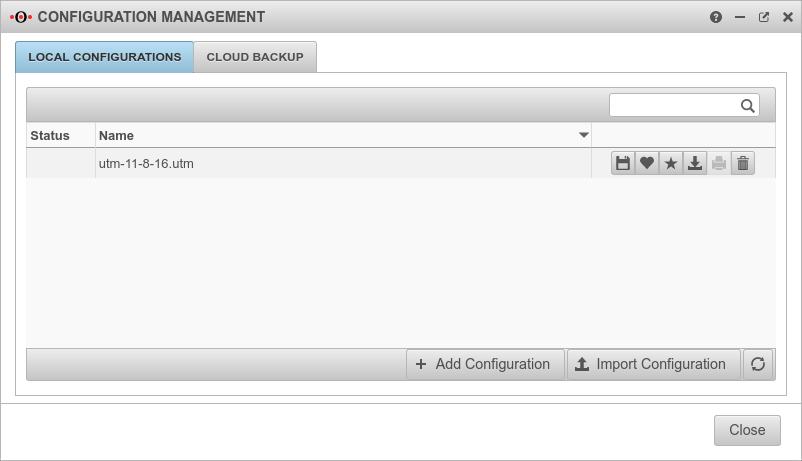
Start import under → Configuration →Configuration managementTab Local Configurations with Button Add configuration

Caption Value Description UTM v12.2.2 Konfiguration Import-en.png
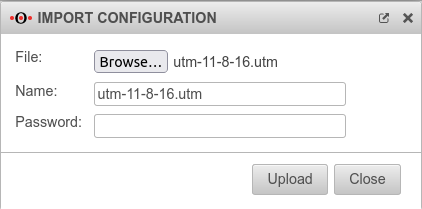
Configuration import dialog
File: Browse Select configuration file
Name: Konfigname.utm Assigned automatically, but can also be customized
Password     Required for configurations from the cloud backup
Upload Uploads the configuration to the UTM
Set as current configuration Activates currently selected configuration UTM v12.2.2 Konfigurationsverwaltung-en.png
Configuration management
Yes Security query must be confirmed UTM v12.2.2 Konfiguration laden-en.png
Security query

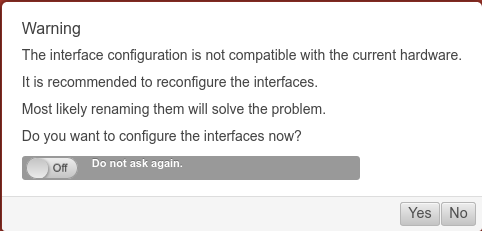
Warning interface configuration

It is recommended to reconfigure the interfaces.
When confirmed, a dialog opens
UTM v12.2.2 Konfiguration Warnung-en.png
Warning message

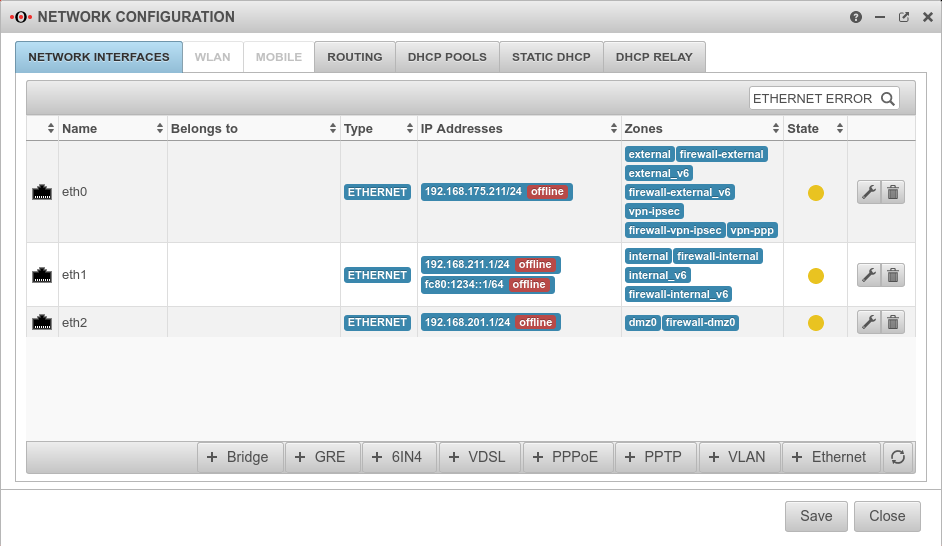
Adjust interfaces

A filter ETHERNET ERROR is automatically set, which shows only those interfaces that have to be renamed. UTM v12.2.2 Konfiguration Netzwerkkonfiguration Error-en.png
The corresponding dialog is called up with the edit button
Save The network configuration must not be saved alone, as the UTM may no longer be accessible!
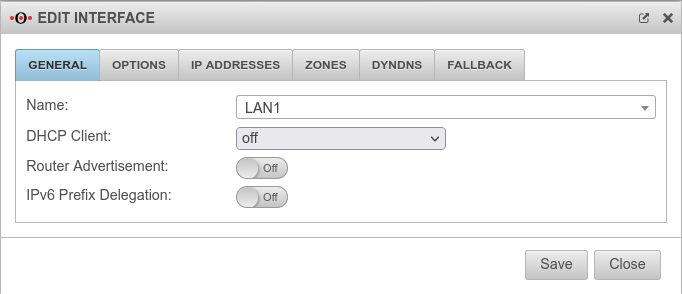
Name: LAN1 The correct label can now be selected from the drop-down menu UTM v12.2.2 Konfiguration Schnittstelle bearbeiten-en.png
Network configuration menu
Save Applies the new interface label.
The interface is immediately no longer displayed in the filtered overview

This process must be repeated for each interface.

notempty
The network configuration dialogue must not be saved alone, as the UTM may no longer be accessible!

  • To finalize the settings, the UTM must be restarted
  • Interface renaming for Bridge

    When importing a G3 configuration to a UTM G5, problems occur if the old interfaces are in a bridge.
    The following must be done:

    1. Import config
    2. Set config as current
    3. Open editing wizard interfaces:
      Confirm warning / query with Yes
      (Do not save the network configuration! Save)
    4. Clear the filter at the top right to display the interfaces
    5. Note down the interfaces that are assigned to a bridge!
      Delete bridge Save
    6. Filter ETHERNET ERROR can be set again
      (Facilitates the overview for many interfaces)
    7. Edit all affected interfaces Save Close
      (Do not save the network configuration! Save)
    8. Re-create Bridge
    9. Then to finish: Network configuration Save

    Restart to finish

  • To finalize the settings, the UTM must be restarted