Replacement and expansion of the archive storage of the UMA
Last adaptation to the version: 3.1.2
- New:
- Adaption to new layout
Previous versions: 3.1 | 2.5.10
Preliminary note
If the old hard drive can no longer guarantee secure archiving or if the archive storage space of the UMA is no longer sufficient and needs to be increased, the hard drive systems for the archive storage can be replaced or increased in size.
Neither a hardware nor a software UMA can be arbitrarily extended by archive memory space without the performance of the UMA suffering as a result. The system requirements should be used to check whether more RAM and processors should be made available to the UMA.
Extend virtualized UMA without RAID
Step 1: Stop email retrieval
The UMA is not allowed to retrieve any emails from the mail server during the following steps, otherwise new mails could be retrieved between the creation of the backup and the shutdown of the UMA, which are then no longer included in the backup nor retrieveable later on.
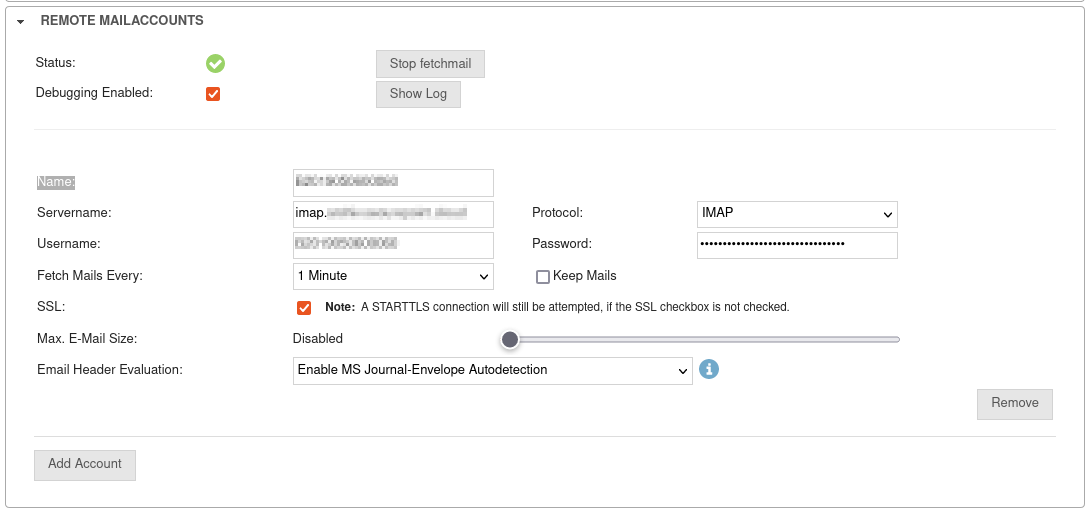
To do this, go to System Settings / Email Server / section Remote Email Accounts and click the button. Neu ab v3.1.2
Step 2: Backup of the UMA archive
Create manual backup: Menu Maintenance / Backup:
- Section Configuration Import / Export
Save the configuration of the UMA, as this contains the container encryption data.
If the firmware of the UMA is also reinstalled when the hard drive is replaced, the archive backup cannot be restored to the UMA without this data. - Section Backup Jobs
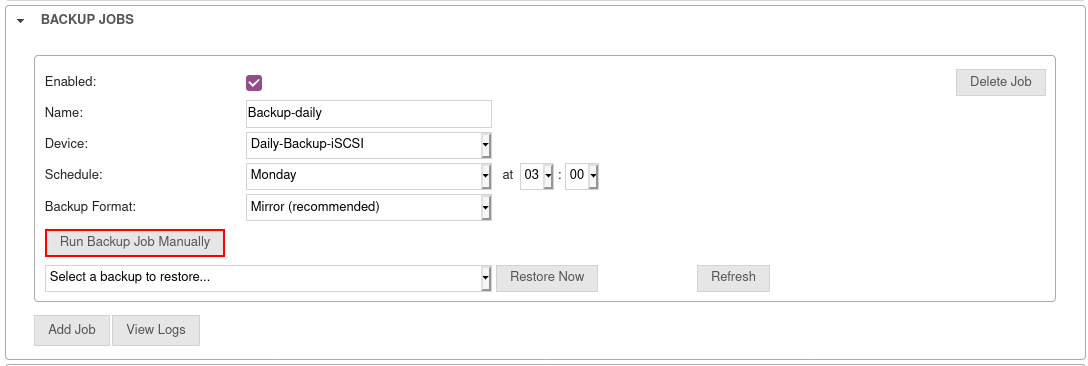
Select suitable job and start it with the button .
Further notes in the Wiki article on backup.
Step 3: Turn off the UMA and enlarge the hard drive
- Turn off VM in Maintenance / System menu by pressing button.
- Depending on the hypervisor, increase virtual drive
Step 4: Initialize the archive store
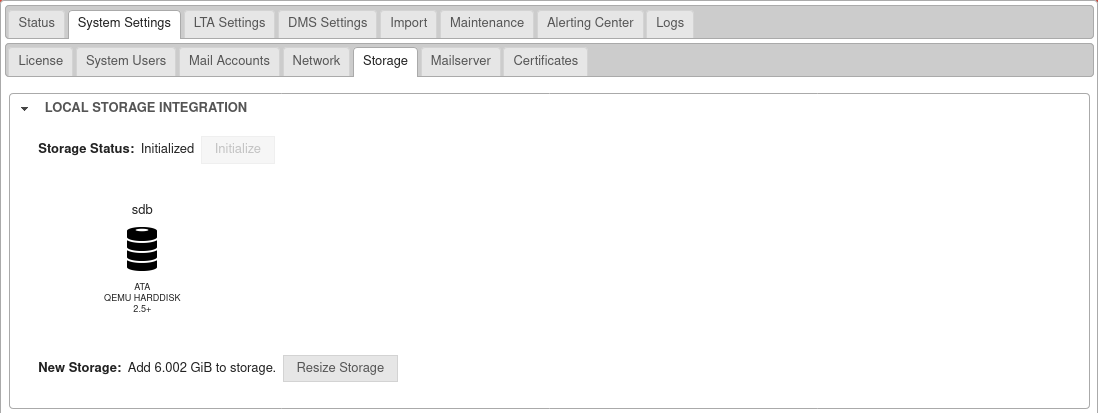
- Step 4: Start VM and in the menu System Settings / Archive Storage / section Local Storage Integration use the button to select the
Step 5: Check DMS
Login with user data and check if documents are still accessible in the archive
Step 6: Re-enable email retrieval
To do this, go to System Settings / Email Server / Section Remote Email Accounts and click the button.
Virtualized UMA with software RAID
In a virtual machine with software RAID, it is not possible to simply increase the size of the archive drives.
Here, virtual drives must be exchanged for larger virtual drives.
The procedure is then analogous to expanding with a hardware UMA.
Hardware UMA Expand archive storage
- If it is a matter of increasing the archive storage, the drives must be exchanged for larger ones.
- In this case, all hard drives must be exchanged at once.
- A RAID with drives of different sizes is not supported by the RAID controller and is not supported by us.
Procedure
A backup is created, the drives are swapped, and then the backup is restored to the new drives.
This drive swap is described in the following steps:
Step 1: Stop email retrieval
The UMA is not allowed to retrieve any emails from the mail server during the following steps, otherwise new mails could be retrieved between the creation of the backup and the shutdown of the UMA, which are then no longer included in the backup nor retrieveable later on.
To do this, go to System Settings / Email Server / section Remote Email Accounts and click the button. Neu ab v3.1.2
Step 2: Backup of the UMA archive
Create manual backup: Menu Maintenance / Backup:
- Section Configuration Import / Export
Save the configuration of the UMA, as this contains the container encryption data.
If the firmware of the UMA is also reinstalled when the hard drive is replaced, the archive backup cannot be restored to the UMA without this data. - Section Backup Jobs
Select suitable job and start it with the button .
Further notes in the Wiki article on backup.
Step 3: Turning off the UMA and replacing the hard drive
The UMA is switched off under Maintenance / System by pressing the button
.
Once the device is powered off, the old hard drives can be replaced with the new ones.
After the exchange, the UMA has to be restarted.
If the UMA is a system with a hardware RAID controller, the new hard drives must first be registered in the RAID controller's bios.
Step 4: Initialize the archive store
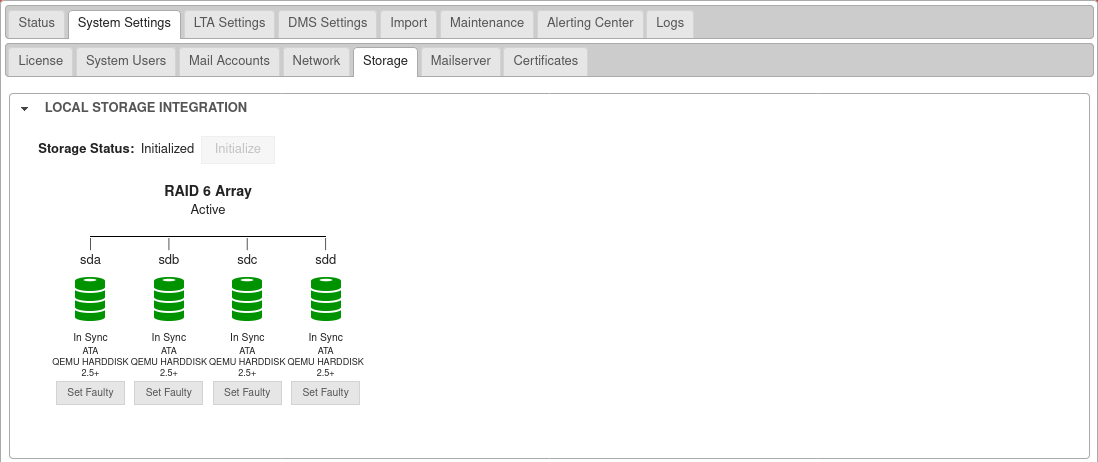
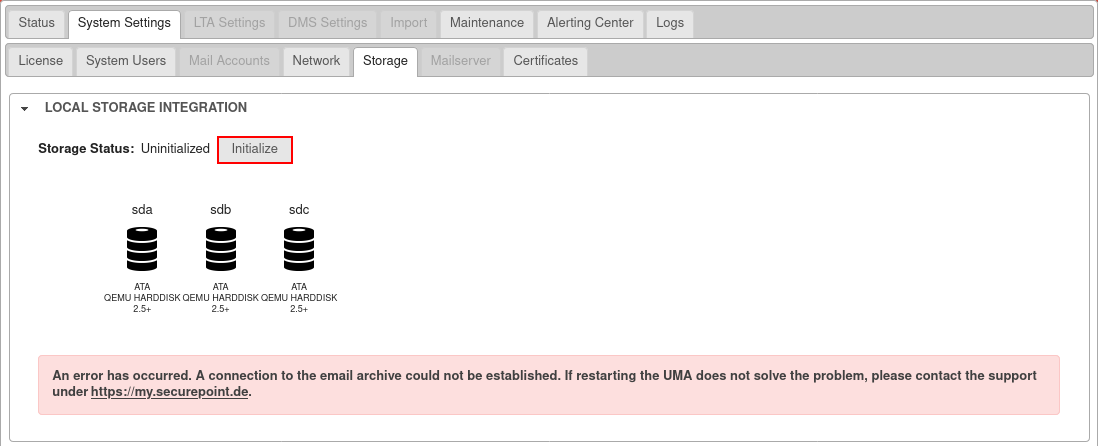
After logging in to the UMA's administration web interface again, the new storage must be initialized: System Settings / Archive Storage
.
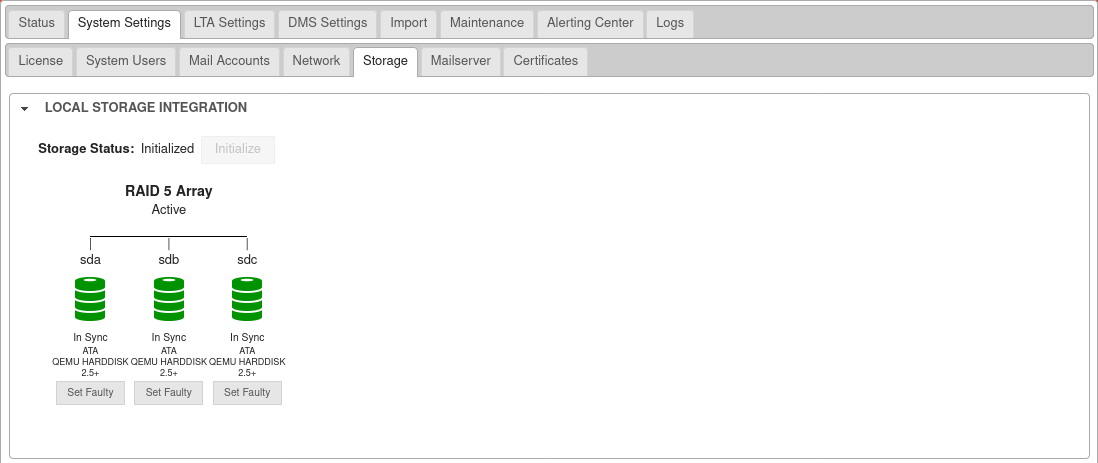
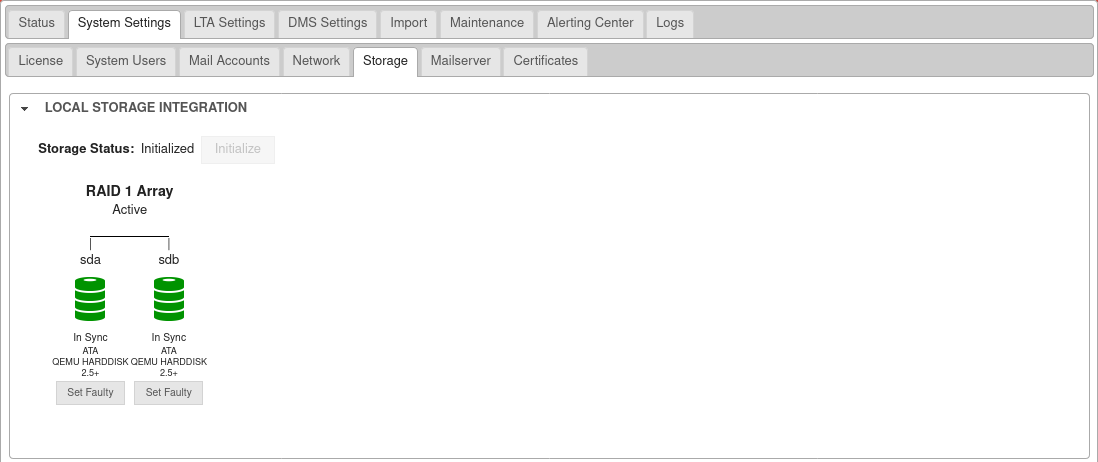
- If it is a software RAID, all hard drives that are to be combined into a RAID array for the archive will be displayed here.
- If it is a hardware RAID controller, only one drive is displayed here.
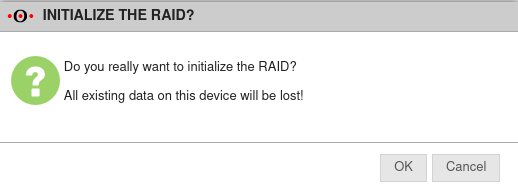
Clicking the button then prepares them to be used as archive storage on the UMA.
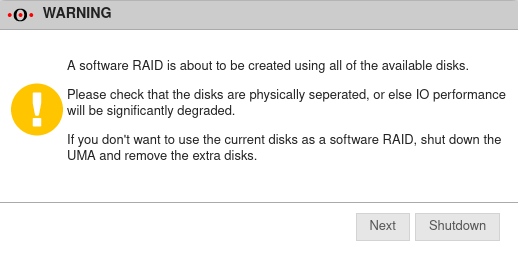
- With a software raid as shown, a warning is given that all available drives are being used.
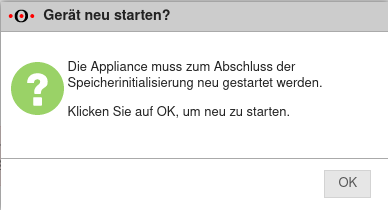
- The appliance must be restarted to complete memory initialization
Step 5: Restore archive backup
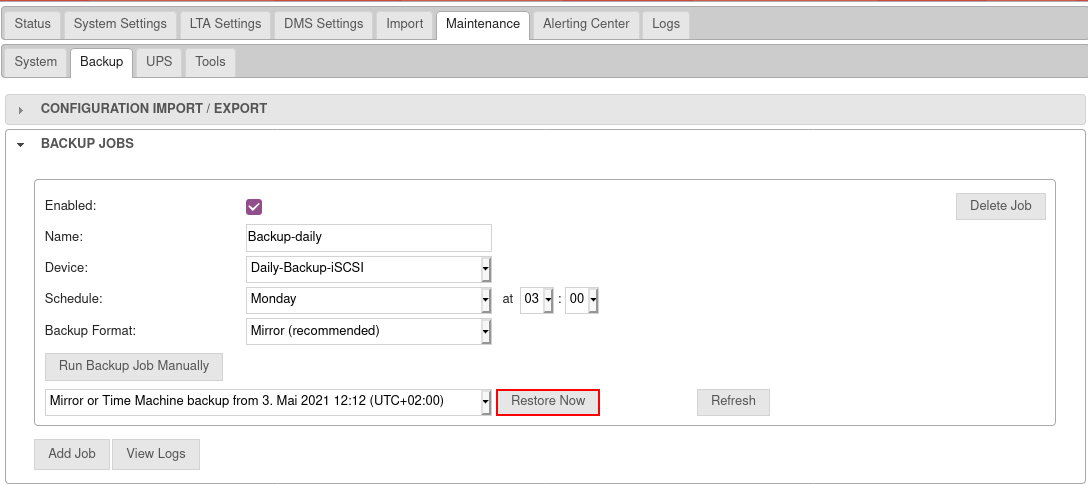
From the Maintenance / Backup Section Backup Jobs select the appropriate Backup Job and the last backup it contained and click the button to import it back into the archive store.
Step 6: DMS Check
Login with user data and check if documents are still accessible in the archive
Step 7: Re-enable email retrieval
To do this, go to System Settings / Email Server / Section Remote Email Accounts and click the button.
Hardware UMA exchange (swap old for new)
Exchange for hardware RAID
If a hardware RAID (from UMA 115 HR) is only about the exchange of a defective drive for a new drive with the same capacity, a drive is simply exchanged from the RAID array. The data is then automatically rebuilt by the RAID controller.
Exchange for software RAID
For a software RAID (up to and including UMA 115 Lite and in virtualized environments), the same procedure must be followed as for an extension.
