- Revised article on the UMA NG
Introduction
To configure the UMA, it must be integrated into the internal network and prepared. This basic setup is covered in the following guide.
Positioning of the UMA in the internal network

The so-called hub mode is used to integrate the UMA into the existing network. This has the advantage that the existing network structure does not need to be changed. In addition, the mode is also able to archive emails based on protocols other than POP3, IMAP or SMTP (e.g. via Outlook via MAPI).
Network Settings
In the delivery state some settings are preconfigured. For example, the IP address and administrator access.
Preferences:
| IP address: | 192.168.175.254 |
| Subnet mask: | 255.255.255.0 |
| User name: | admin |
| Password: | insecure |
Adjusting the IP address
To access the UMA web interface, either
- The computer with which the UMA is to be configured is located in the UMA network, i.e. in the subnet 192.168.175.0/24, or
- The UMA is set to the existing network.To add the UMA to the existing network, the IP address must be adjusted.
The console port is used for this purpose.
- On an appliance, the console is accessed by connecting a monitor and keyboard to the hardware. Here the IP address can be configured before the UMA is integrated into the existing network.
- On a VM, the console can be reached directly via a connection to the hypervisor
Login is performed using the preconfigured administrator account. Since there is only one administrator on the UMA, only the password is requested for the login:
Default password: insecure
In the console environment, the administrator has very limited rights in the machine.
In this example, the subnet 192.168.145.0/24 is used. It is recommended that you select the subnet where the email server is located.
Make sure that the selected IP address for the UMA is not used by another device on the network.
The IP address of the UMA is changed with the following command:
ipconfig ip-address/subnet mask Gateway-ip z.B.: ipconfig 192.168.145.110/24 192.168.145.1
The IP address change carried out in this way is temporary and is reset to the delivery status after a restart.For permanent storage, the IP address must be changed in the Web Interface.
Then the UMA is connected to the network.
Access to the administration interface
The configuration is done via the web interface of the UMA. Using an Internet browser, the setup is performed via an encrypted connection.
After connecting to the network, an Internet browser is used to enter the IP address including the port of the UMA in the URL input field:
https://192.168.145.110:11115
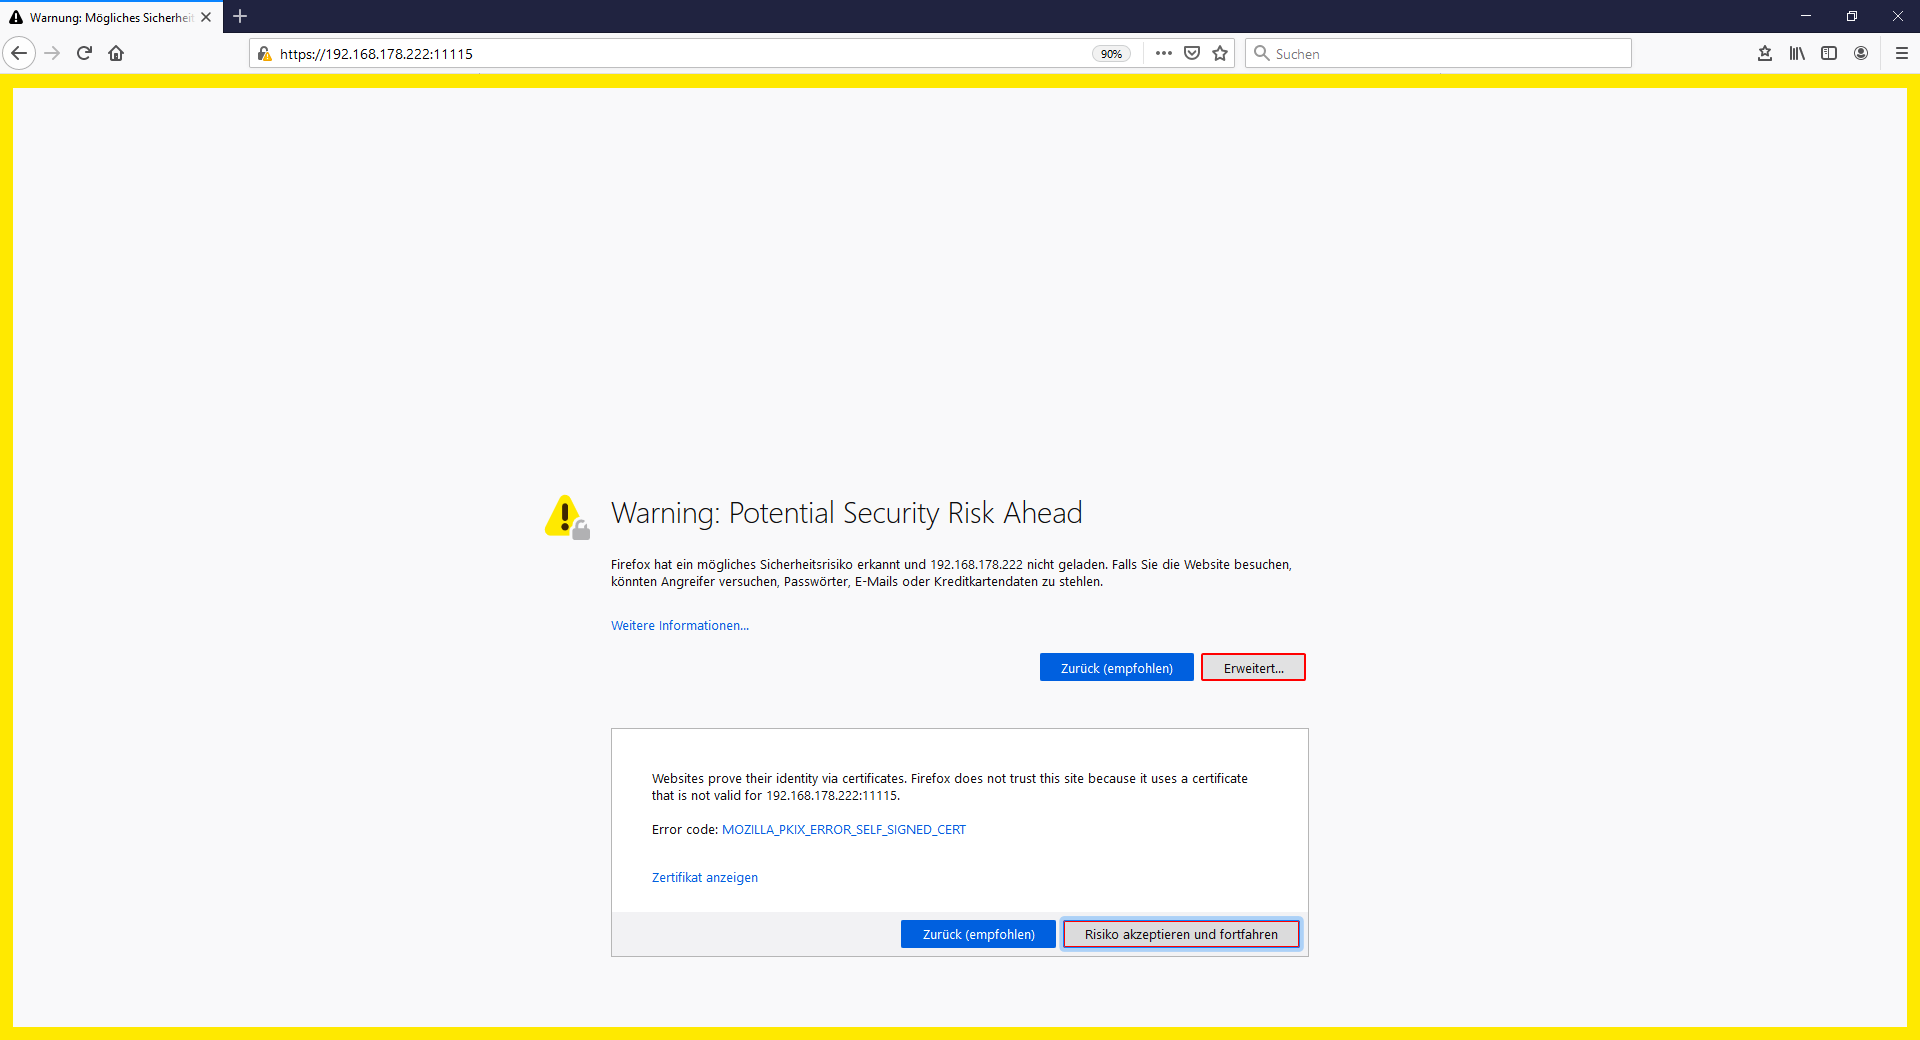
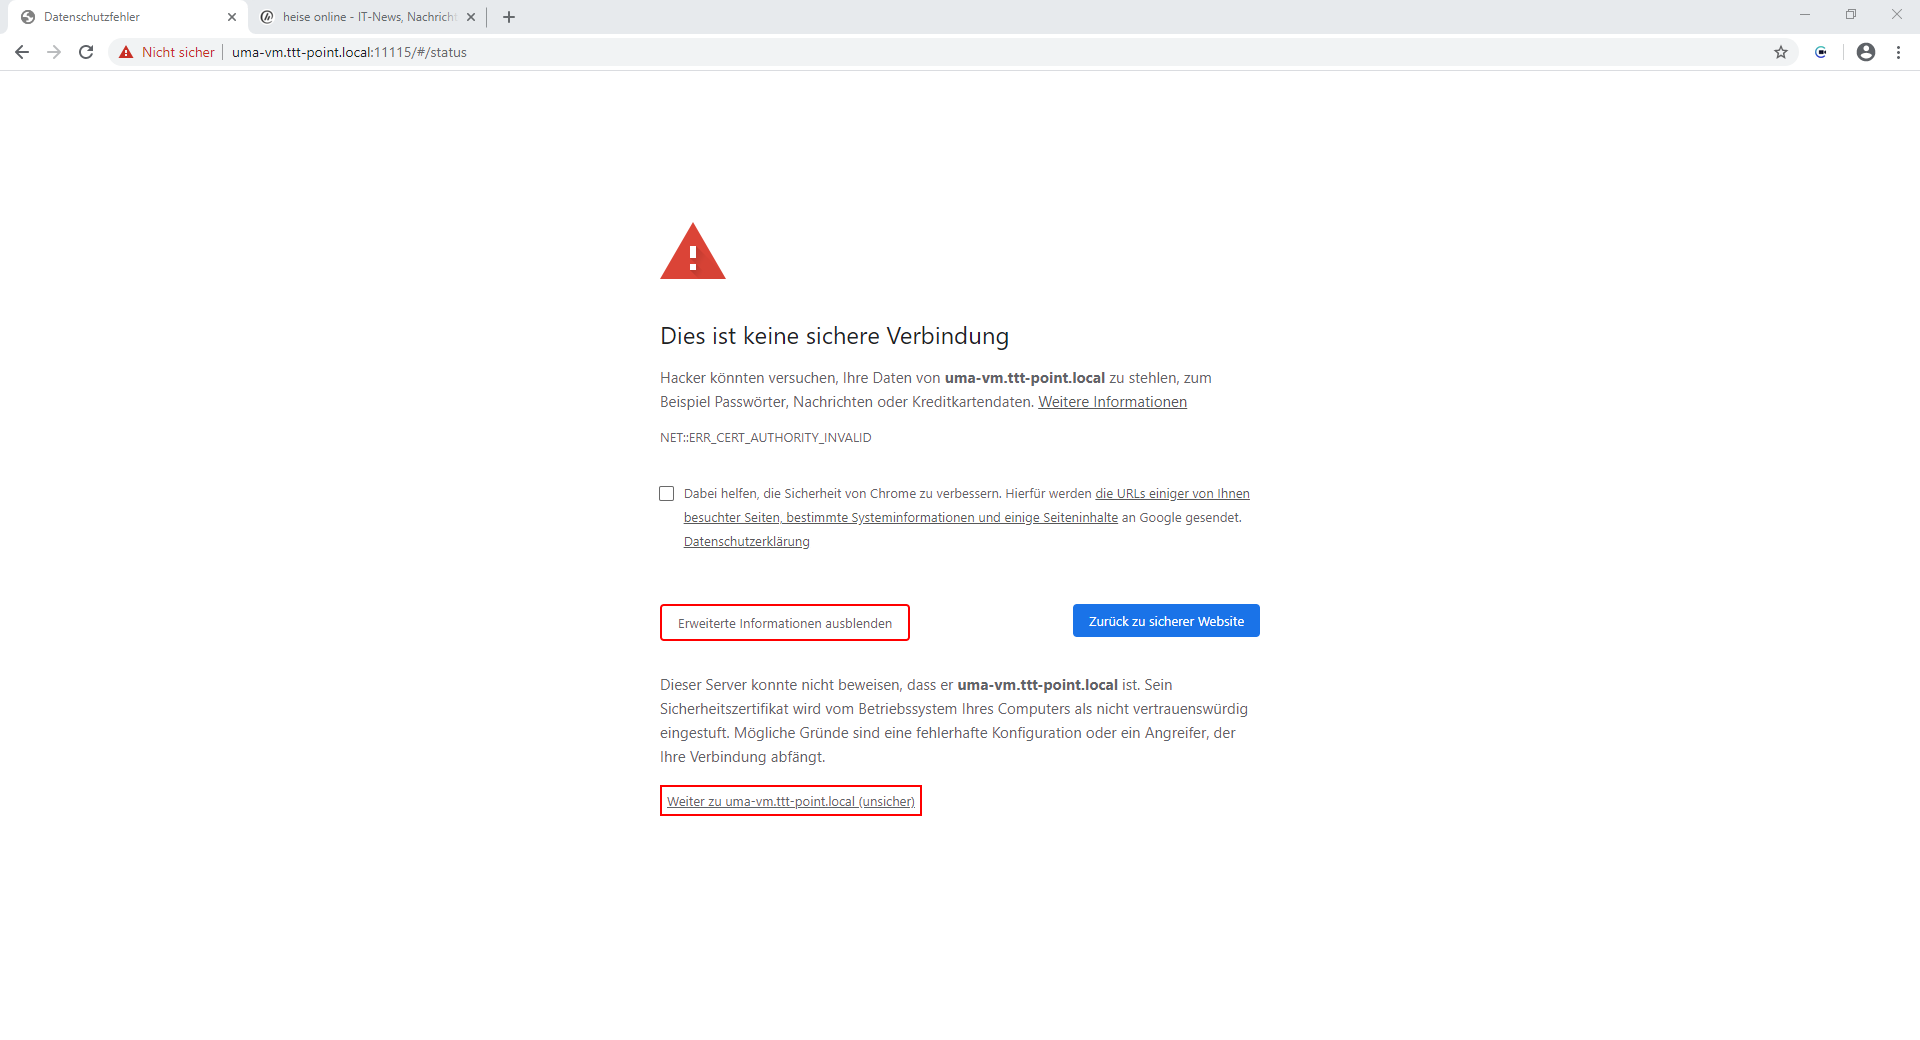
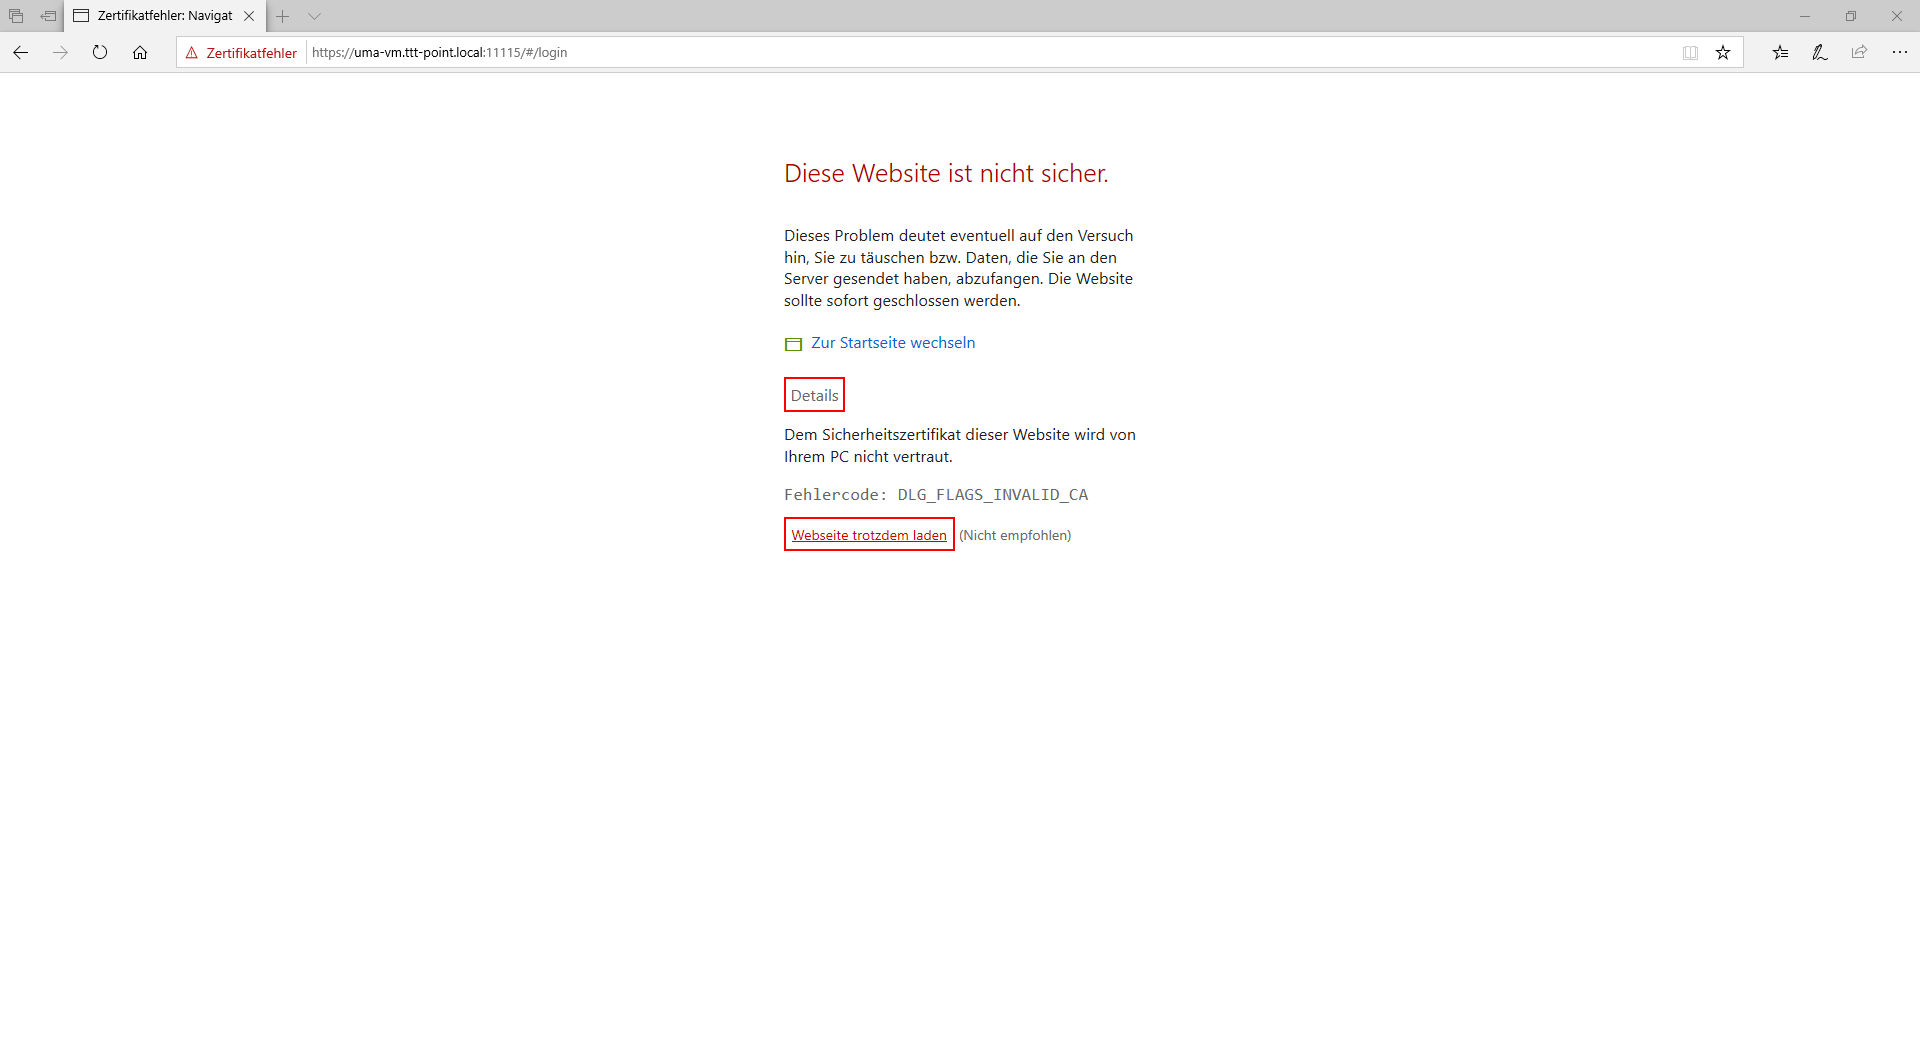
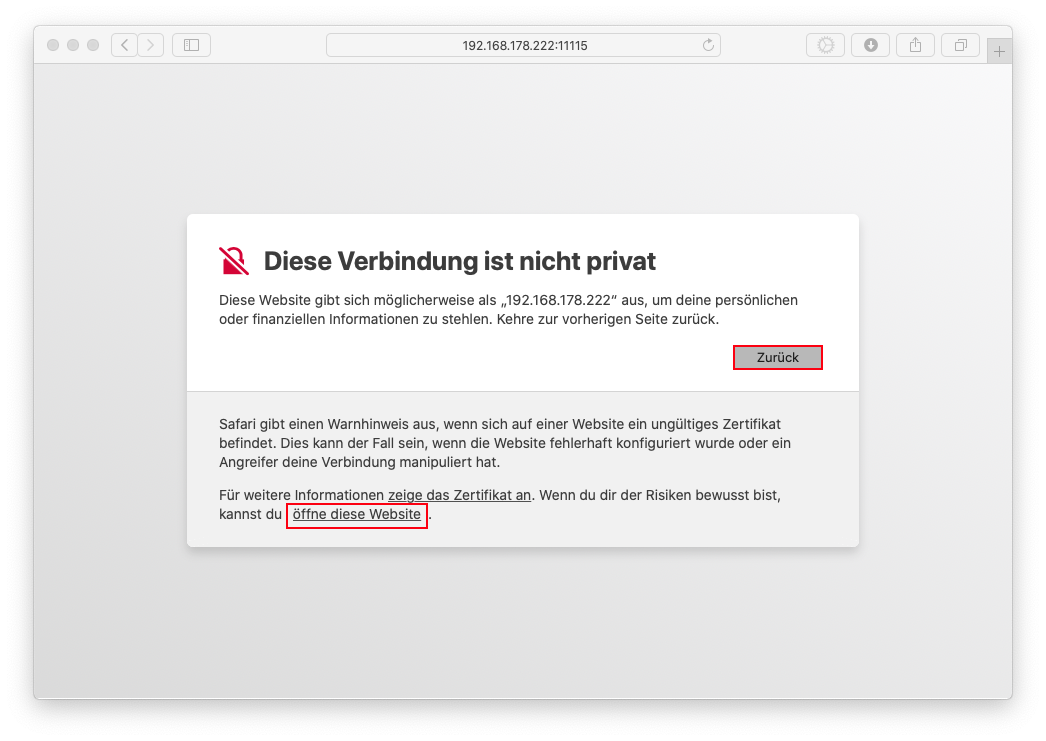
Since this is an encrypted connection with a certificate created by the UMA itself, which the browser cannot yet know, this connection must be explicitly permitted. The browser's warning notice must be ignored!
UMA-Administration-Center
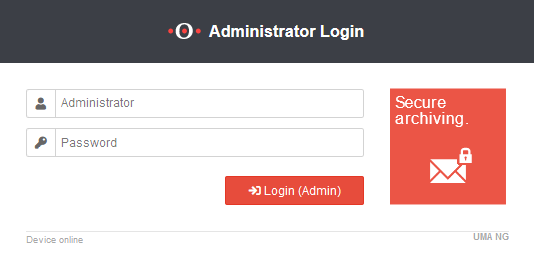
Next, the login window of the UMA Administration Center is displayed. User name and password of the UMA are in the delivery state:
| User name: | admin |
| Password: | insecure |
After a click on the button Login(Admin) or pressing the Enter key, a window appears with the licence conditions, which must be confirmed.
This is followed by the setup wizard for the initial setup of the UMA. Due to it's scope, a separate article has been dedicated to this in Setting Up the UMA with the Setup Wizard.
