- Hyper-V Integration Services updated to version 4.3.5
- Layout adjustment
Requirements
- Hyper-V capable Microsoft Windows or Server installation
- License for the UTM
- Installation image from the Resellerportal
- The specifications for dimensioning Wiki
HyperV
Virtual switch manager
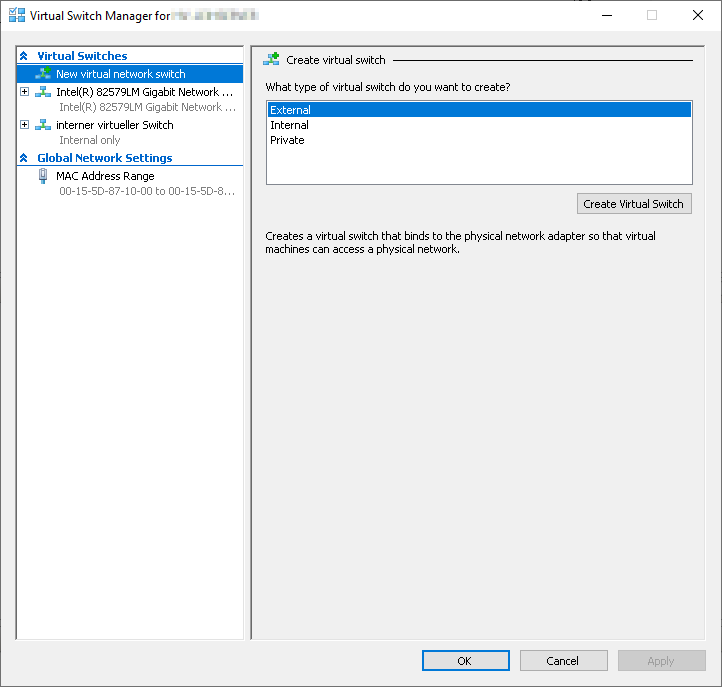
The network connection requires two virtual switches. This is done in the Hyper-V Manager on the right-hand side under the entry "Virtual switch manager". A switch for "External" and a switch for "Internal" are now created here. For the "External" switch, the network interface that is connected to the network must be selected.
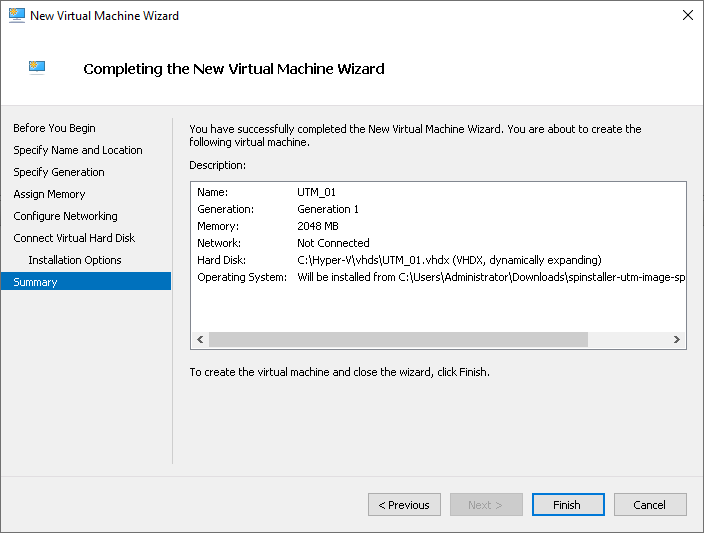
New virtual computer setup wizard
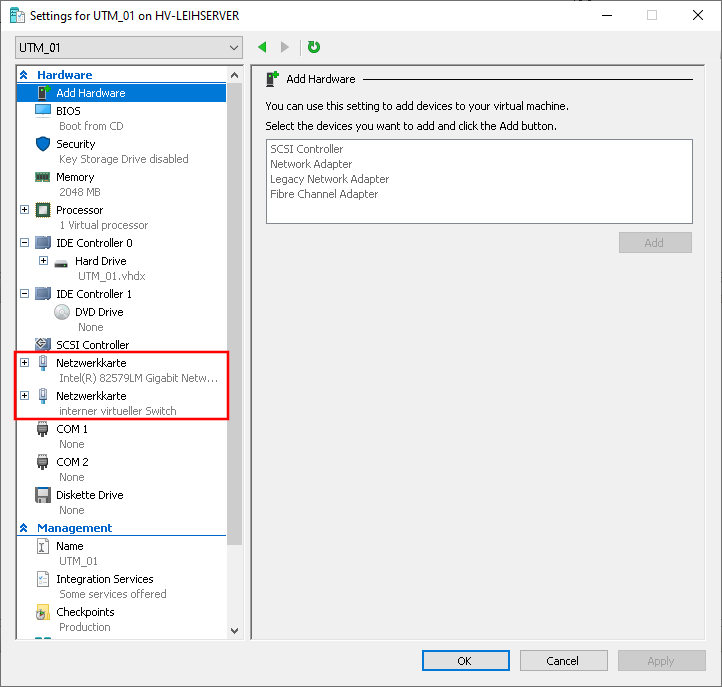
Customize settings
Before connecting the UTM to the network, we need to add another network card in the settings. For the first network card, we select the physical interface that represents our external port. For the second network card, we select the physical interface that represents the internal port.
Configuration of the UTM
Scenario 1
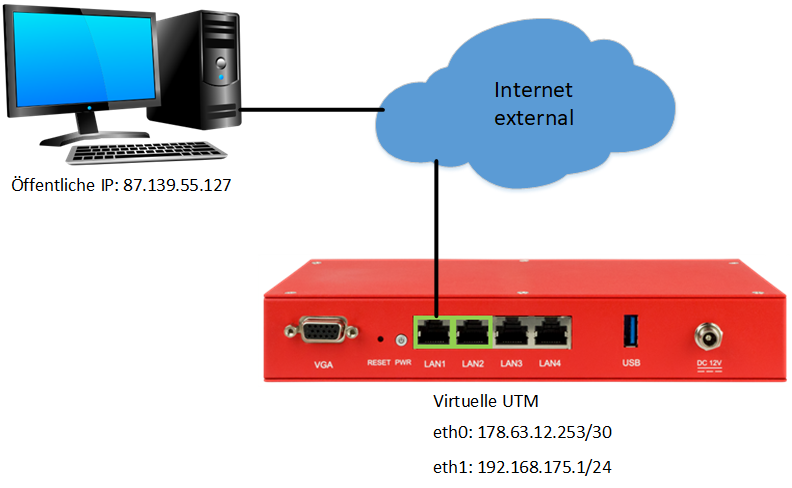
Without a client on the internal network, the UTM must be preconfigured for external access via the console.
- Login admin // insecure
- Assigning the external IP
interface address new device eth0 address 178.63.12.253/30
- Setting an administration IP
manager new hostlist 87.139.55.127/32
- Set route
route new dst "0.0.0.0/0" device "eth0" router "178.63.12.254"
- Save configuration, set as startup configuration and restart
system config save name test
system config set name  test
system update interface
The last command causes the changes to be applied. Now the web interface of the UTM should be accessible from the IP specified as manager via the external IP of the UTM.


