- Layout updates
Introduction
Clientless VPN provides the ability to connect to an RDP or VNC server on the corporate network via the browser. Users log in to the user interface and are then given the option to connect with a designated server. For this to work, the browser must have HTML5, Java or similar is not necessary.
Configuration of the UTM
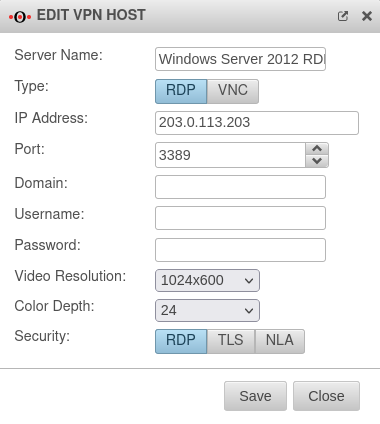
Add Clientless Host
Under click the button.
All servers that are to be made available to users via the user interface using Clientless VPN are entered here.
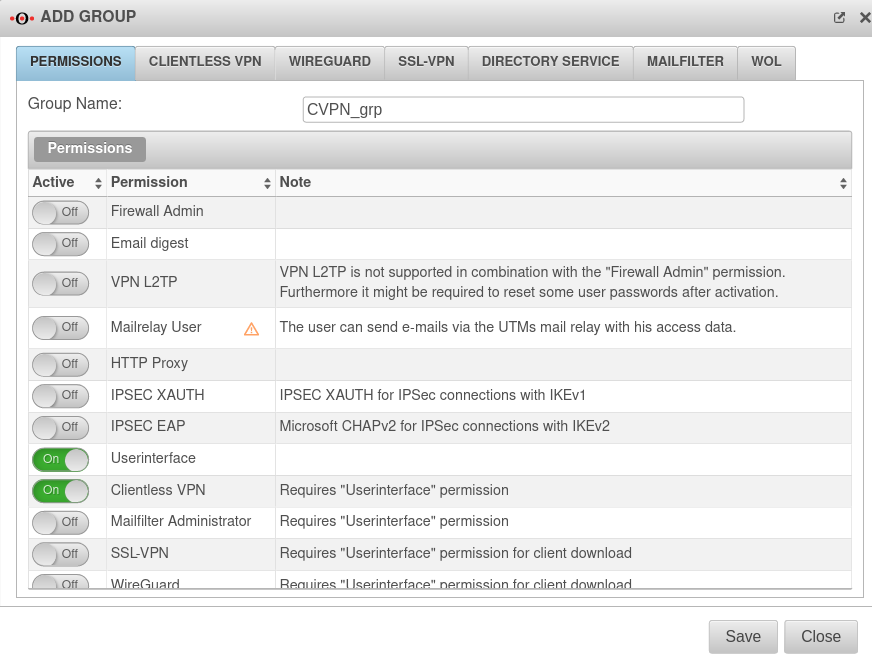
Assign the group
- Click Tab Groups Button
- Enable Clientless VPN with the On button in the Permissions Userinterface tab
- Assign a unique name in the Group name: field.
- The
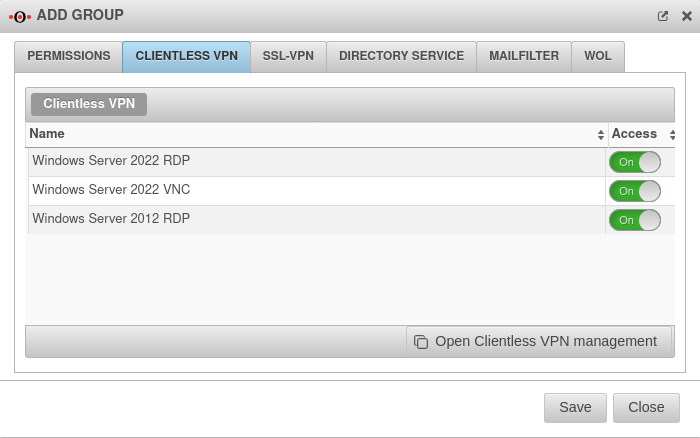
tab will appear.Clientless VPN {{{2}}}
- Switch to the Clientless VPN tab.
- Activate the Clientless VPN with
- Apply the changes with
Allow access
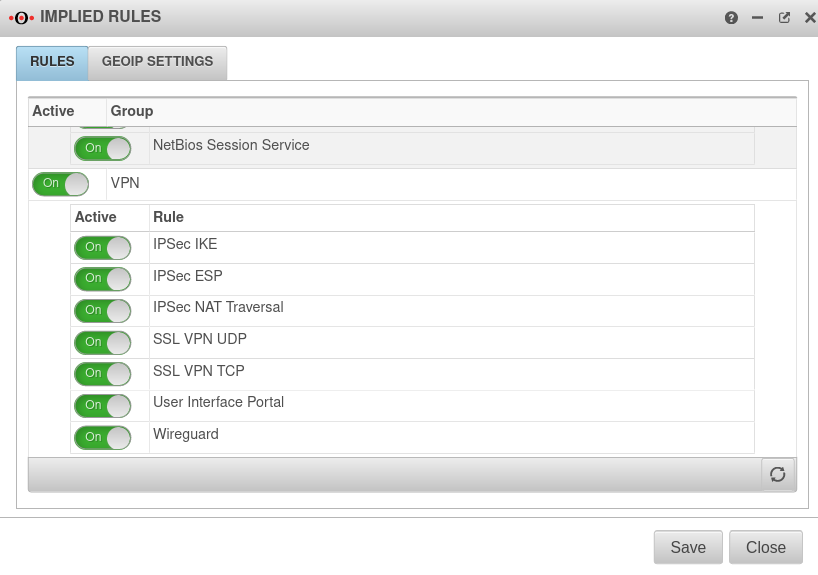
Now it must be ensured that the clientless VPN user is also allowed to log in to the user web interface via the browser. This can be done either by Implicit Rules or by manually creating a corresponding Port Filter Rule on the interface.
In this case it is sufficient to activate the VPN rules with On in the menu under Tab VPN.
Login to the user interface
- The user login to the user interface is called up via the IP address or URL of the UTM, possibly followed by a port specification
- Depending on the assigned permissions, various functions are made available
- Click on the corresponding tile to access the desired function
| Configured | Port | Example call with IP | Example call with URL |
|---|---|---|---|
| Default | 443 | i.e. https://192.168.175.1 | i.e. https://utm.ttt-point.de |
| Port changed bei administrator Menu: Network / Appliance Settings / Appliance Settings / Webserver / User Webinterface Port |
4443 | i.e. https://192.168.175.1:4443 | i.e. https://utm.ttt-point.de:4443 |
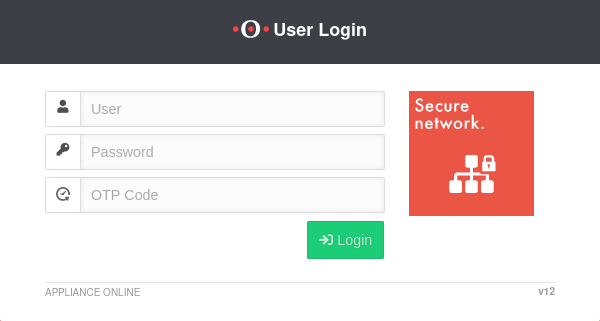
After entering the IP address, the user login page of he Securepoint UTM is loaded. The login credentials are entered there.
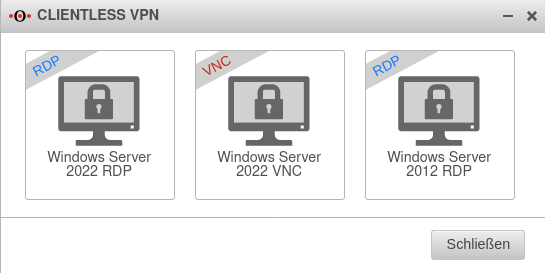
Clicking on Clientless VPN opens the following dialog.
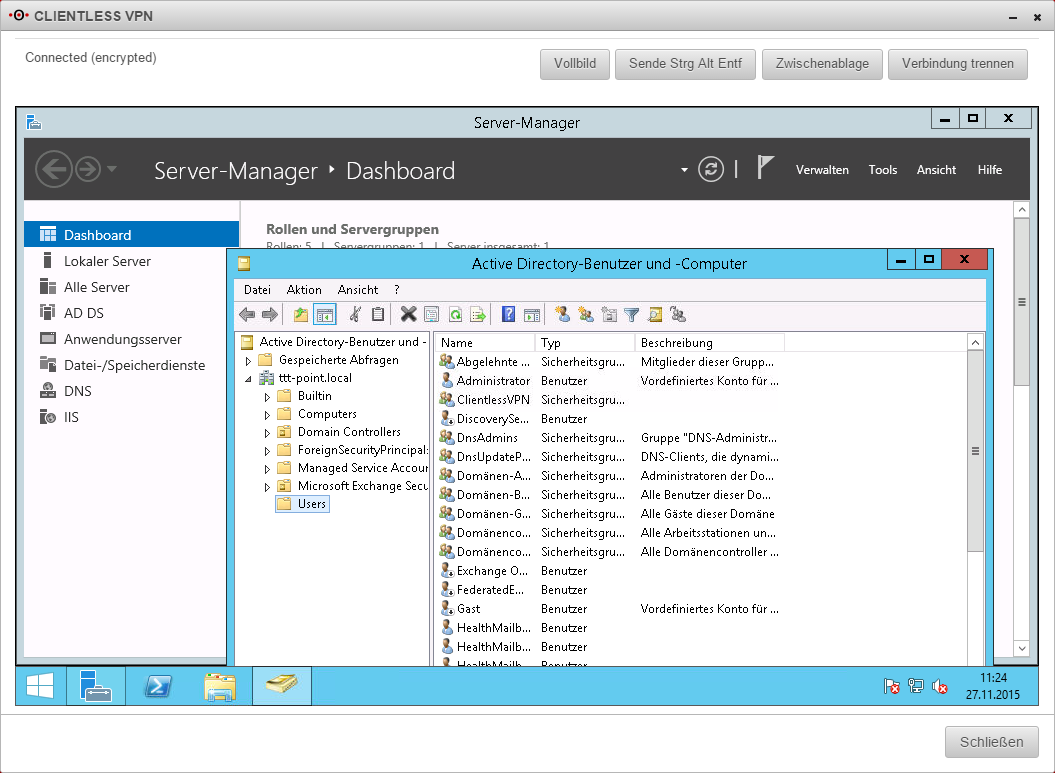
Clicking on the corresponding server establishes the connection to it. If no user name and password are stored in the server settings under Clientless VPN, they will now be requested.
Hints
Windows 2012R2 with enabled terminal services
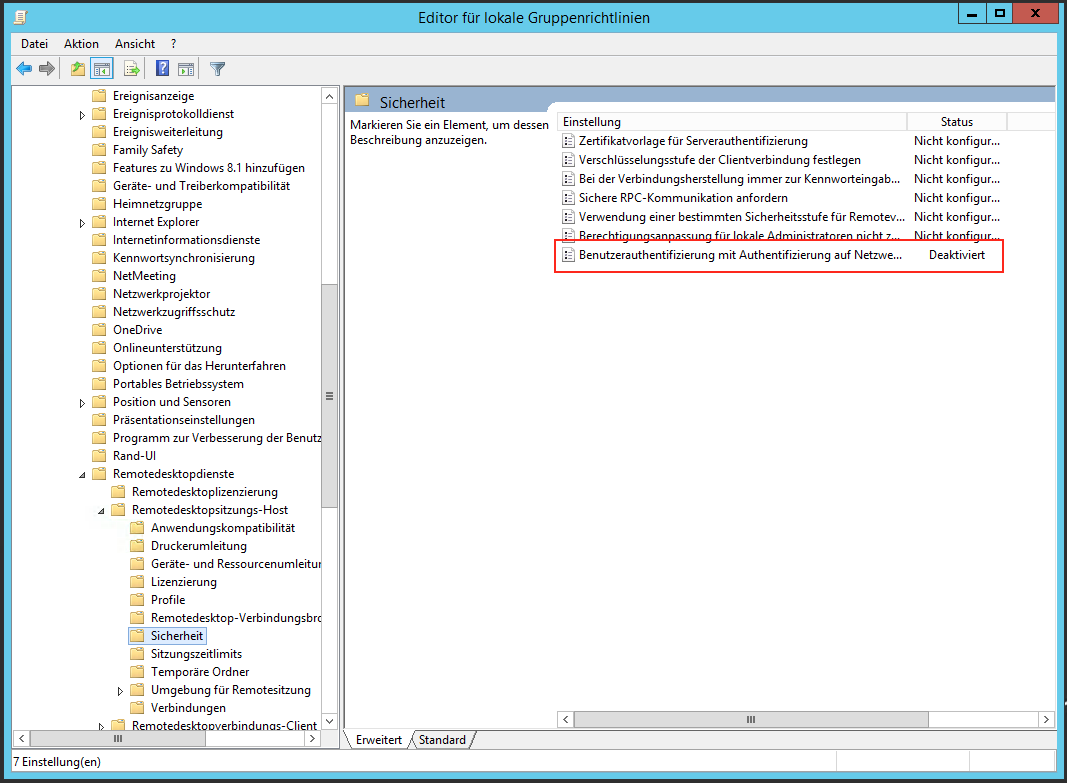
If a 2012R2 server is to be used as the RDP server for the clientless VPN, the establishment of the RDP connection fails due to the "Authentication at network level".
When using the terminal services, this function can also no longer be deactivated via the familiar way.
However, it is possible to force the disabling of ""Authentication at network level"" via the GPO (Group Policy).
Adjusting the registry
However, it may also be necessary to adjust a registry entry. This must have a value of 1.
Computer\HKEY_LOCAL_MACHINE\SYSTEM\CurrentControlSet\Control\Terminal Server\WinStations\RDP-Tcp
SecurityLayer
