Export or request and import third-party certificates from Windows
Last adaptation to the version: 12.1
- New:
- General layout adjustment
- Conversion is no longer necessary in most cases, as the pkcs12 format can be imported directly.
- Adaptation of the certificate (removal of superfluous text parts) is no longer necessary
Previous versions: 11.7.9
Description
The following describes how a third-party certificate (x509) can be imported into a Securepoint UTM to use it for the reverse proxy, for example.
To import the certificates, they must be available either in PEM format or in PKCS12 format and Base64 encoded.
Export certificate
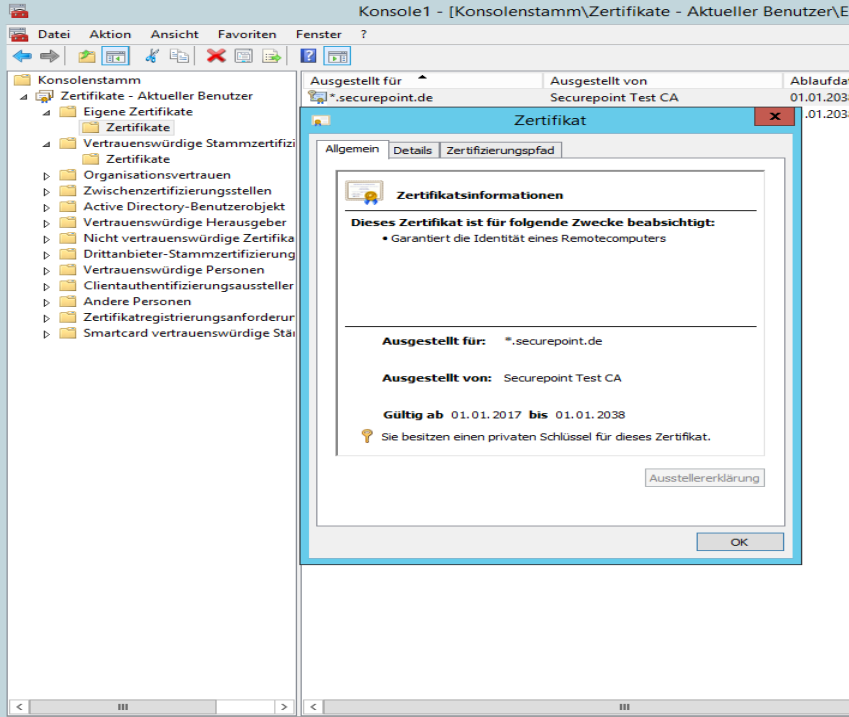
- On the computer where the certificate was installed, the Microsoft Management Console (MMC) must be started.
- In the console, add the certificate snap-in.
Followed by clicking the My User Account in the prompt to specify the account to manage. .
- With a double click in the MMC console on Certificates - Current user, then on Own certificates and finally on Certificates, then the certificates can be accessed. .
The Private Key must be present.
- In the right pane, right-click on the certificate to be exported in the pop-up menu under All Tasks and then Export to start the Certificate Export Wizard. .
- Once the certificate export wizard has been started, you must first click on Next.
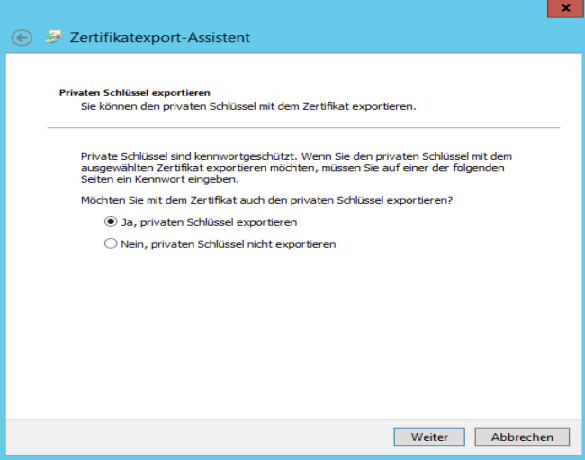
- On the following page "Export private key" can be continued with "Yes, export private key" .
- On the page Export File Format accept the default settings and then click on Next.
- On the following page Password the password for the private key must be entered.
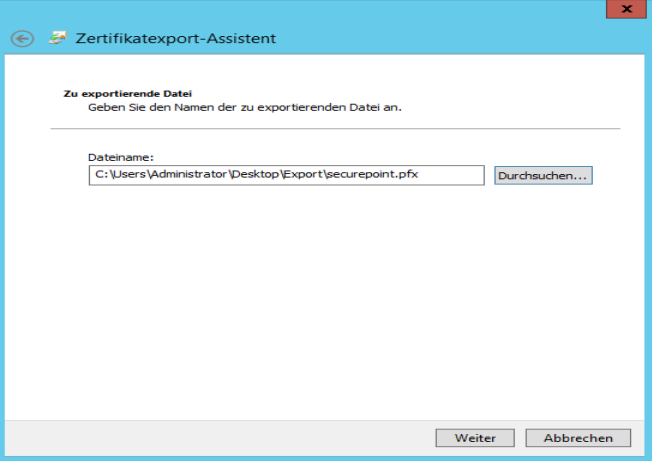
- On the Export File page, enter the path and name of the exported certificate file and then click Next.
- The file name has the extension pfx, this must then be converted so that the certificate can be imported on the firewall.
- Lastly, click on Finish to export the certificate.
The exported certificate file is saved with the specified name and extension .pfx.
Create CSR for third-party certificate
To request a certificate from a public certification authority (CA) a Certificate Signing Request is needed.
This can be created with OpenSSL.
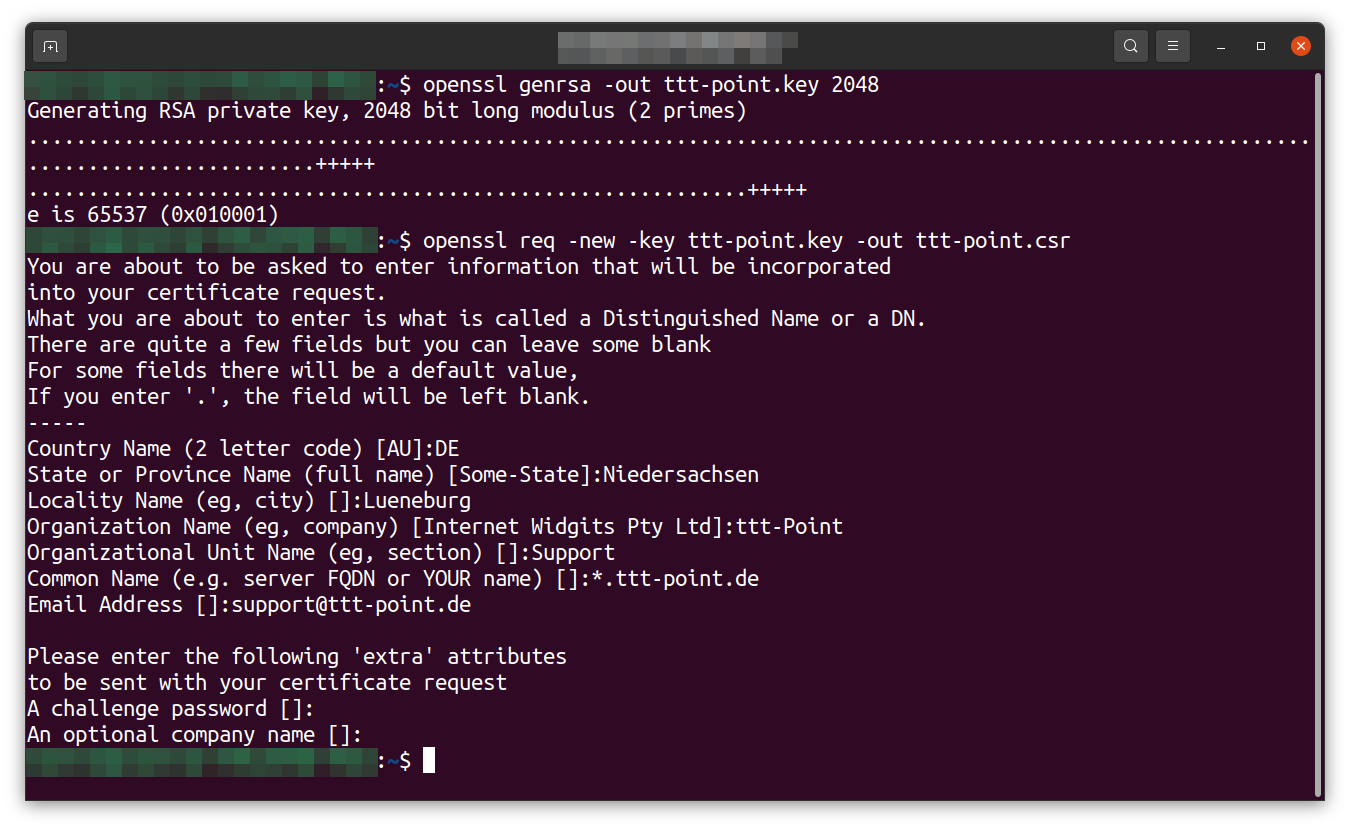
- First, a private certificate is needed: openssl genrsa -out ttt-point.key 2048
This file also contains the private certificate, which must never be shared with others! - The CSR can be created from this certificate: openssl req -new -key ttt-point.key -out ttt-point.csr
- Then various details are requested, which will be stated in the certificate.
- The completed CSR can then be submitted to the CA.
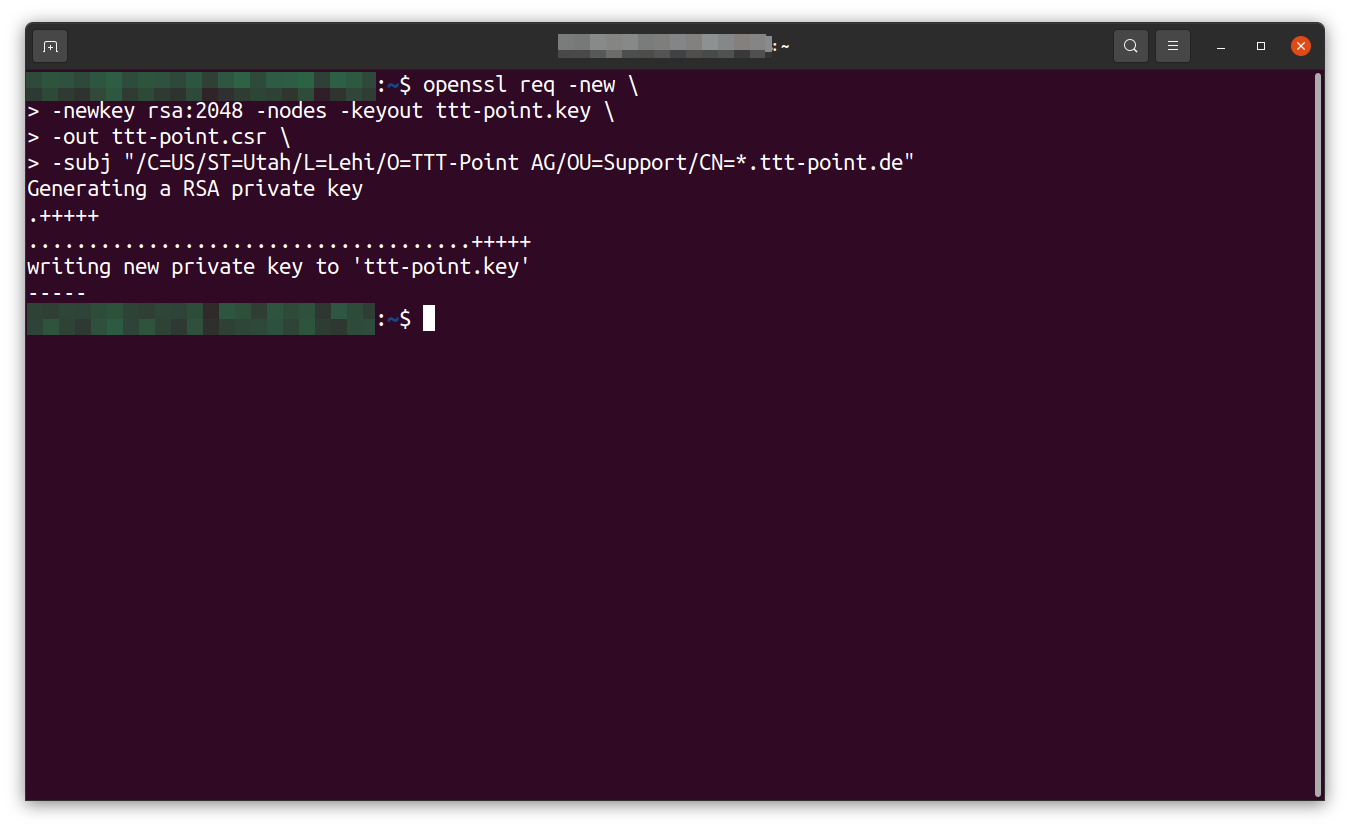
It is also possible to handle the entire operation with one command using the -subj parameter:openssl req -new \
-newkey rsa:2048 -nodes -keyout ttt-point.key \
-out ttt-point.csr \
-subj "/C=DE/ST=Niedersachsen/L=/O=TTT-Point AG/OU=Support/CN=*.ttt-point.de"
Import
Certificates and CAs can be imported on the UTM in the menu in the CA tab with the button or in the Certificates tab with the button.
Special notes
Sequence of the certificate chain
The following order should be considered during import:
- CA
- Intermediate certificate 1 (if available)
- Intermediate certificate 2 (if available)
- Web server certificates
Convert certificate
Import format
Certificates and CAs to be imported into a UTM must be in the format .pem or .p12 (pkcs12).
Certificates can be converted with the tool openssl - available for all common platforms (part of Linux, call via console) - and the following commands:
| Certificate | Command |
|---|---|
| X509 to PEM | openssl x509 -in certificatename.cer -outform PEM -out certificatename.pem |
| DER to PEM | openssl x509 -inform der -in certificate.cer -out certificate.pem |
| P7B to PEM | openssl pkcs7 -print_certs -in certificate.p7b -out certificate.pem |
Error message during import
During import, the error message "The certificate format is not supported..." may appear.
Password protected certificates in pkcs12 format (.p12 , .pfx , .pkcs12) in conjunction with older ciphers can trigger this error.
Options for importing certificates:
- Convert certificate to *.pem
Certificates can be converted with the tool openssl - available for all common platforms (part of Linux, call via console) - and the following commands:
openssl pkcs12 -in Zertifikat.pfx -out Zertifikat.pem -nodes
Alternatively with the help of an online service - CLI commands to allow certificate import with obsolete ciphers in the UTM
extc global set variable GLOB_ENABLE_SSL_LEGACY value 1
appmgmt config application "securepoint_firewall"
appmgmt config application "fwserver"
system reboot
notemptyRequires a This will interrupt all connections (incl. VPN connections) to the UTM!
cli> extc global get variable GLOB_ENABLE_SSL_LEGACY
variable              |value
----------------------+-----
GLOB_ENABLE_SSL_LEGACY|0

cli> extc global set variable GLOB_ENABLE_SSL_LEGACY value 1
OK

cli> extc global get variable GLOB_ENABLE_SSL_LEGACY
variable              |value
----------------------+-----
GLOB_ENABLE_SSL_LEGACY|1

cli> appmgmt config application "securepoint_firewall"
cli> appmgmt config application "fwserver"
Issuer
If the message "no issuer found" occurs, the previous certificate is initially missing from the certificate chain.
The issuer of a certificate can be found out with the command: openssl x509 -in file.pem -text
Under the item "Issuer:" you can now view the issuer located at the issuer for download'.
