This description is based on the status of the Microsoft 365 Portal in June 2023. Changes to the user interface on the part of Microsoft are possible at any time and must be taken into account accordingly in the implementation.
All information without warranty.
Configuration of Whitelisting for Awareness PLUS in Microsoft 365 (former: Office365)
Last adaption: 02.2025
New:
- Konfiguration der Spoofingintelligenz für IP-Range ergänzt
- Re-arrangement of the configuration steps
- New sections:
- Advanced delivery for Microsoft 365 Defender
- Secure links in Microsoft 365 Defender
- Configure spoof intelligence
- Whitelisting of technical senders
- Exchange Online Protection spam filter and clutter folder
This article refers to a Beta version
-
Whitelisting
In order to ensure that the simulated phishing emails from the Awareness PLUS training are not blocked by the Microsoft mail server or Microsoft Defender, whitelisting must be configured at various points.
The individual steps should be performed in the given order.
The individual steps should be performed in the given order.
Basic configuration
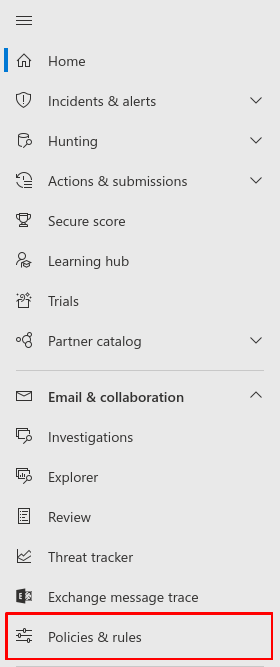
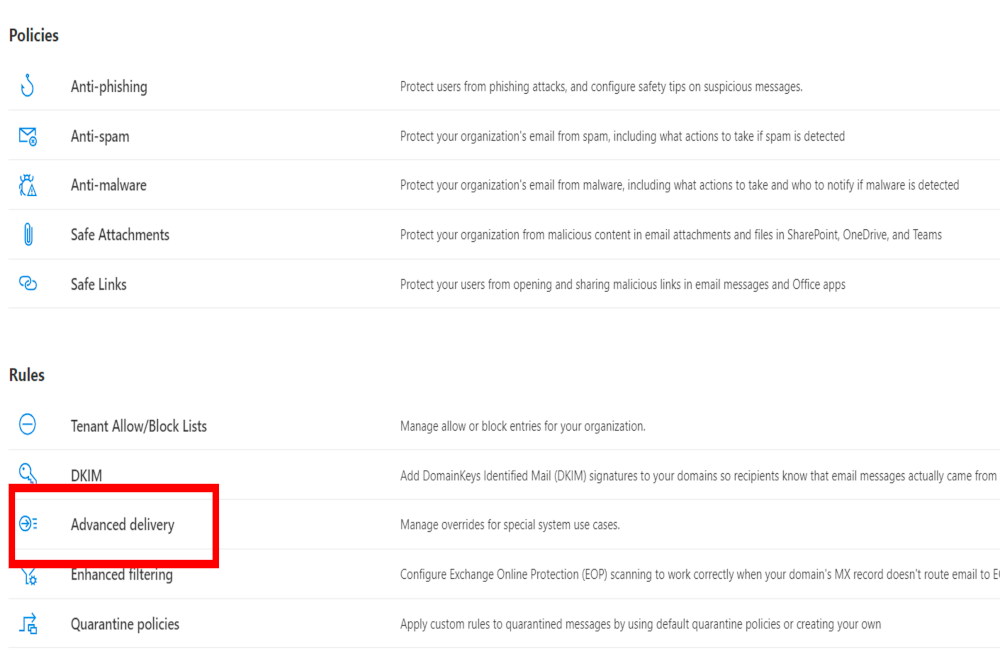
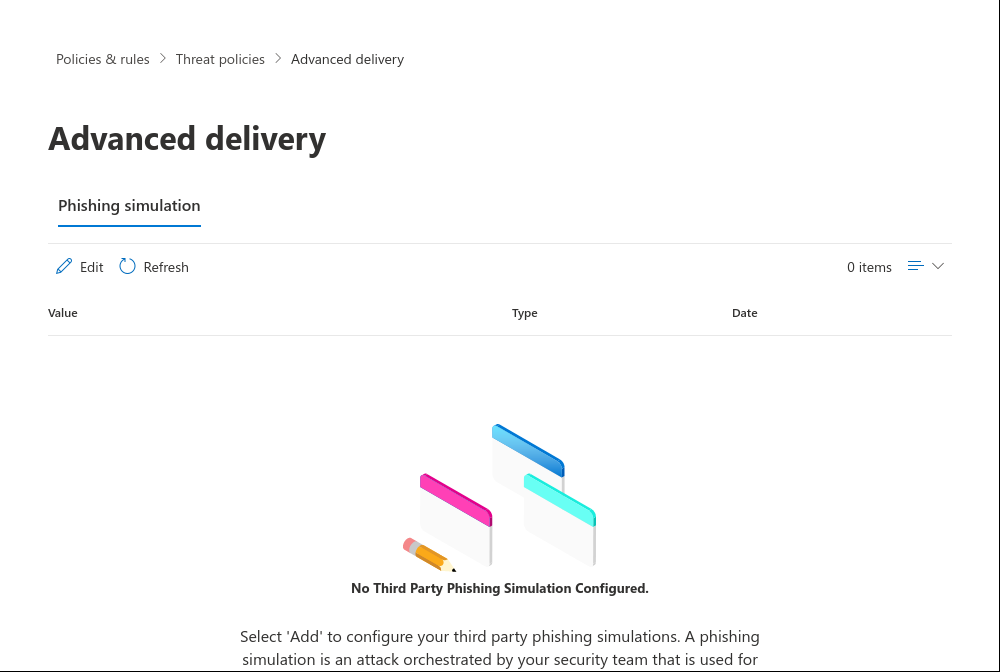
Advanced delivery for phishing simulations for Microsoft 365 Defender
Fig.1
Log in to the MS365 portal at https://login.microsoftonline.com
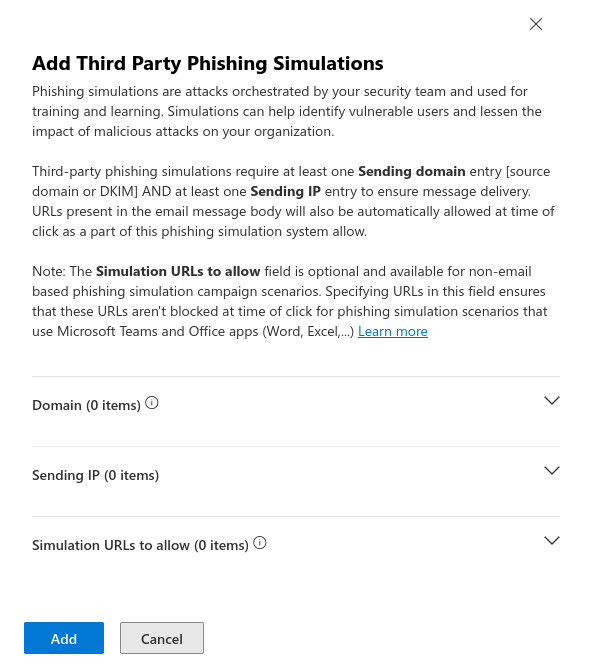
Fig.7
Enter the domain of the technical sender here (the entire part following the "@" of the email address, e.g. admin@ttt-point.de → ttt-point.de).
Enter the IPv4 addresses (Listing of all used addresses).
Enter the IPv4 addresses (Listing of all used addresses).
Enter the Simulations-URLs used in the phishing links into the field. The format for entering the URLs is "anyideas.de".
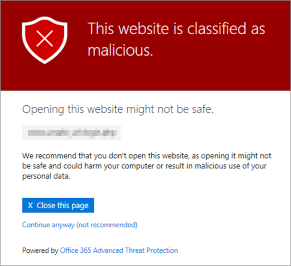
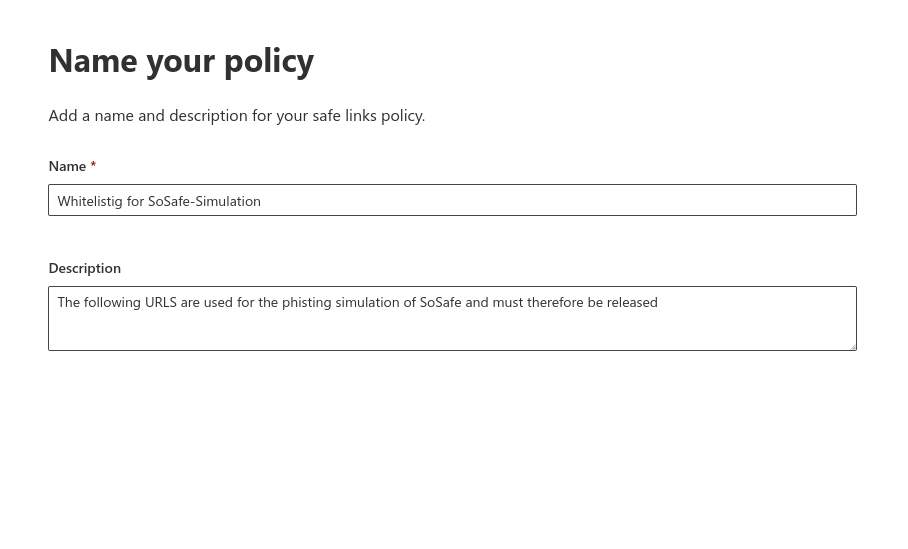
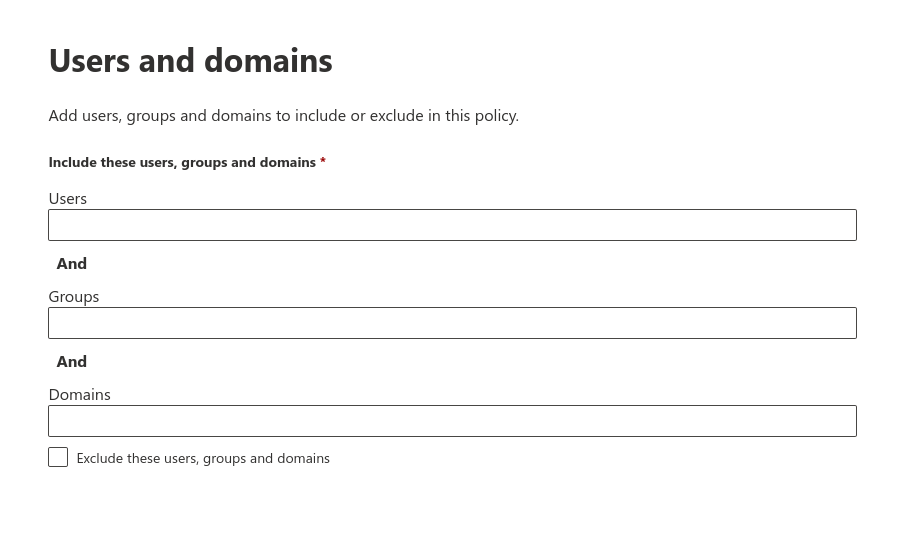
The domains used in the phishing simulation can be stored in Microsoft 365 Defender (formerly Advanced Threat Protection - ATP) so that no warning message is displayed.
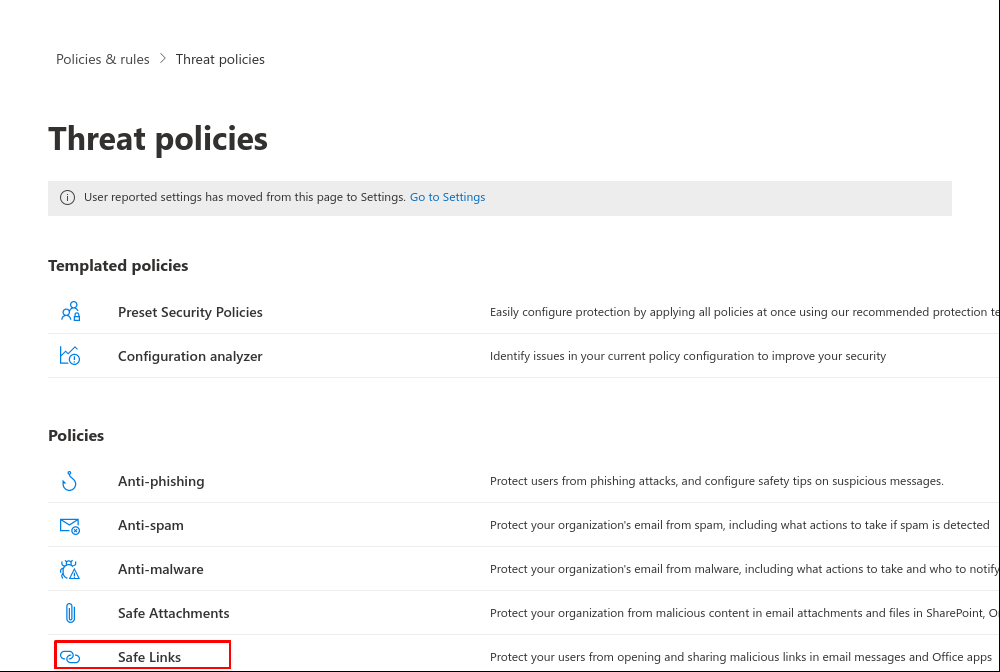
Set up secure links in Microsoft 365 Defender
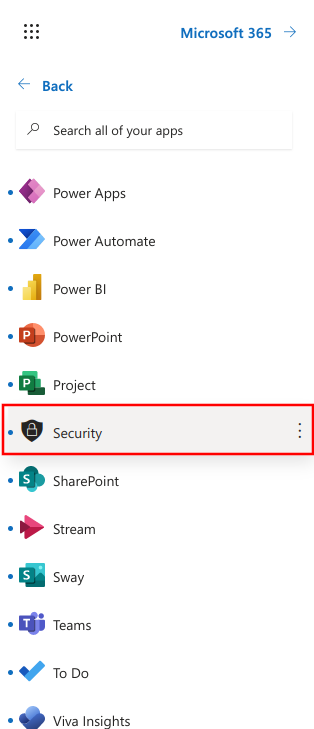
Fig.1
- Login to Microsoft
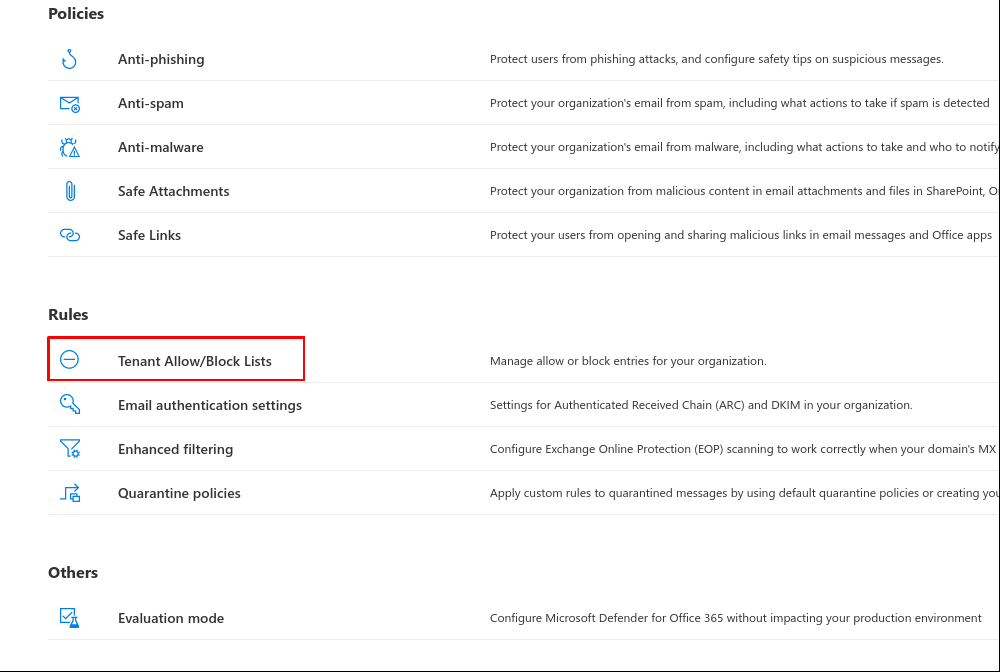
- Select menu Security
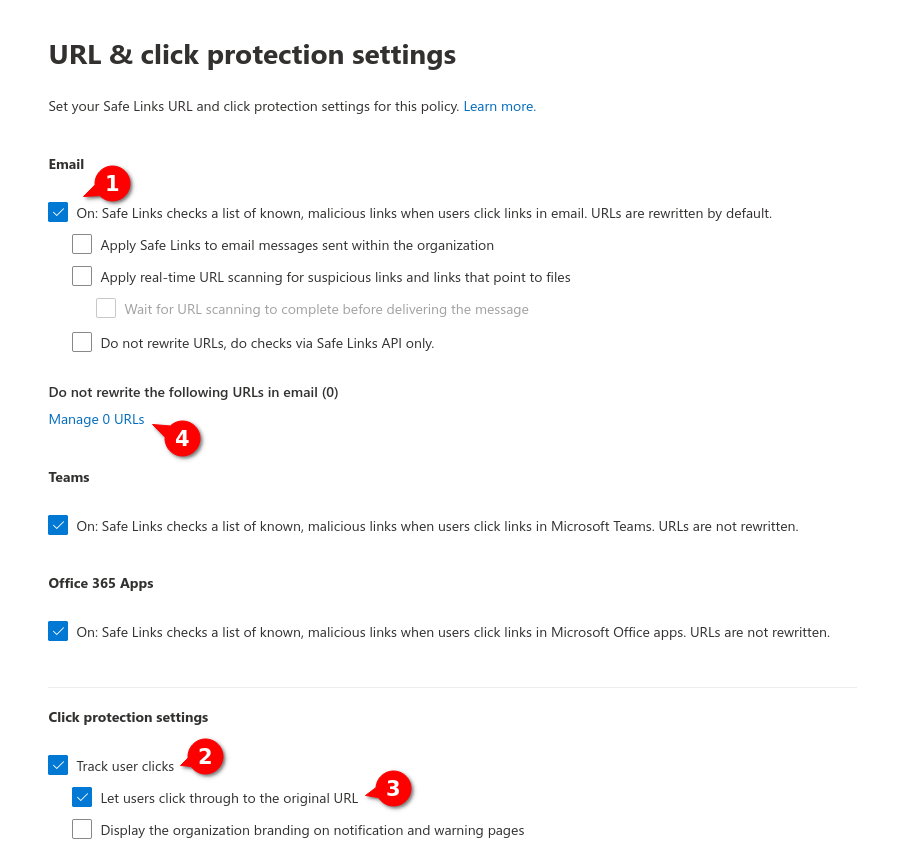
Fig.7
- Selects that URLs can be rewritten
- User clicks should be trackable
- Users should be able to click through to the original URL
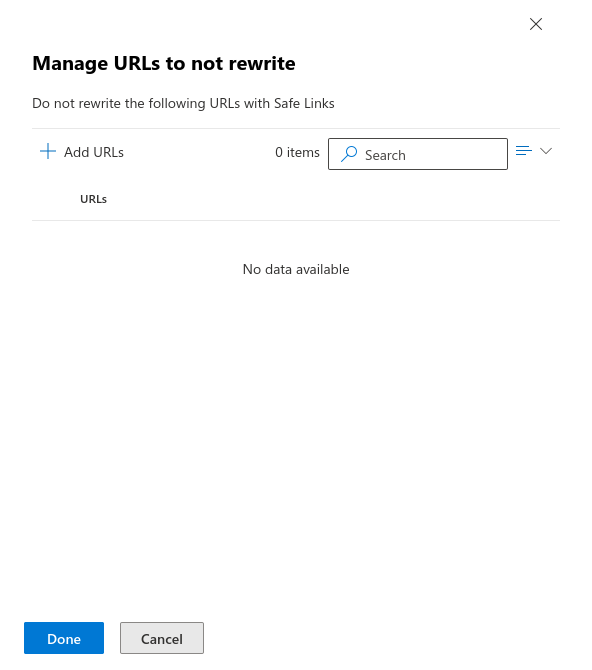
- Click on Manage 0 URLs
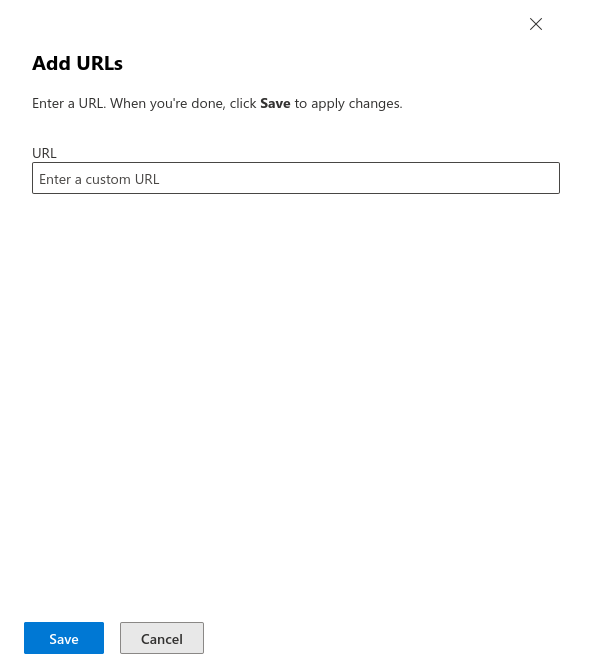
Fig.9
Enter URLs that are located under "Simulation" → "Whitelisting" → "List of used domains in phishing links". Keep to the format https://domain/*.
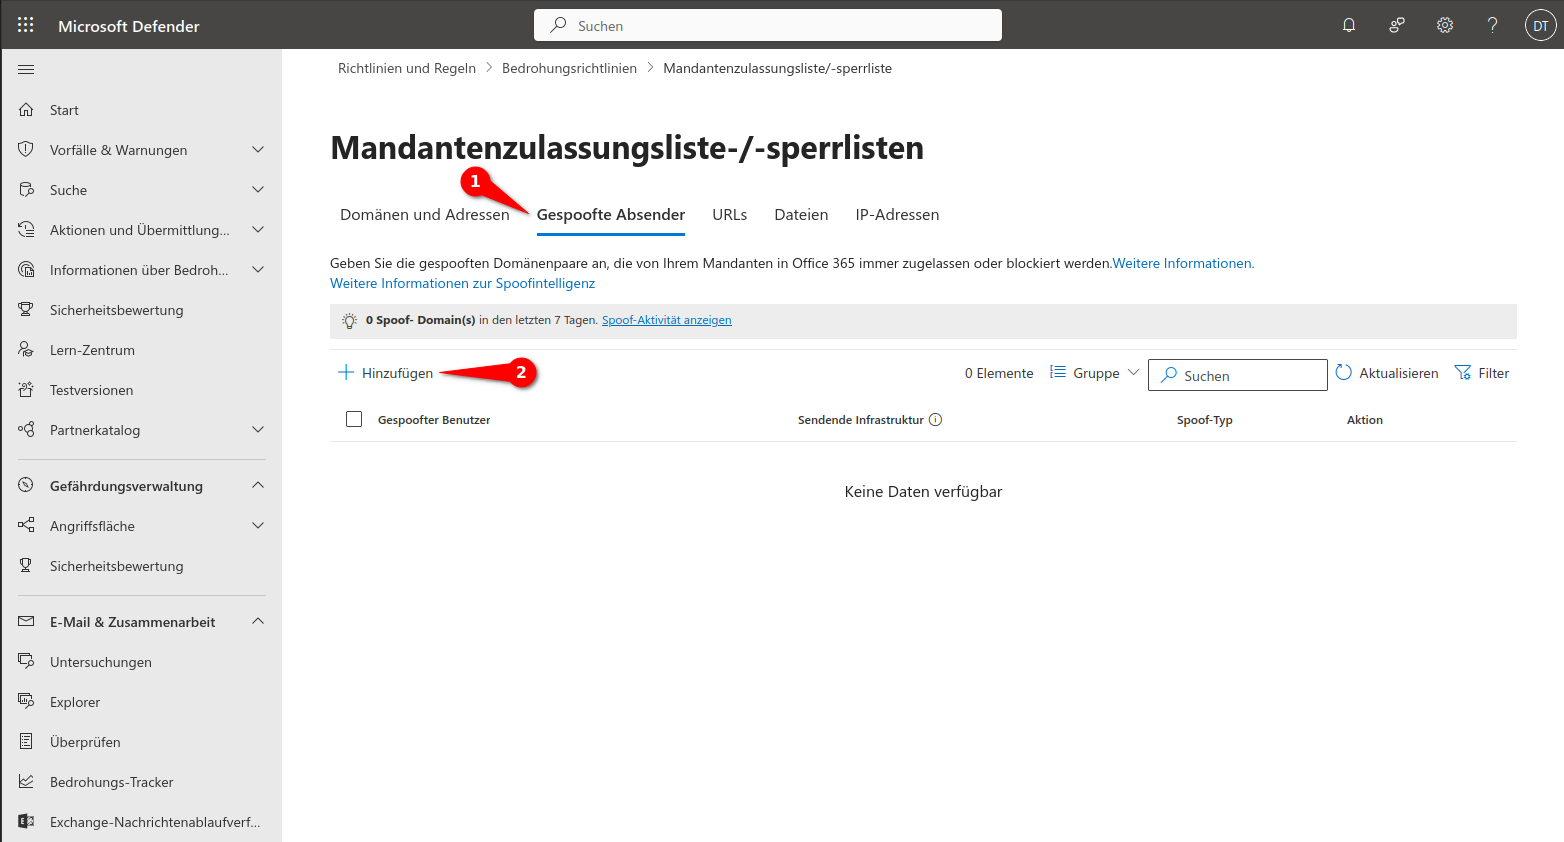
Configure spoof intelligence

Fig.1
Log in to the MS365 portal at https://login.microsoftonline.com
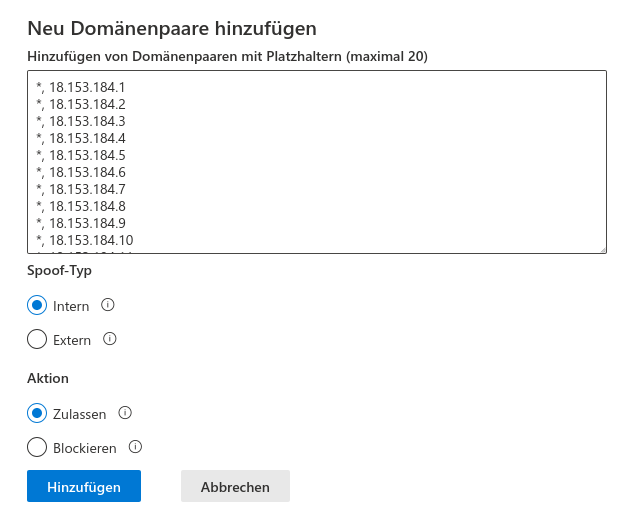
Fig.7
- 1. Wert: Der Einfachheit halber kann ein * als Wildcard verwendet werden
- 2. Wert: (getrennt durch ein Komma) Die IPv4-Adresse wie im Whitelisting
- Falls im Whitelisting mehrere IP-Adressen zu sehen sind, muss für jede IP-Adresse eine Zeile geschrieben werden.
- Falls eine IP-Range zu sehen ist, müssen alle IP-Adressen aus dieser Range (exklusive der Netzwerk- und Broadcast-Adresse) hinzugefügt werden. Für die IP-Range 18.153.184.0/27 müssen die folgenden Einträge hinzugefügt werden:also der ersten und letzten Adresse
*, 18.153.184.1
*, 18.153.184.2
*, 18.153.184.3
*, 18.153.184.4
*, 18.153.184.5
*, 18.153.184.6
*, 18.153.184.7
*, 18.153.184.8
*, 18.153.184.9
*, 18.153.184.10
*, 18.153.184.11
*, 18.153.184.12
*, 18.153.184.13
*, 18.153.184.14
*, 18.153.184.15
*, 18.153.184.16
*, 18.153.184.17
*, 18.153.184.18
*, 18.153.184.19
*, 18.153.184.20 *, 18.153.184.21
*, 18.153.184.22
*, 18.153.184.23
*, 18.153.184.24
*, 18.153.184.25
*, 18.153.184.26
*, 18.153.184.27
*, 18.153.184.28
*, 18.153.184.29
*, 18.153.184.30 - Spoof-Typ Intern
- Aktion Zulassen
- Schaltfläche klicken
- Es sind max. 20 Einträge pro Speichervorgang möglich
Further steps
If the above instructions for whitelisting Microsoft products are not sufficient, the following additional steps may help:
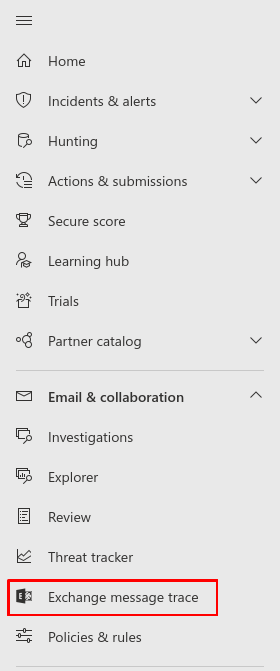
Bypass spam and clutter filters in exchange

Fig.1
Log in to the MS365 portal at https://login.microsoftonline.com
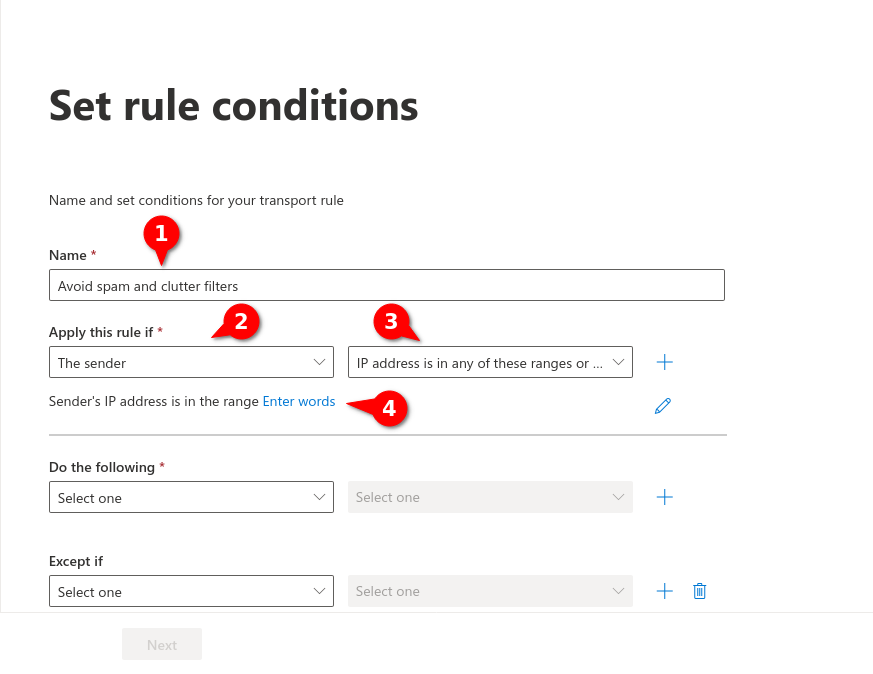
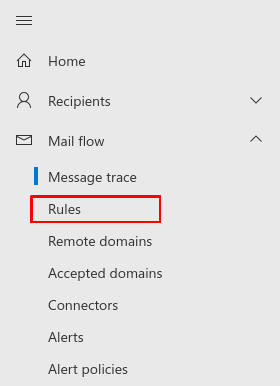
Fig.6
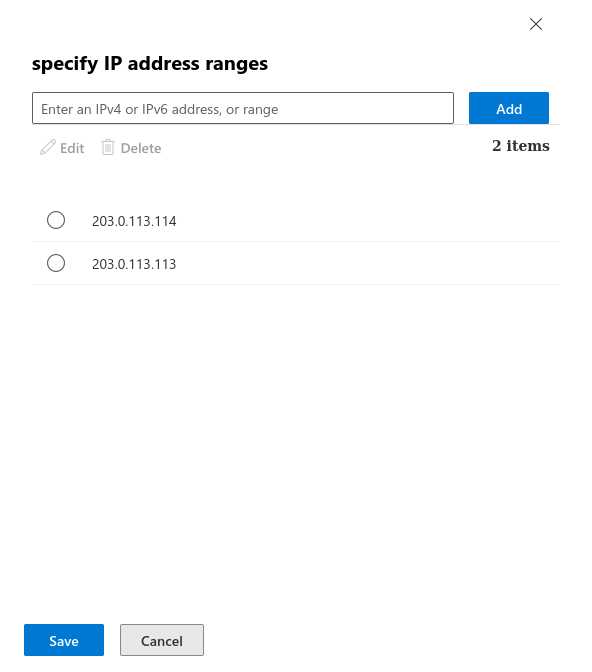
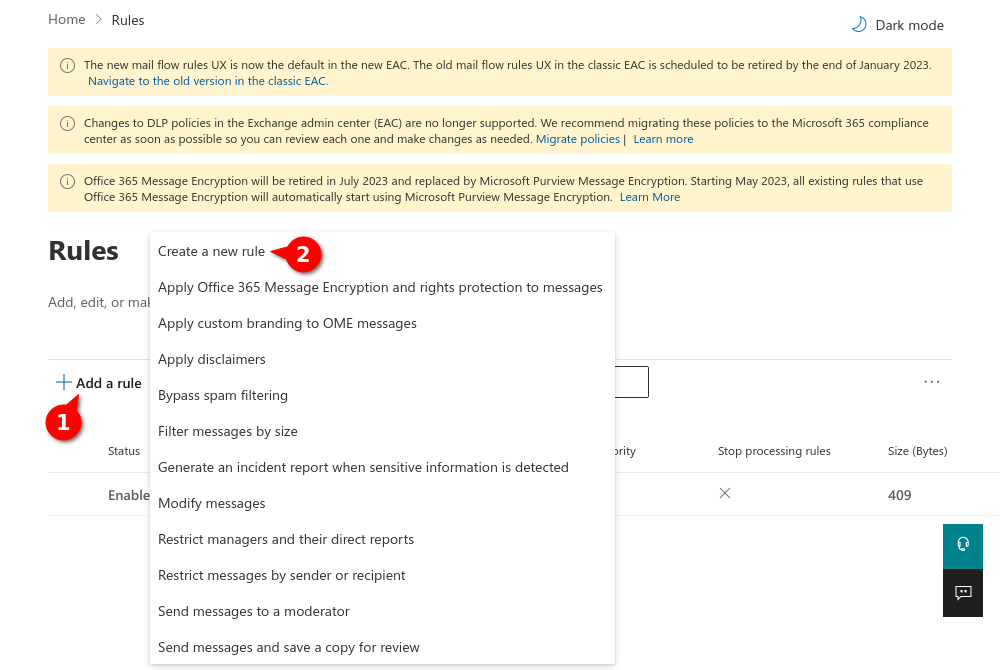
Fig.7
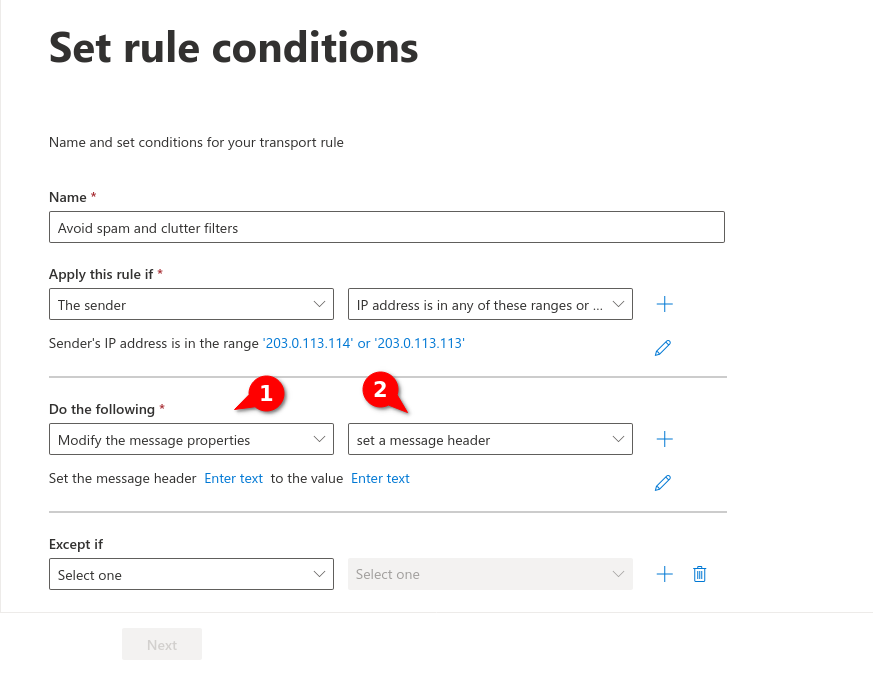
Enter the IP adress(es) from the section Whitelisting phishing simulation and confirm with . In the figure are example IPs that are not used!
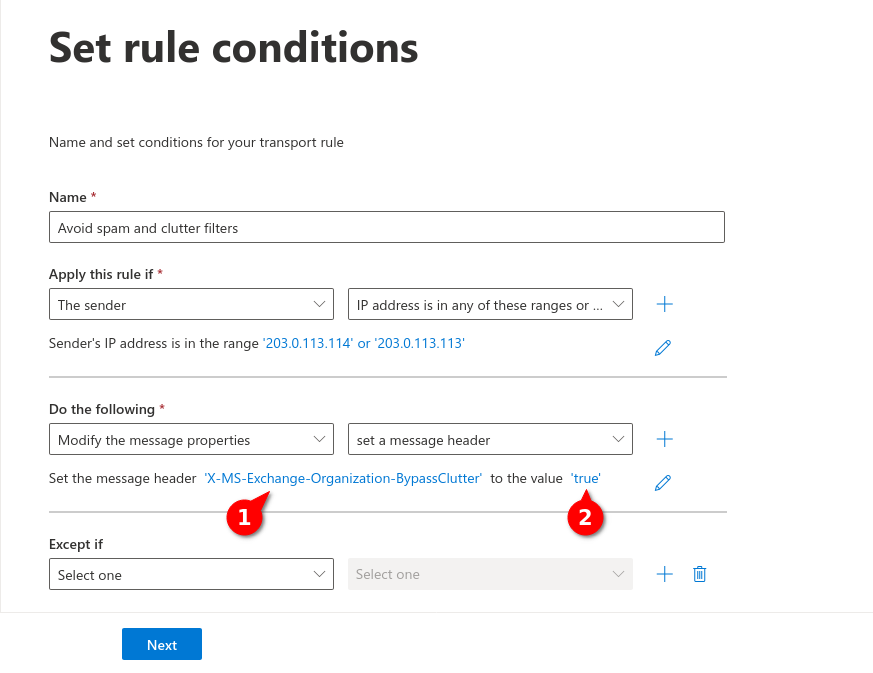
Fig.9
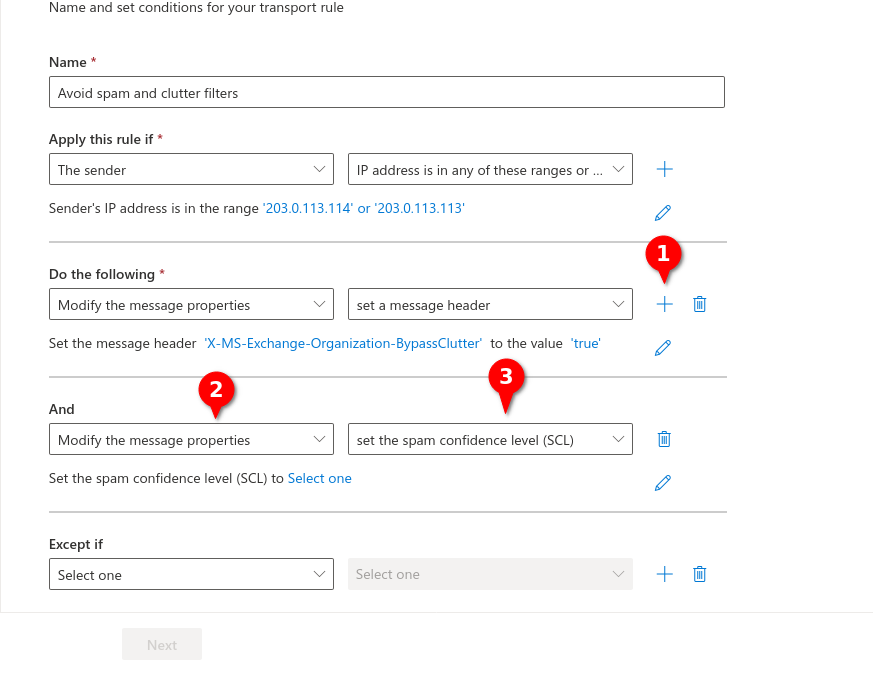
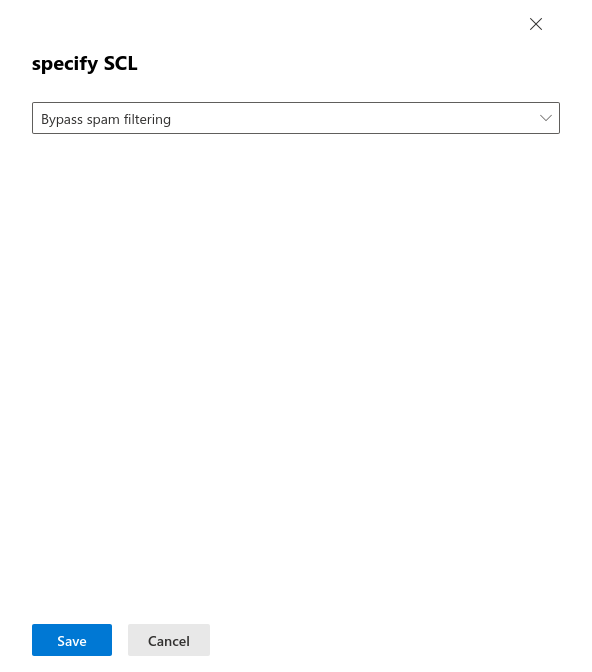
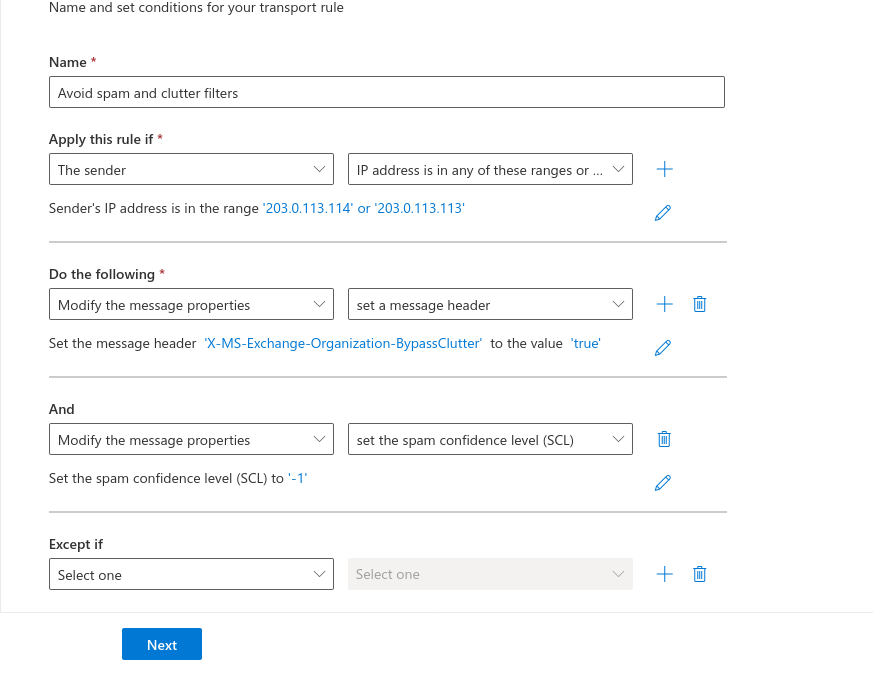
Enter the following values
Message-header (1): X-MS-Exchange-Organization-BypassClutter
Value (2): true
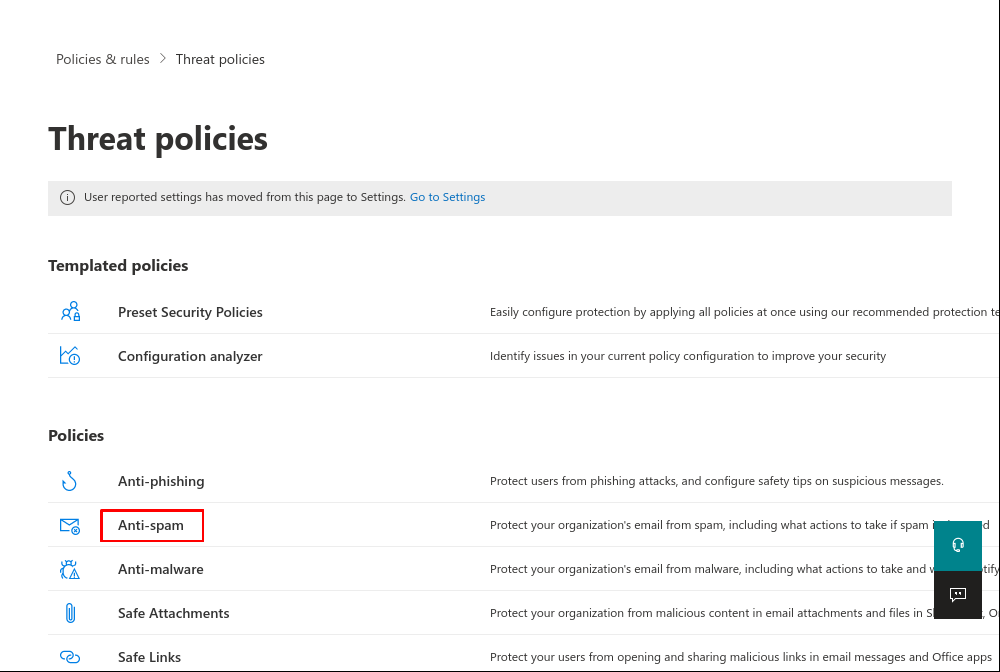
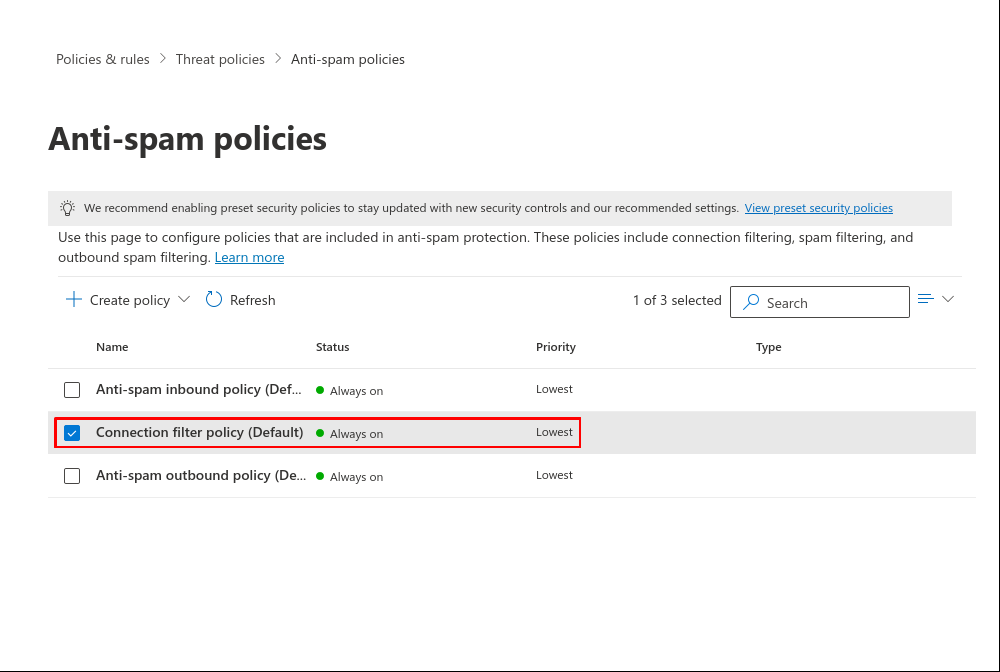
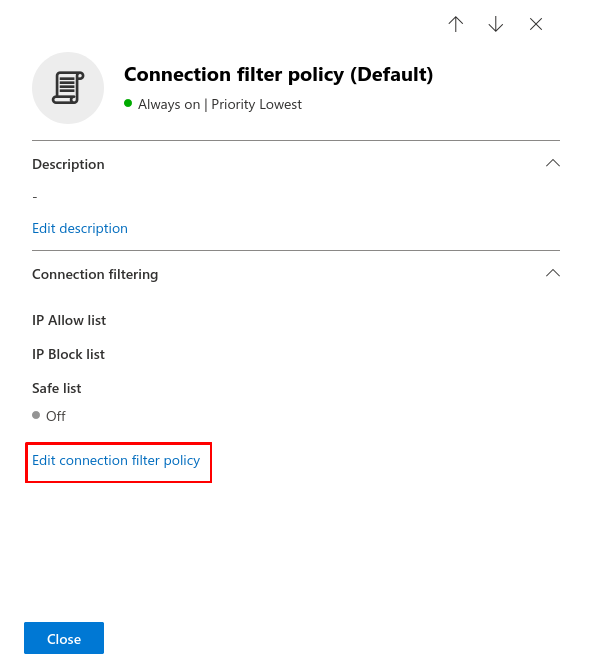
Setting up the IP permission list

Fig.1
Log in to the MS365 portal at https://login.microsoftonline.com
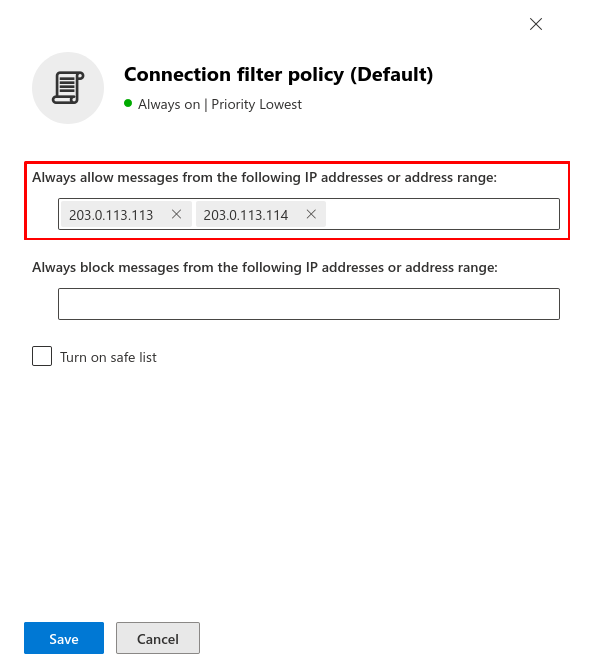
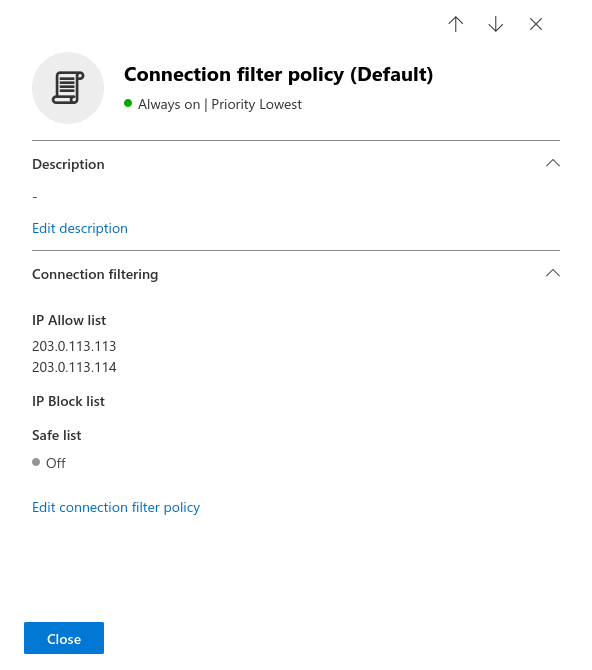
Fig.8
Enter the IP adress(es) from the section Whitelisting phishing simulation and confirm with Save. In the figure are example IPs that are not used!
Setting up technical senders

Fig.1
Log in to the MS365 portal at https://login.microsoftonline.com
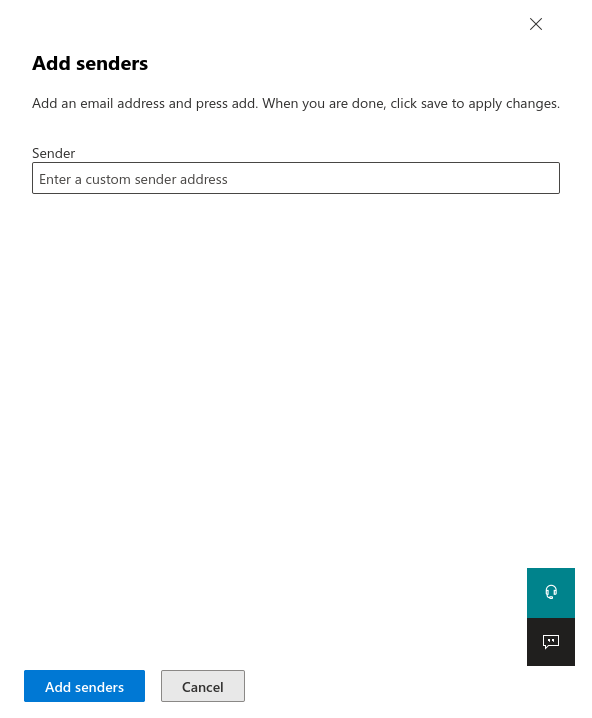
Fig.11
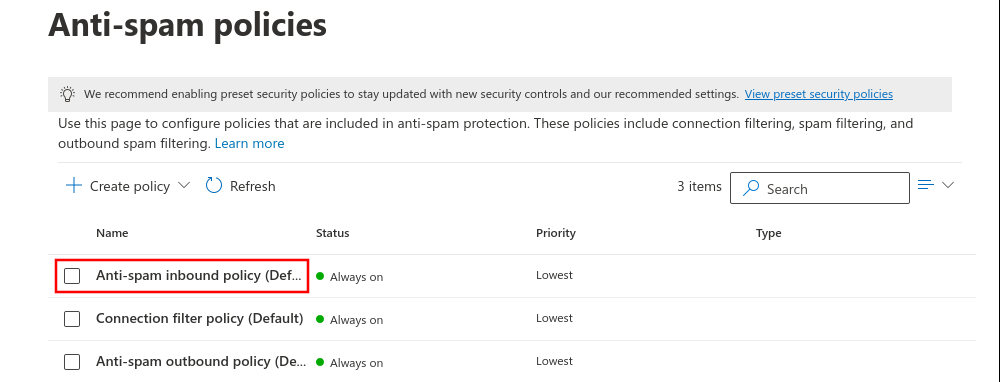
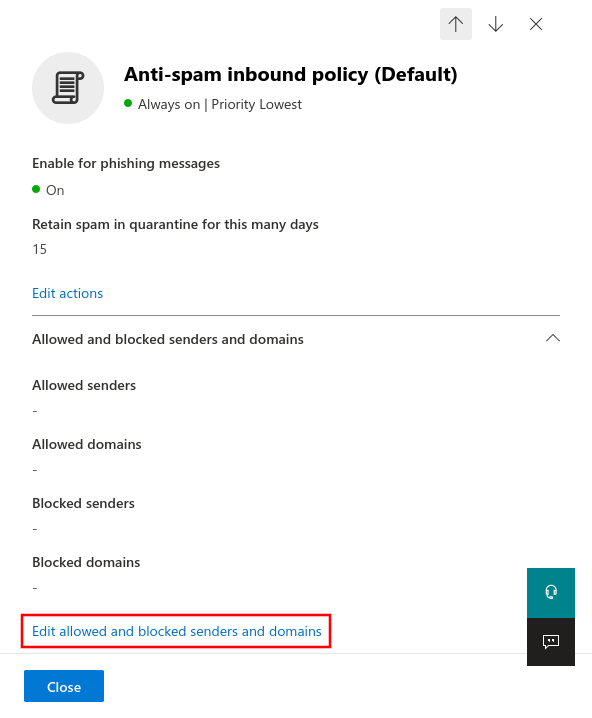
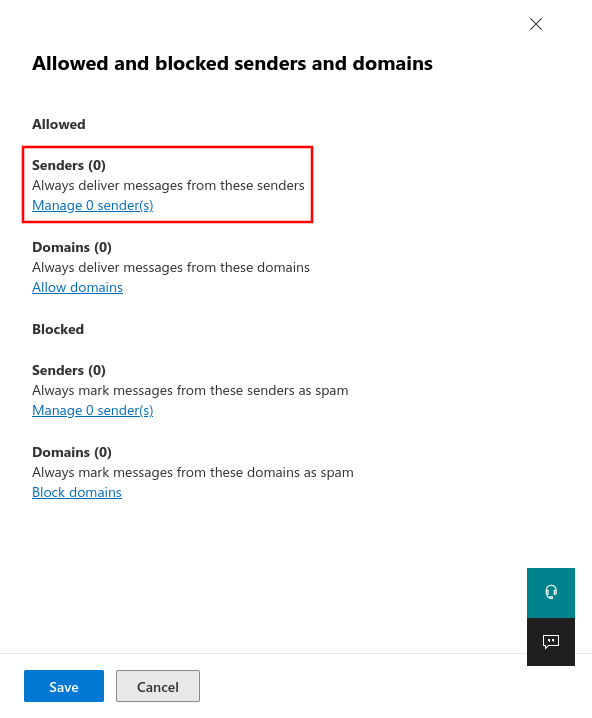
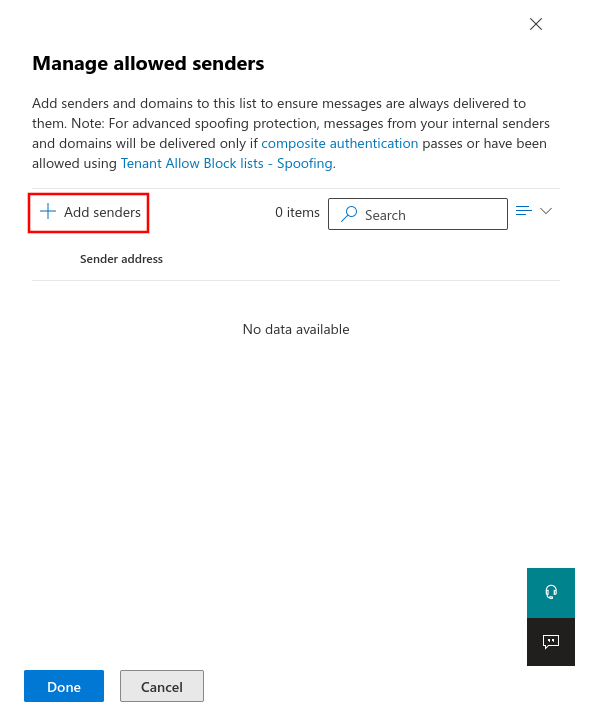
Enter the e-mail address of the technical sender from the section Whitelisting phishing simulation.
Click on to save the entries.If the mails still end up in the quarantine, the displayed sender (e.g. sender@anyideas.de) must be entered in addition to the technical sender. </li
Click on to save the entries.
Bypass junk filter
Another rule is needed to bypass the junk filter

Fig.1
Log in to the MS365 portal at https://login.microsoftonline.com
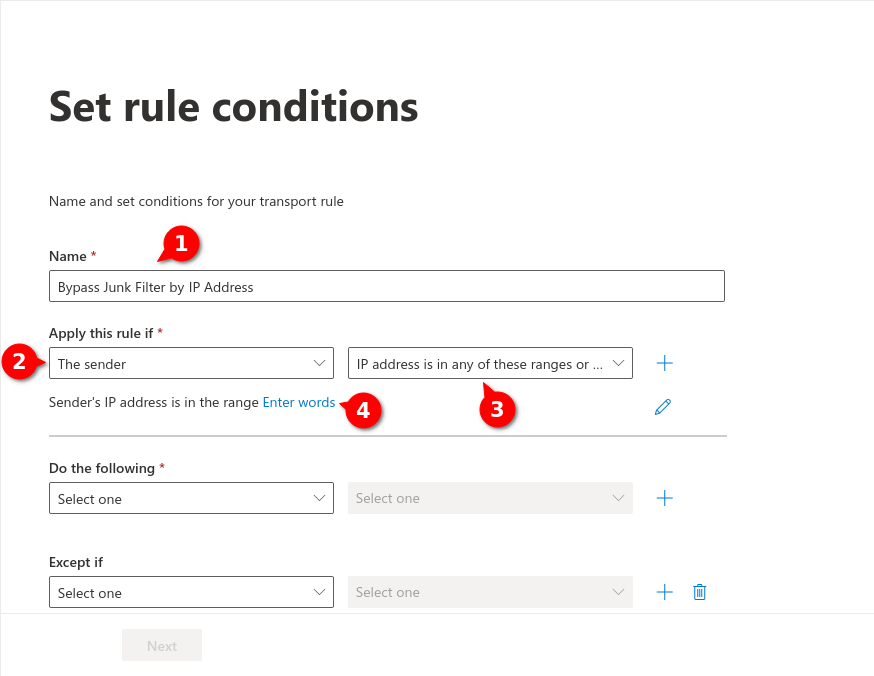
Fig.6

Fig.7
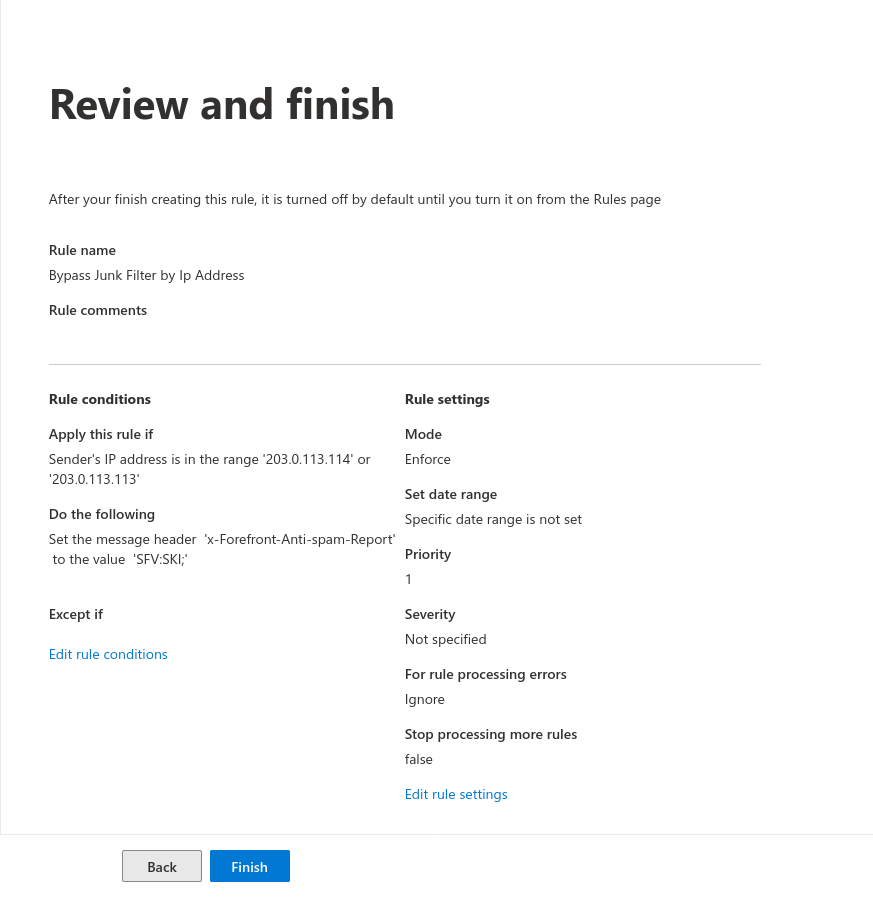
Enter the IP adress(es) from the section Whitelisting phishing simulation and confirm with . In the figure are example IPs that are not used!
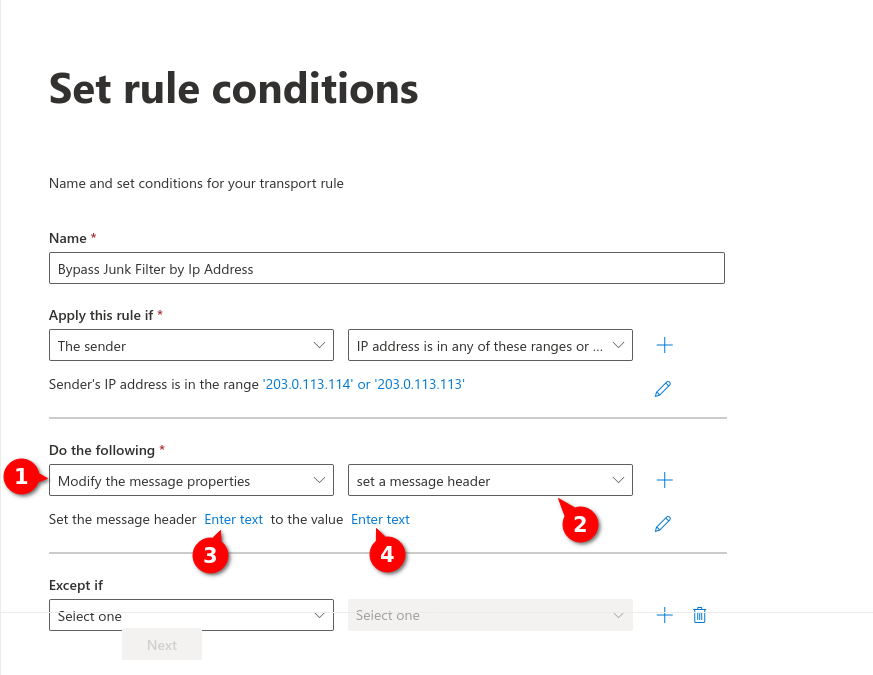
Fig.8
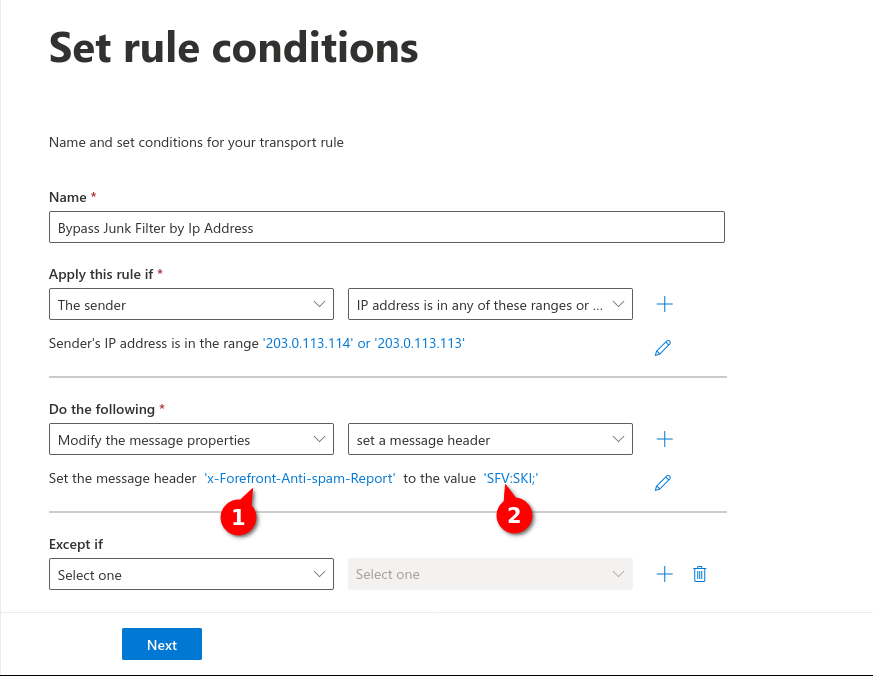
Fig.9
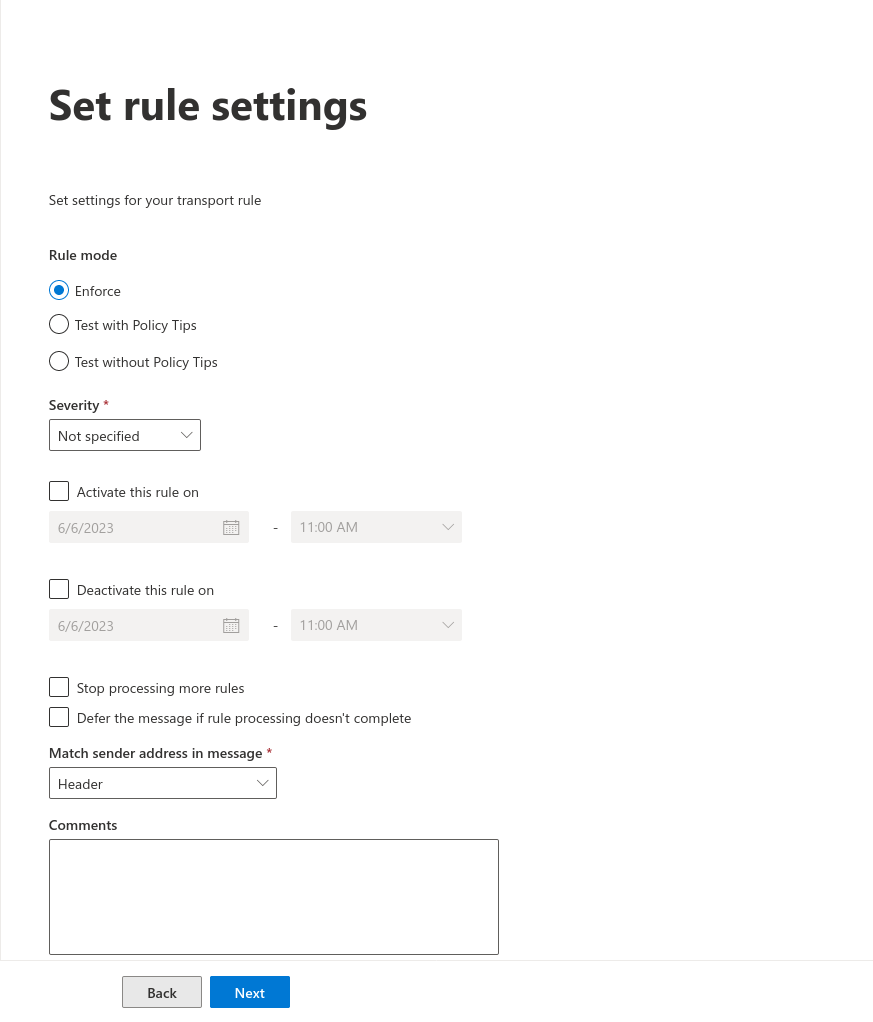
Enter the following values:
For message header (1): x-Forefront-Antispam-Report
For Value (2): SFV:SKI;
Then click on


