Filter settings for Intelligent Cloud Shield (ICS)
- New:
New article
Last adaption: 11.2020
Configuration requirements
- There must be a SPDyn Host created
- A DynDNS Client must periodically update the IP address or report that the IP address remains the same.
- On the host PC or network, the Securepoint Intelligent Cloud Shiel DNS server must be configured. For details, refer to the Wiki Articles on DNS Configuration.
Edit Intelligent Cloud Shield
Edit Intelligent Cloud Shield
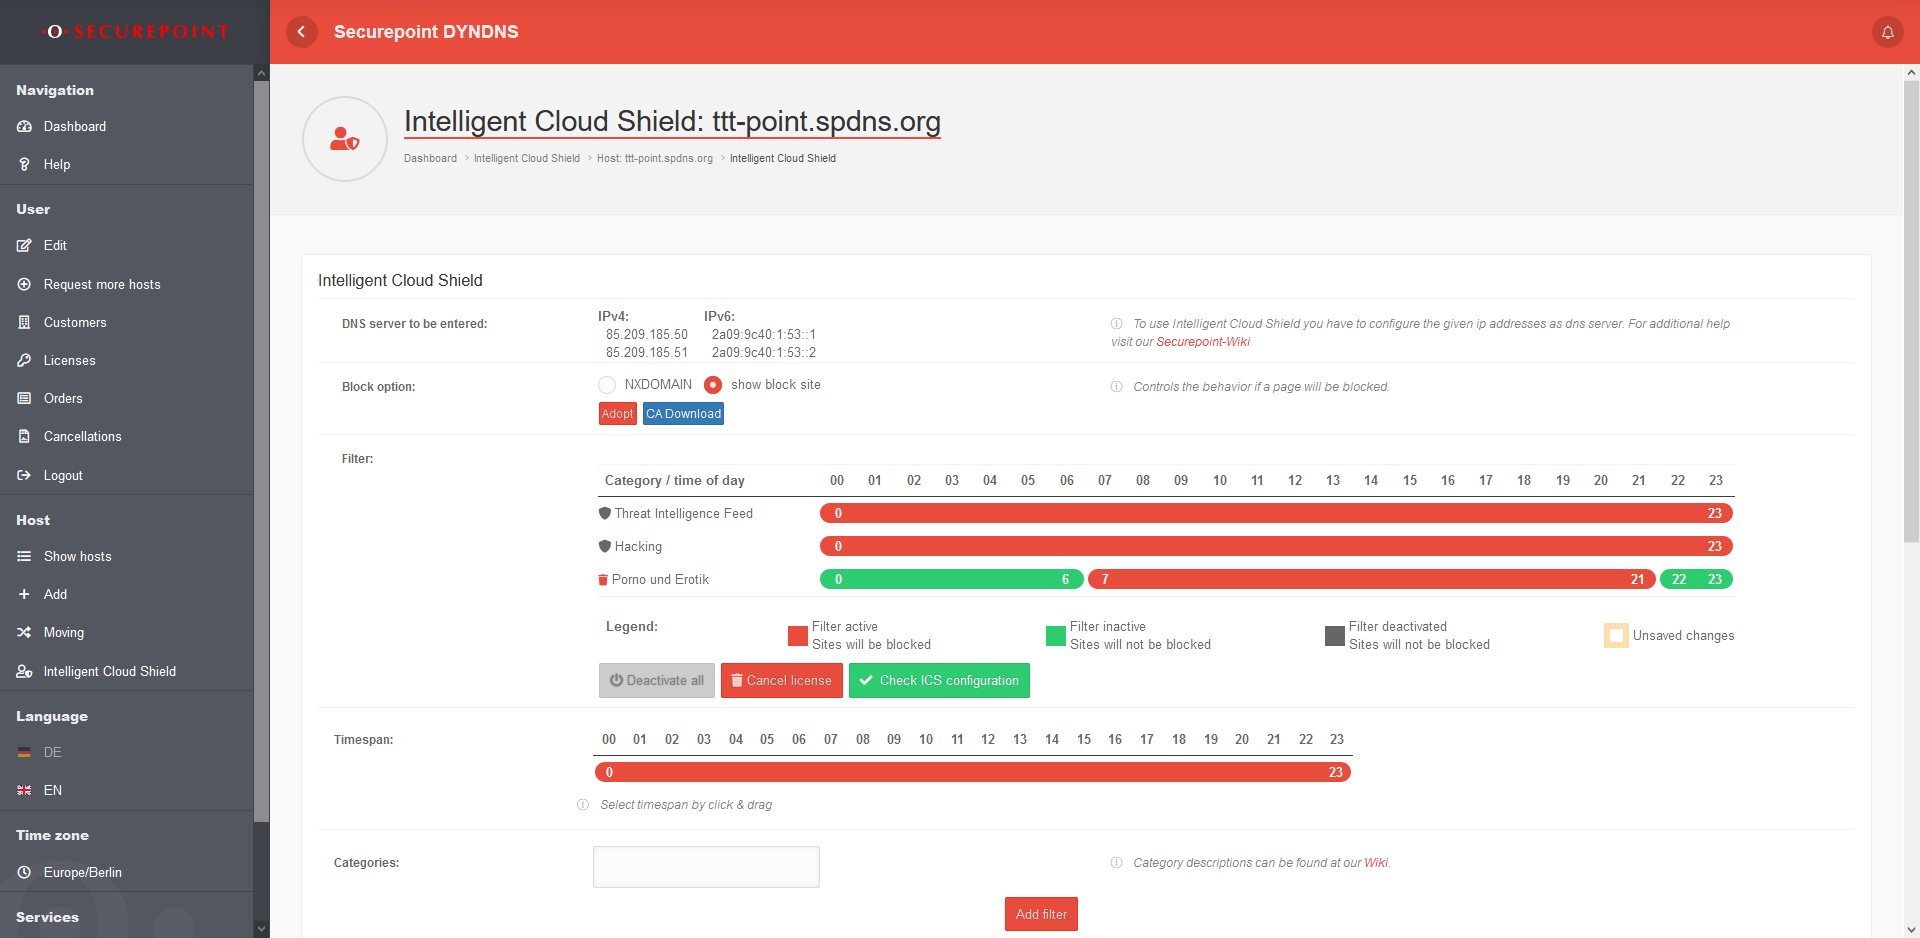
| Caption | Value | Description |  |
|---|---|---|---|
| DNS servers to be entered: | IPv4: 85.209.185.50 85.209.185.51 IPv6: 2a09:9c40:1:53::1 2a09:9c40:1:53::2 |
To use Intelligent Cloud Shield, the specified IP addresses must be entered as DNS servers. For details, refer to Wiki article DNS Configuration. | |
| Block option | NXDOMAIN (default) |
Displays the message in the browser for pages that do not exist | |
| Show block site CA Download
|
Displays a hint text instead of the page you are viewing. | ||
| Save the settings with Adopt | |||
| Filter | Category name | Deletes the displayed filter | |
| / | Individual hours can be activated or deactivated for existing filters | ||
| Adopt | Accepts changes of the blocked / unblocked periods | ||
| Deactivate all | Disables all filters | ||
| Activate all | Activates all previously saved block times in the filters | ||
| Cancel licence | Cancels the associated licence at the end of the term | ||
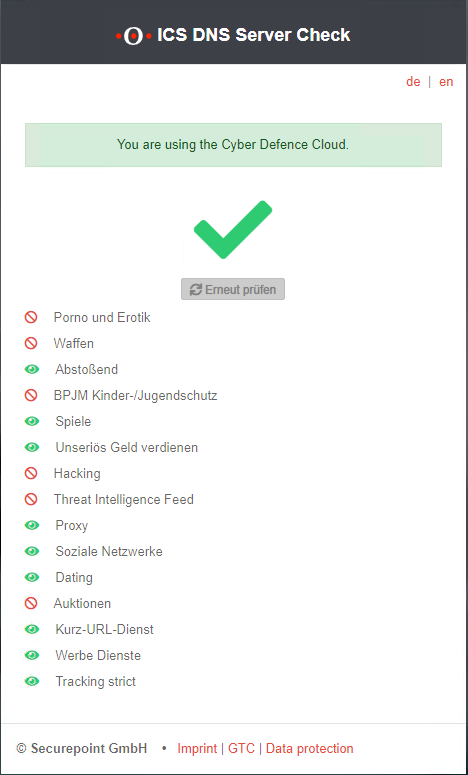
| Check ICS configuration | Checks whether the configured filters are applied using stored test pages |  | |
| Time span: | 0 6 / | Individual time ranges can be activated / deactivated in the filter by dragging and clicking with the mouse. | |
| Categories: | × Threat Intelligence Feed | One or more categories can be selected in the click box | |
| Add filter | Adds the selected category / categories with the selected time periods to the content filter. | ||