Installation of a Securepoint UTM in a cloud
Last adaption: 09.2025
New:
- Description for setting up the internal network in the Hetzner Cloud updated
This article refers to a Beta version
-
UTM in the Hetzner Cloud
Installation of the UTM as a VM
- The interfaces used by the firmware available at the time of video creation, labeled as eth0, eth1 etc.,
has since been changed. The virtual machines now have the names LAN1, LAN2 etc., as stated in the text. - In current firmware versions, DHCP is enabled by default on LAN1 (eth0 in the video).
- The configuration of the internal network can be found in the documentation below.
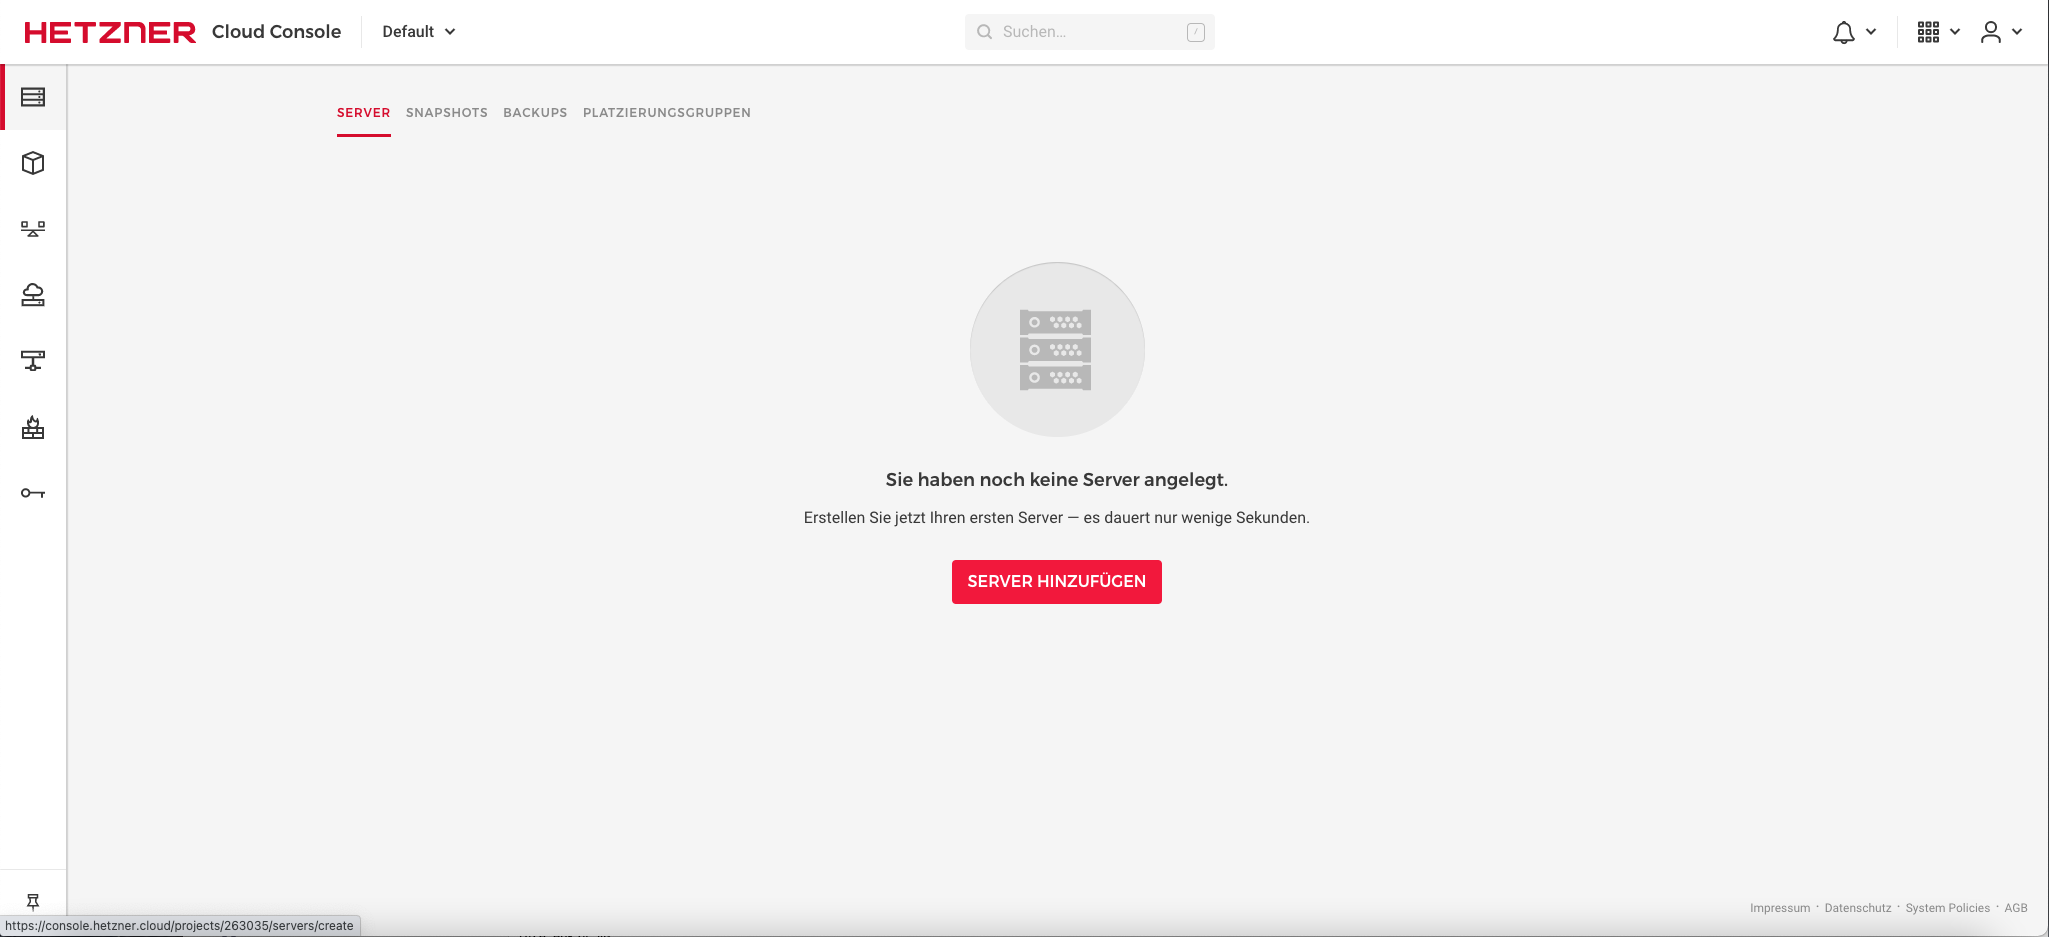
- Log in to the Hetzner Cloud administration
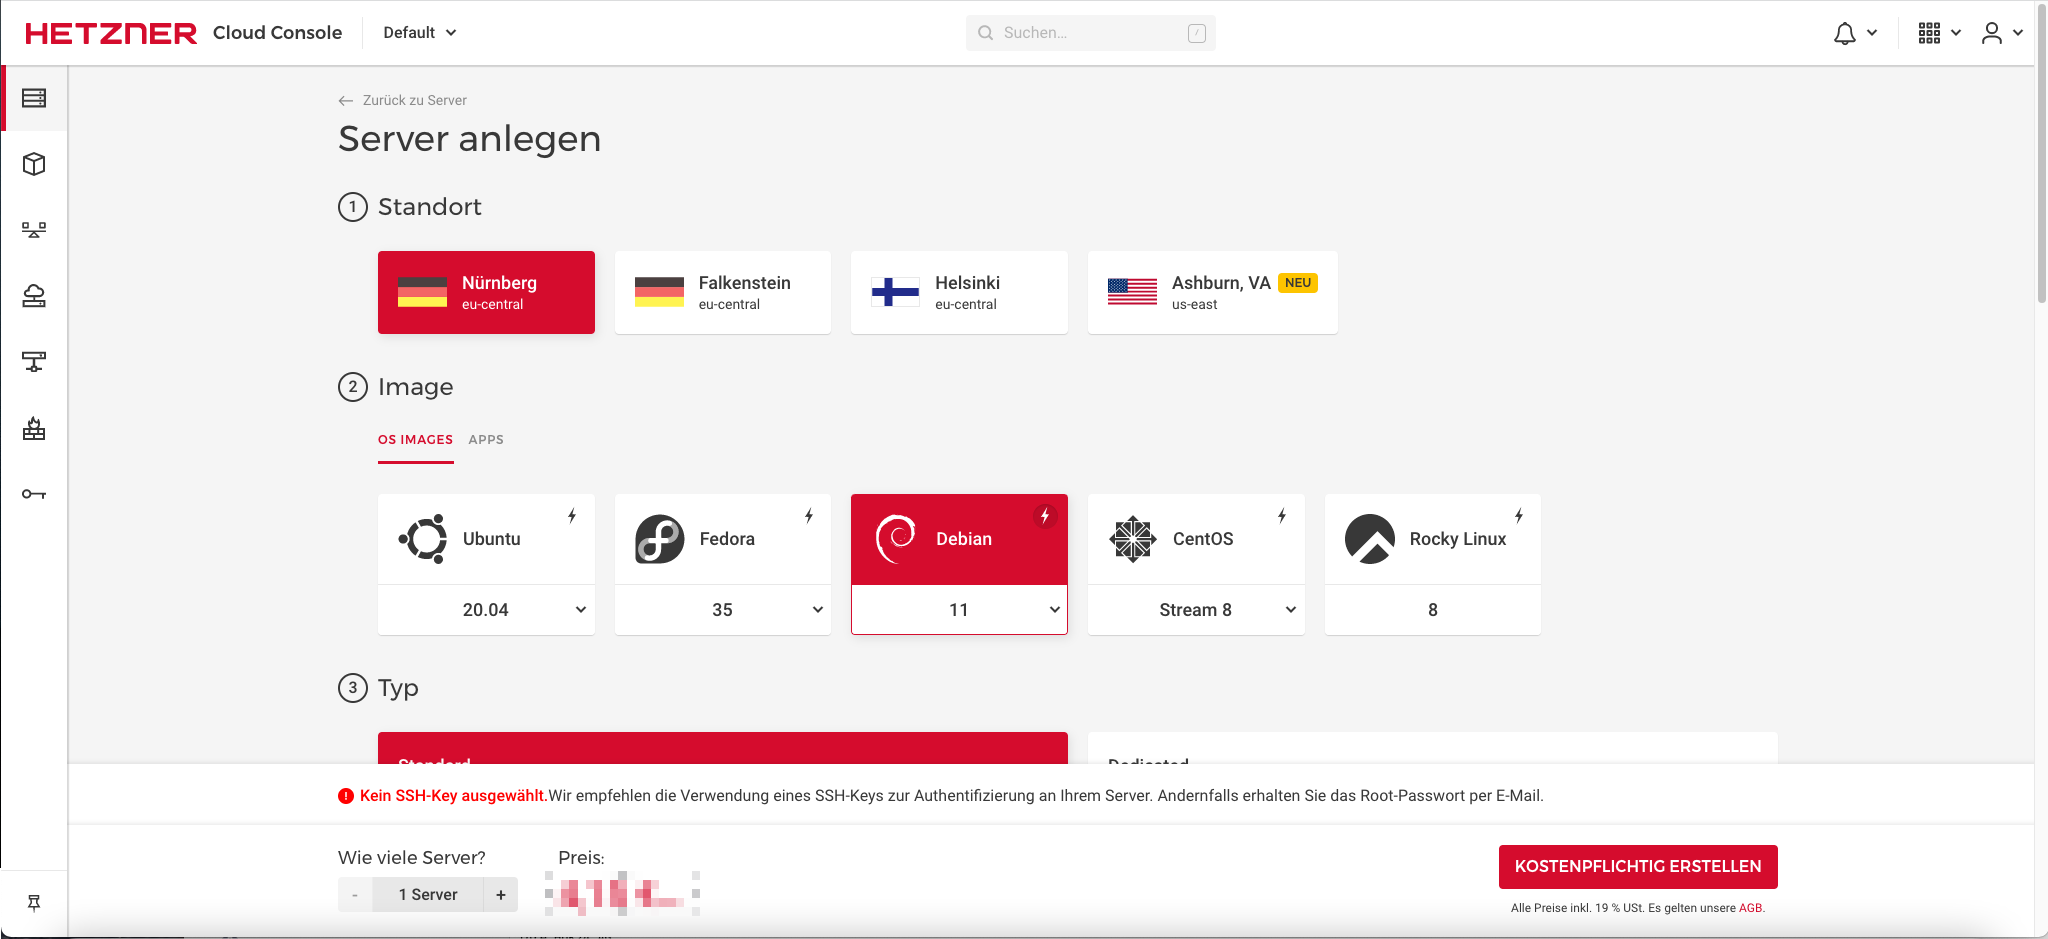
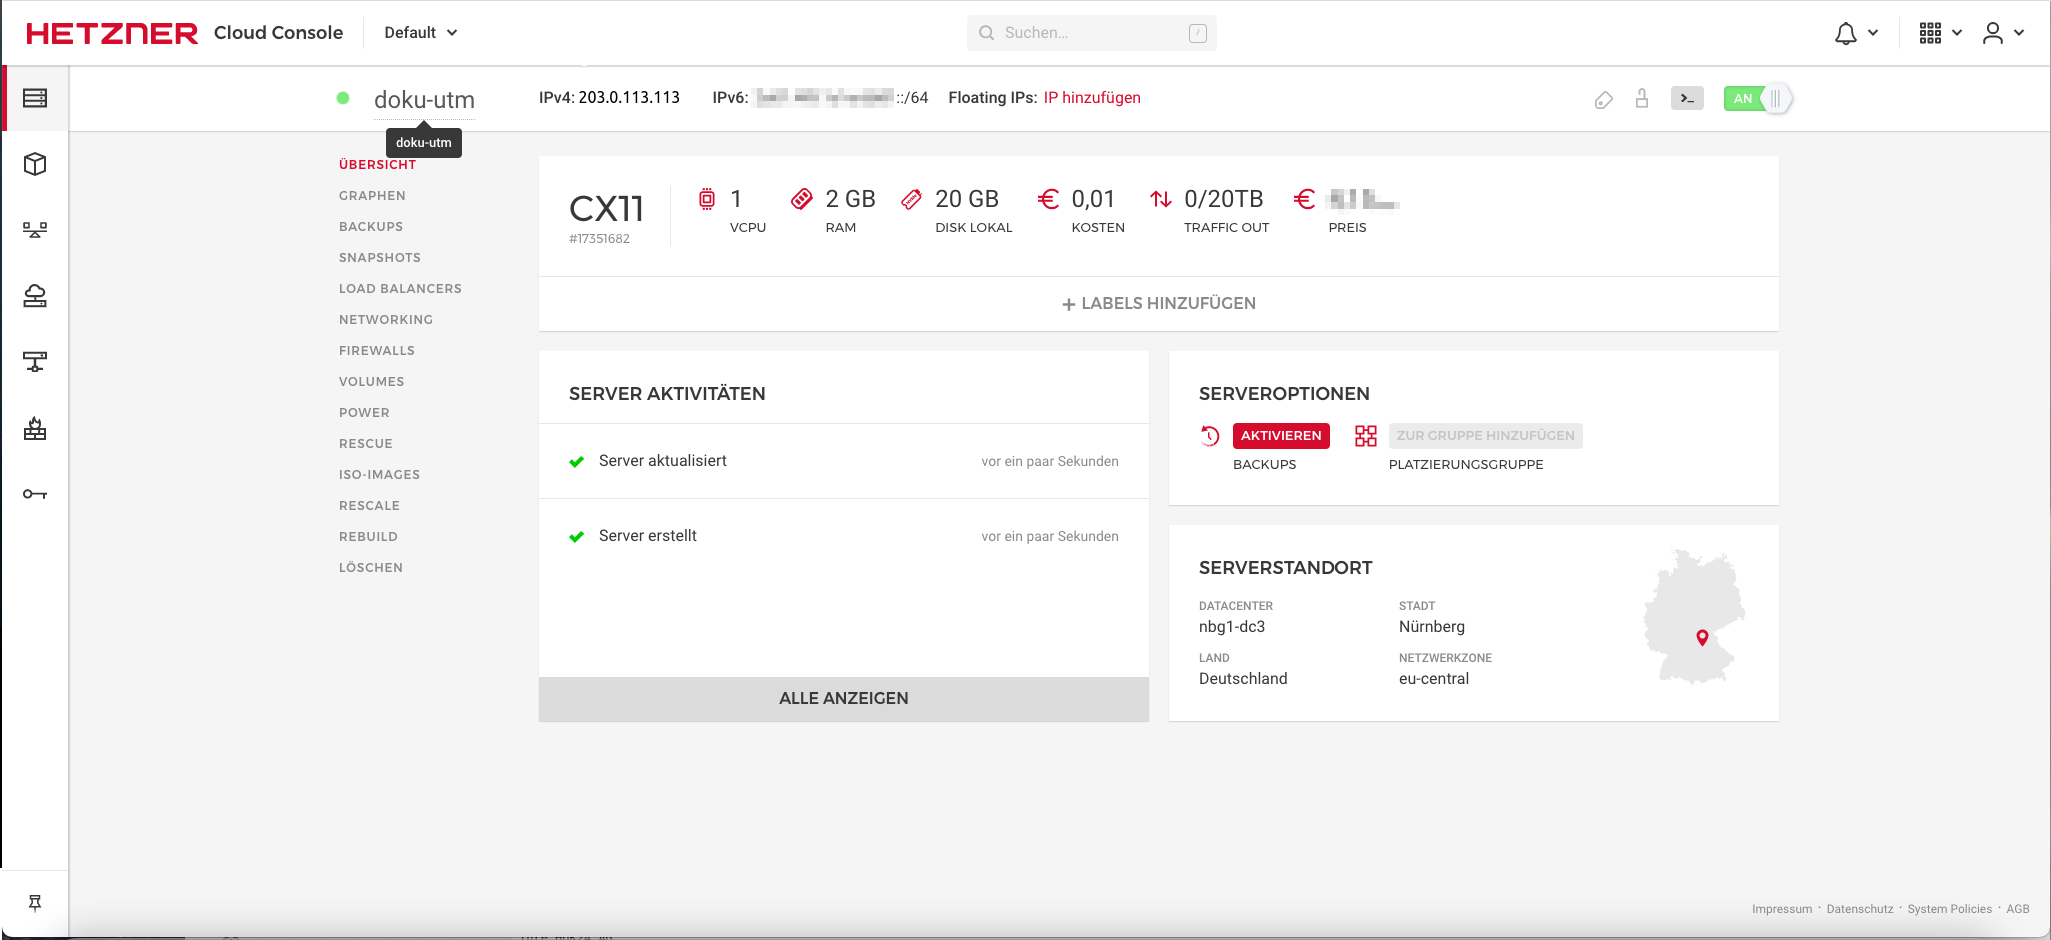
- Add a server (Consider the equipment)
- Select any type
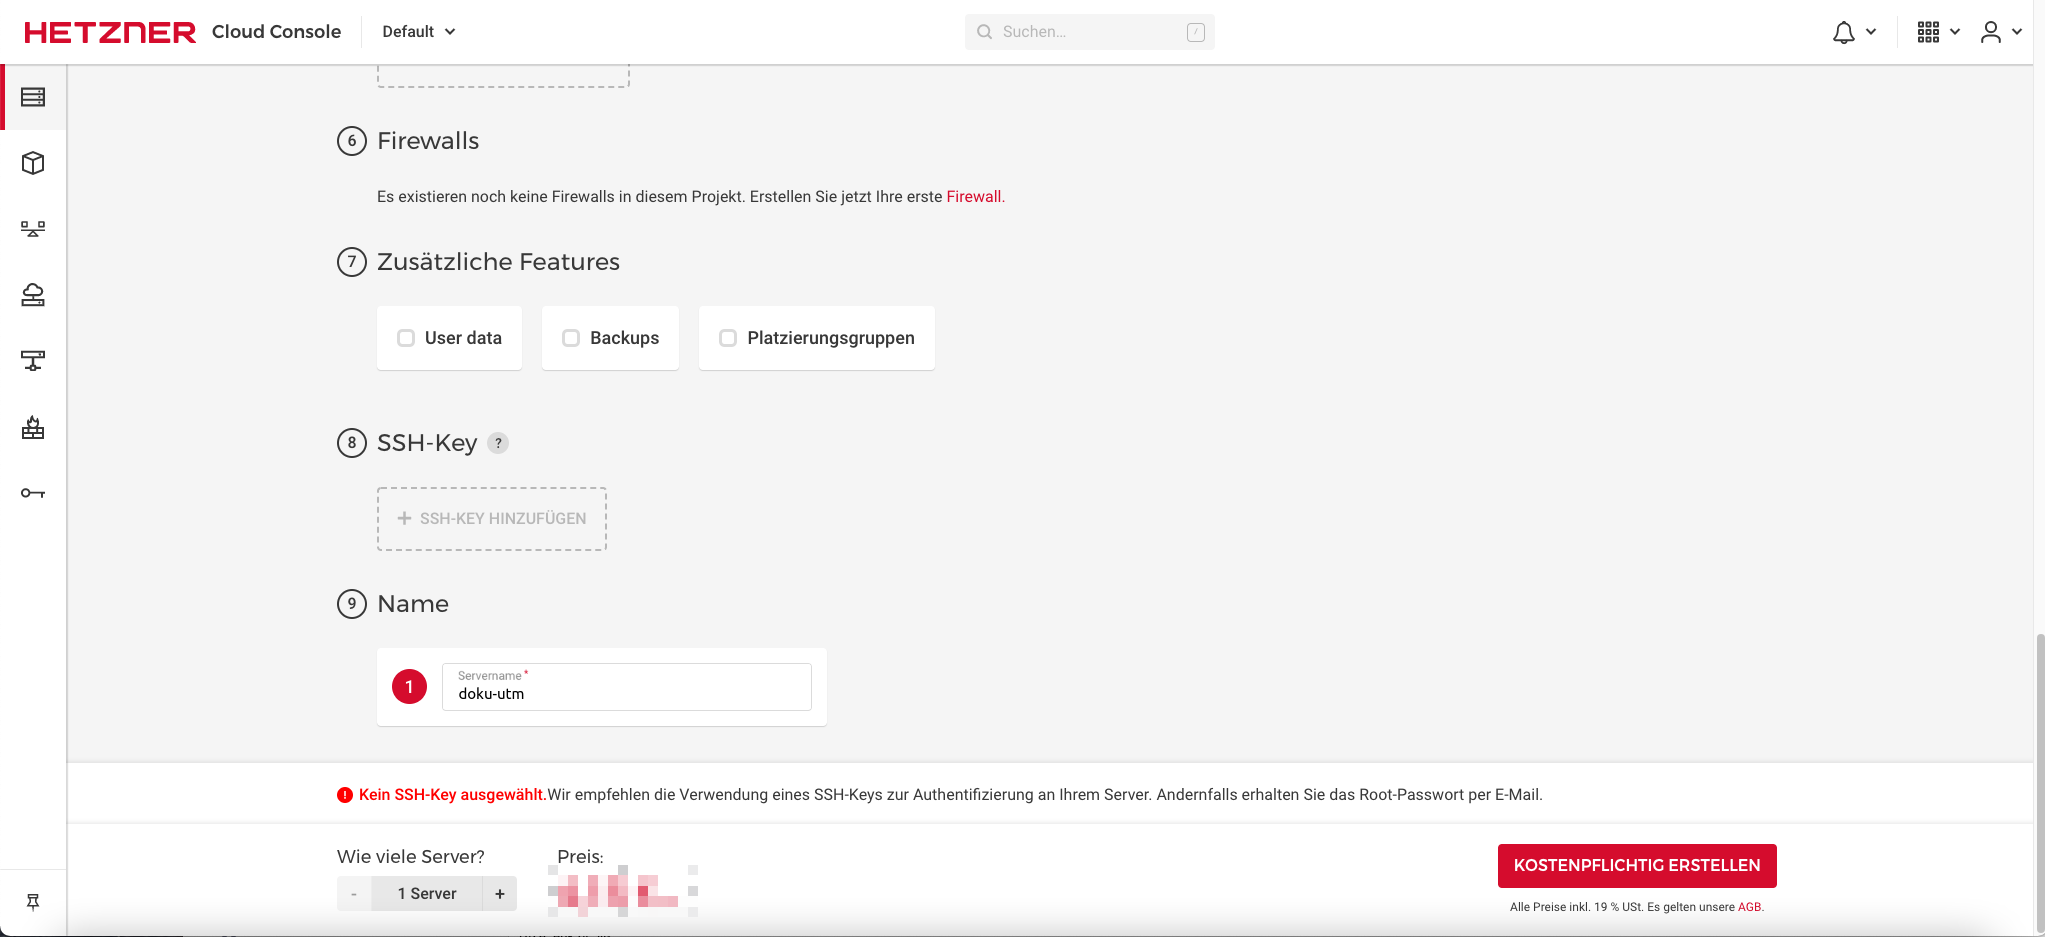
- Add local network
- Assign a name
- Server Create for a fee
- Select server
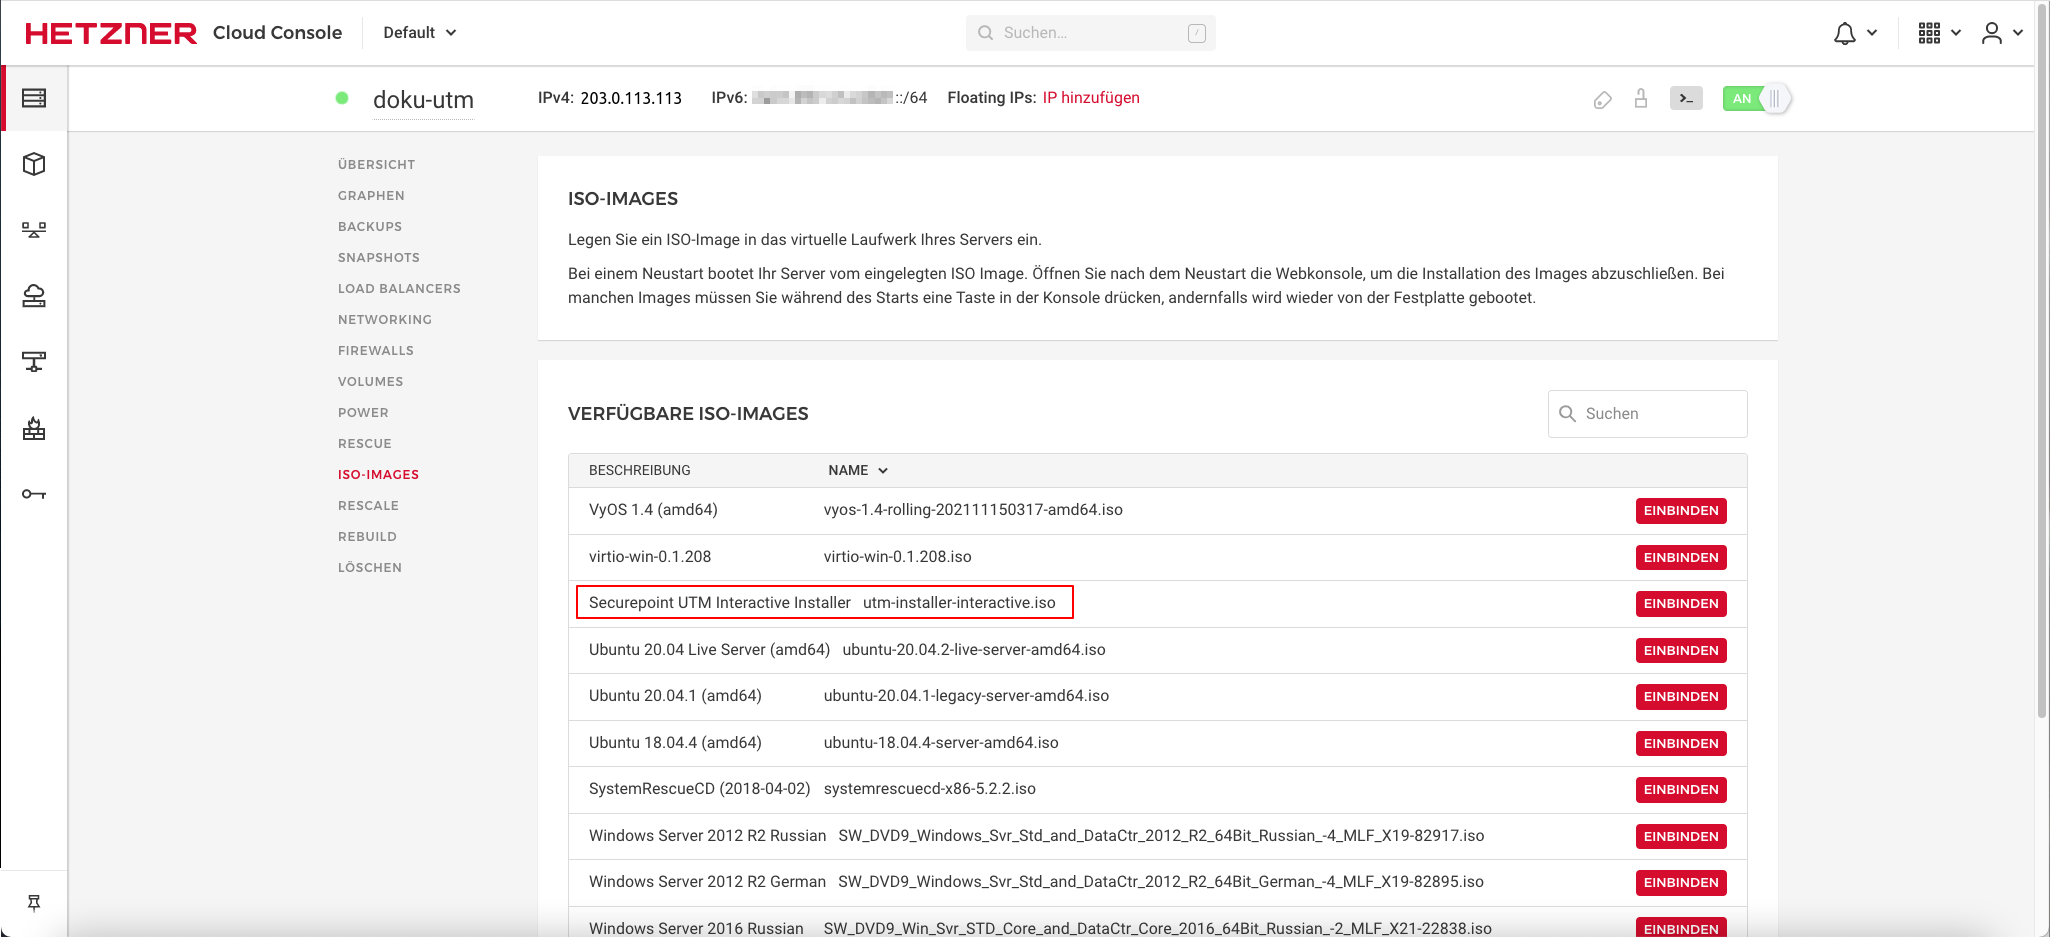
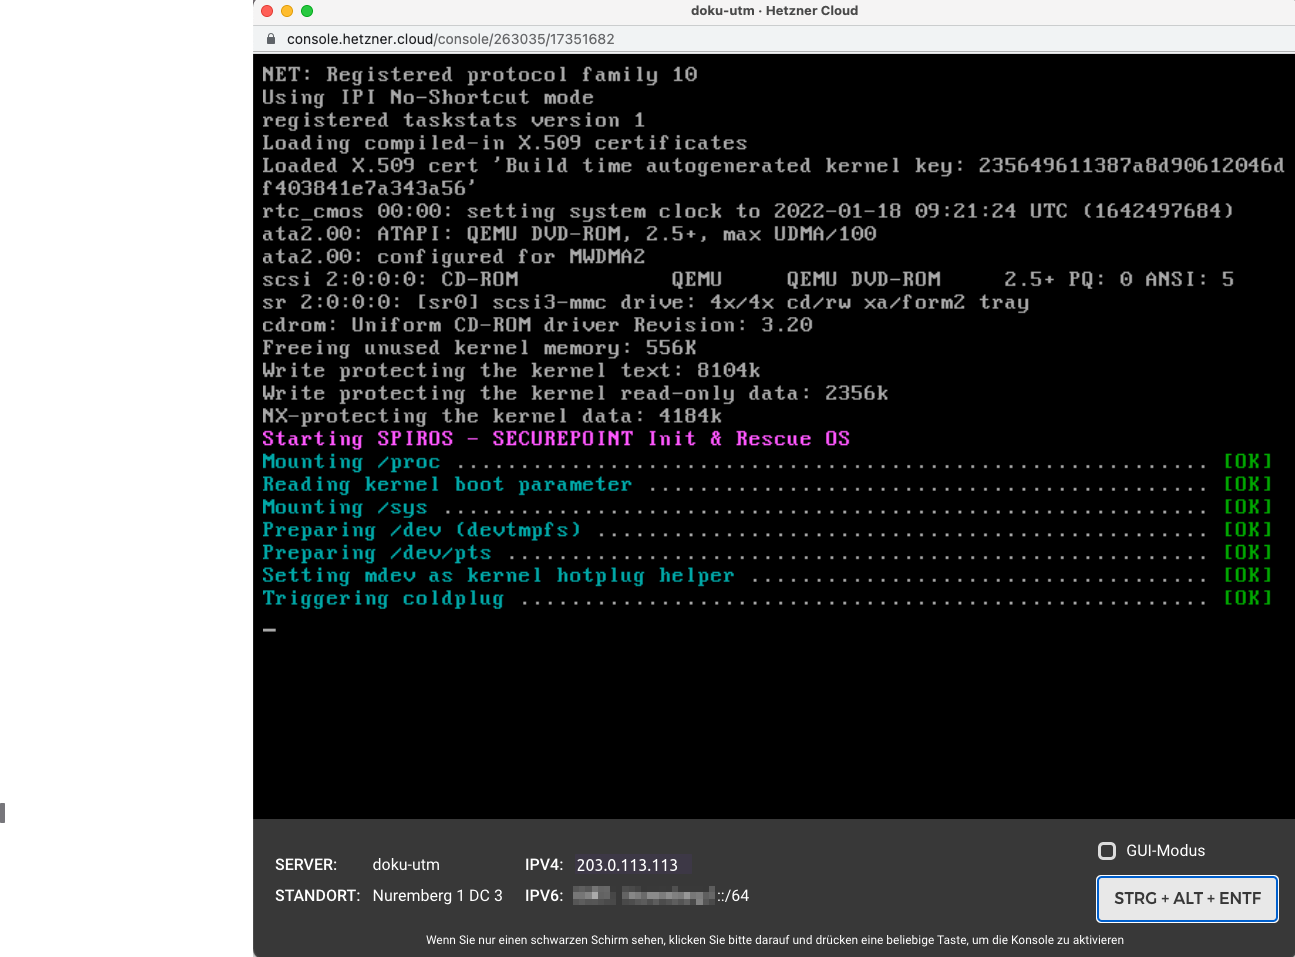
- Integrate the Securepoint UTM Interactive Installer ISO image and restart the server Call up the console with button
button Ctrl Alt Del - Carry out installation
- When the message appears, Eject the ISO image and
- Complete the installation with < OK >(Firewall reboots)
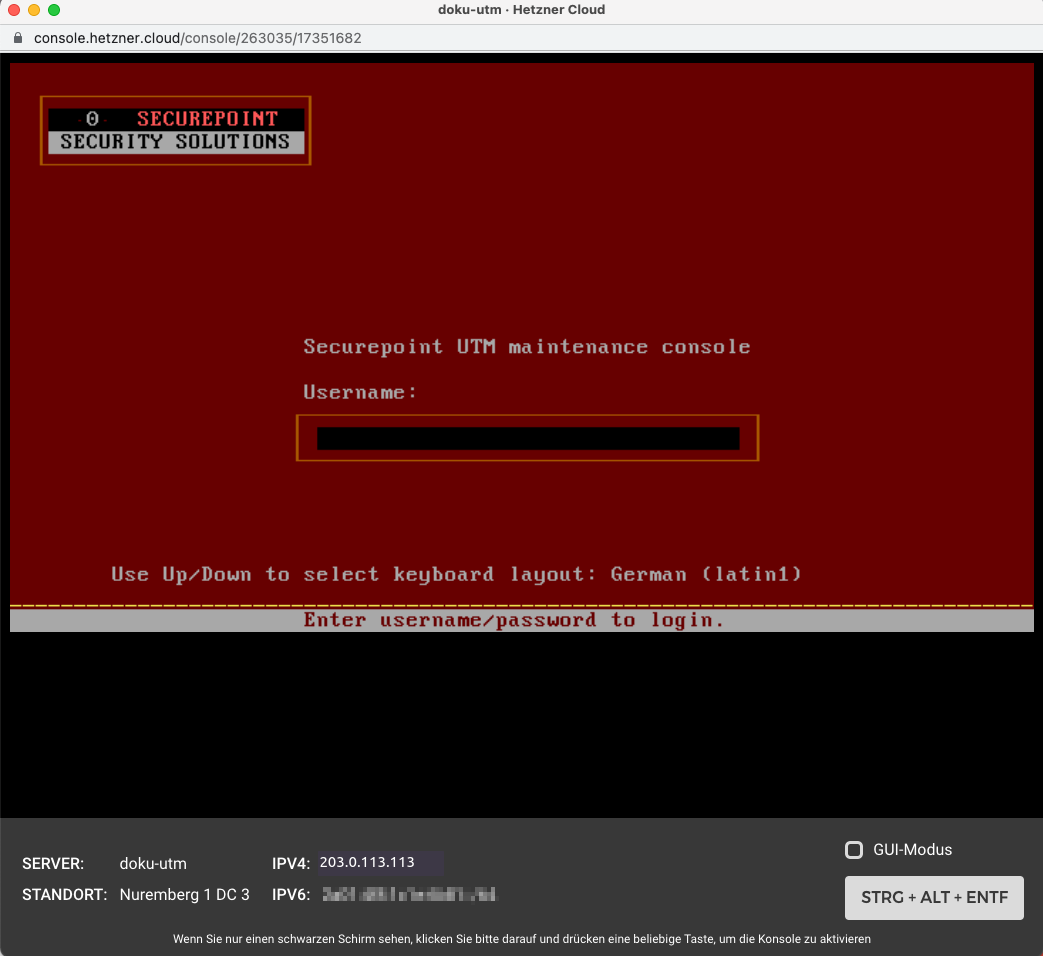
- Log in with default login details Username: admin
Password: insecure
| 1. | 2. | 3. |
| Abb.1 | Abb.2 | Abb.3 |
| Abbildungen | ||
- Afterwards: Secure access, establish access to the Internet, enable administration from your own network:
Configuration of the external interface
This is located within the Hetzner cloud in a private network. The administration is only possible via the public IP address on the external interface LAN1 and must be explicitly enabled there.
| Securepoint UTM VM | user get | Note down Admin ID |
| user set id xxx name admin password "strong_Password" | Change password Passwords must meet the following criteria:
| |
| route new dst 0.0.0.0/0 router LAN1 system update route |
Set default route
Sometimes the following alternative may be necessary:
interface address set id 1 address IP address | |
| manager new hostlist 192.0.2.192/32 system update rule |
Own IP address / network IP or host name (DynDNS) from which administration is to take place (determine IP address e.g. with http://checkip4.spdyn.de/) | |
| interface address get | Check whether the IP address of the external interface of the UTM corresponds with the address displayed during the installation of the VM | |
| https://$IP_der_UTM:11115 | Open the web interface with a static IP address: |
- Finally:
- Enter the login data
- Accept the license agreement and privacy policy
- Basic settings
- Importing the license file
Update to the latest UTM firmware version under button
Set up the internal network of the UTM
- VMs in the Hetzner cloud always receive an IPv4 address in a 32-user network.
All VMs therefore only communicate with the Hetzner switch (which in reality has routing functions). - In order for the UTM itself not to try to reach the VMs directly (but to ask the switch), the network of the UTM is limited so that only the UTM and the switch are in the same network.
- The Hetzner switch receives a default route to the UTM
- The other VMs in the private Hetzner network require a default route to the Hetzner switch
| Securepoint UTM VM | interface address get | Determine the IP address LAN2 (internal interface of the UTM) |
| interface address new device LAN2 address 192.168.175.2/32 system update interface |
A static IP address must also be created on the internal interface | |
| route new dst 192.168.175.0/24 router 192.168.175.1 |
| |
| route new dst 192.168.175.1/32 router LAN2 system update route |
| |
| node get node set id "42" address "192.168.175.0/24" |
For packet filter rules to be functional, the internal network-address must be stored on the network object ‘'internal-network’' instead of the interface. First, the ID of the network object is determined. In the example ‘'42’' | |
The default rules should be replaced by specific rules that only allow what is actually required. | ||
| Hetzner Cloud | Menu Routes Destination 0.0.0.0 /0 Gateway:192.168.175.2 (IP address of the UTM) |
The Hetzner switch receives a default route to the UTM The warning "You have selected your destination outside the network IP range" can be ignored |
| VM in the Hetzner Cloud | Example of a default route on a Debian VM ip route add default via 192.168.175.1 |
The other VMs in the private Hetzner network require a default route to the Hetzner switch |
| Windows VM in the Hetzner Cloud | Example of a default route on a Windows server Control Panel > Network and Internet > Network connections, select Network: Properties / Internet Protocol Version 4 (TCP/IPv4) / Properties / Default gateway: 192.168.175.1 |
IP address of the Hetzner switch as default gateway in the adapter settings |


