notempty
notempty
notempty Dieser Artikel bezieht sich auf eine nicht mehr aktuelle Version!
notempty
Der Artikel für die neueste Version steht hier
Zu diesem Artikel gibt es bereits eine neuere Version, die sich allerdings auf eine Reseller-Preview bezieht
Create 6in4 tunnel
Last adaptation to the version: 12.2.3
New:
- Updated screenshots
- Layout adjustment
notempty
This article refers to a Resellerpreview
Introduction | |||
| A 6in4 tunnel is a transition mechanism from IPv4 to IPv6. Here, the IPv6 data packets are transmitted over an IPv4 network to a node. This is done with the help of a tunnel broker such as the one from Hurricane Electric . |  | ||
Tunnel broker configuration | |||
| The tunnel broker from Hurricane Electric is used as an example. | |||
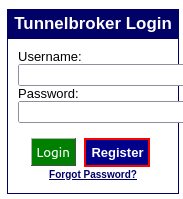
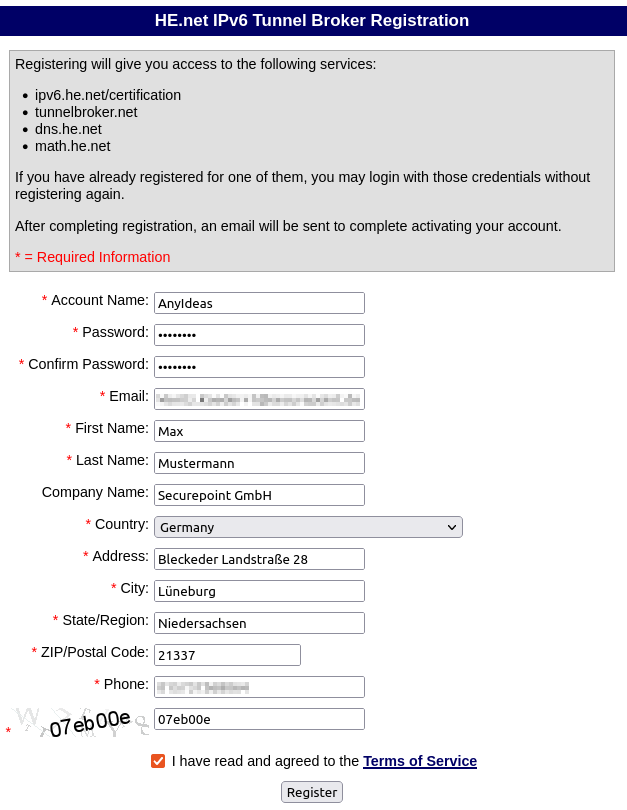
Create an account with Hurricane Electric | |||
|
 | ||
|
 | ||
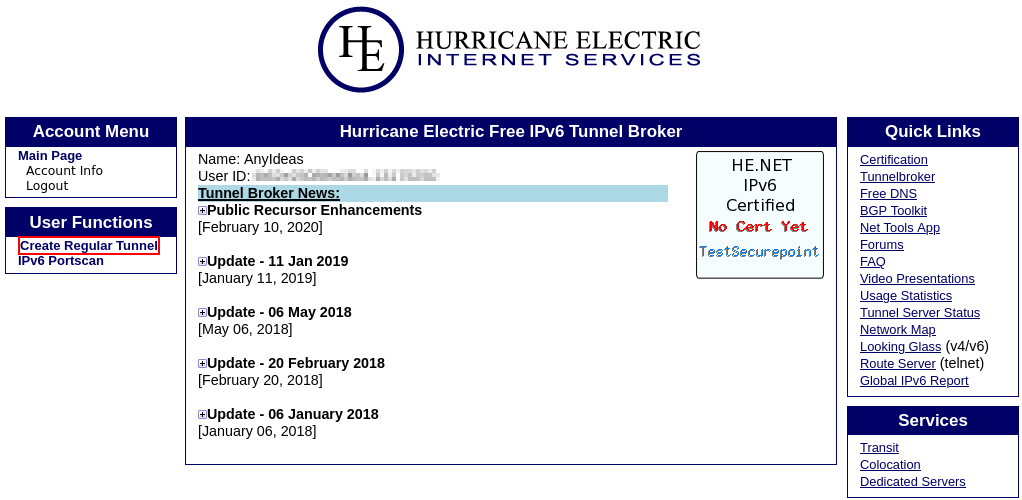
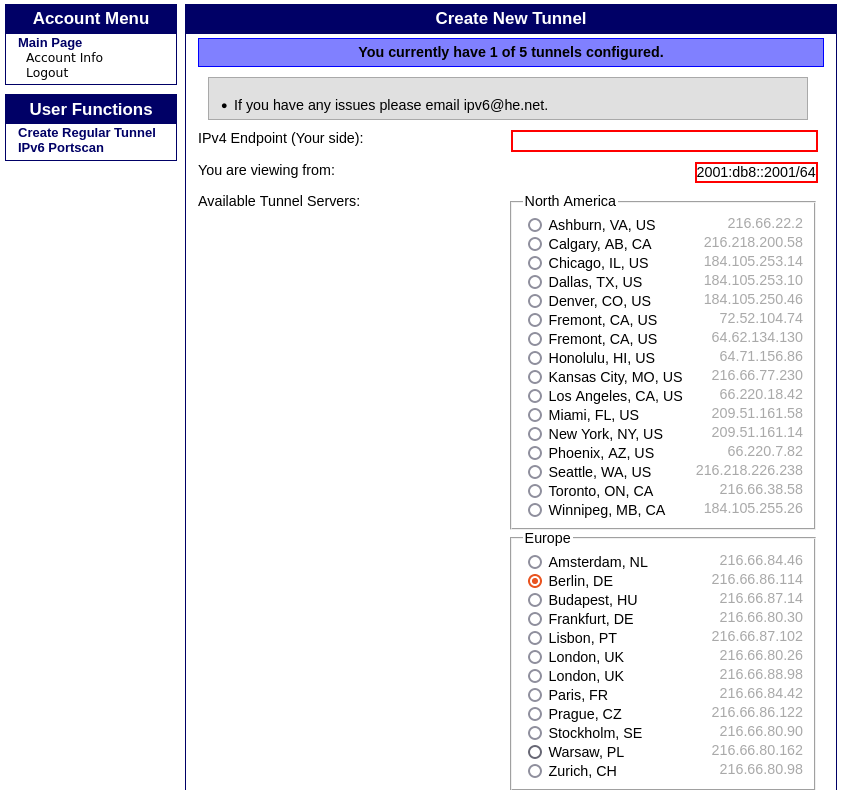
Creating the 6in4 tunnel | |||
|
 | ||
|
 | ||
Tunnel ID and IP addresses of the tunnel servers | |||
|
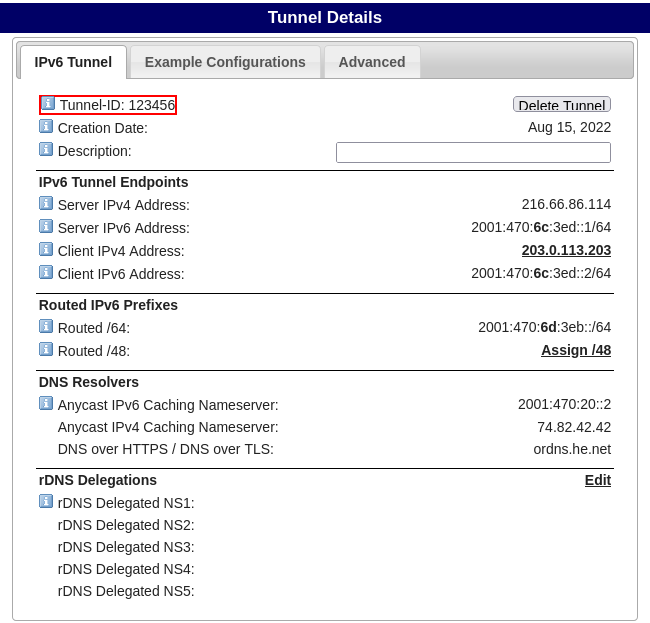 | ||
Configuration of the Securepoint Appliance | |||
| In order to create a 6in4 tunnel it is necessary to click on Tab Network Interfaces Button . | |||
| Name: | six0 | Assign names | 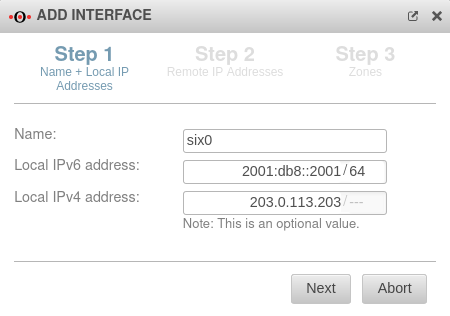 |
| Local IPv6 address: | 2001:db8::2001/64 | Enter IPv6 address | |
| Local IPv4 address: | Enter public IPv4 address If the interface is dynamic, this field must remain empty! The firewall then automatically informs the Tunnel Broker when the IP address changes.
| ||
| Click here and the entries are saved and the editing continues | |||
| Remote IPv6 address: | 201:db8::2001/64 | Enter IPv6 address | 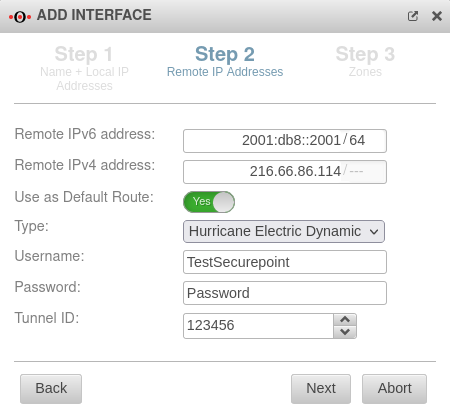 |
| Remote IPv4 address: | Enter the IPv4 address of the server (here Berlin). This IPv4 address is listed in the tunnel details under the item Server IPv4 address. | ||
| Use as default route: | Yes | Must be enabled | |
| Type: | Select Hurricane | ||
| Username: | TestSecurepoint | Enter username | |
| Password: | Password | Enter password | |
| Tunnel: | 123456 | Enter tunnel ID (also to be taken from the tunnel details) | |
| Click here to continue | |||
| Zones: | ×external_v6 × firewall-external_v6 |
Select the "external_v6" and "firewall-external_v6" zones | 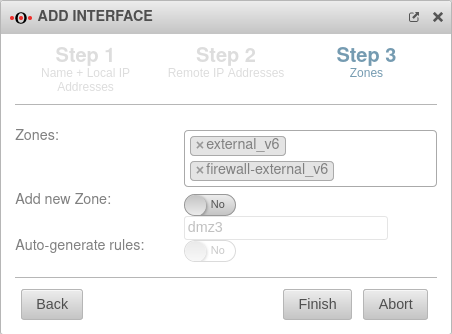 |
| Add new zone: | No dmz3 |
Hier kann eine neue Zone hinzugefügt werden | |
| Generate rules: | No | Rules for the zone can be generated here | |
Portfilter | |||
| In order for the 6in4 tunnel to be established, the IP address must be enabled by the Tunnel Broker server. The server first tests with a ping whether the specified tunnel endpoint exists at all and can be reached. | |||
Create network object | |||
| Click on Tab Network objects Button . | |||
| Name: | Hurricane | Assign names | 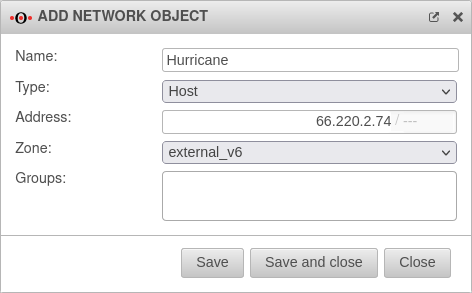 |
| Type: | Select "Host" type | ||
| Address: | Here the IP "66.220.2.74" must be entered | ||
| Zone | Select zone "external_v6" | ||
| Groups: | Groups may be entered here | ||