notempty
notempty
notempty Dieser Artikel bezieht sich auf eine nicht mehr aktuelle Version!
notempty
Der Artikel für die neueste Version steht hier
Zu diesem Artikel gibt es bereits eine neuere Version, die sich allerdings auf eine Reseller-Preview bezieht
Setting up a DHCPv6 address pool
Last adaption: 12.4
New:
- Information on the associated Widget in Admin Interface
notempty
This article refers to a Resellerpreview
DHCPv6
The DHCPv6 address pool setup is only slightly different from the DHCP setup with IPv4.
Basic knowledge of IPv6 can be found here.
Define IPv6 address on interface
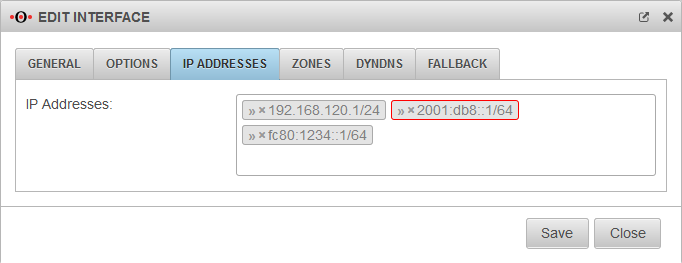
First, an IPv6 address with subnet and the corresponding zones must be entered on the interface on which IPv6 is to be "spoken". This IP determines the range in which the DHCP pool is located:
Configuration at menu / edit Interfaces / Tab IP Addresses
An IP address can be entered directly in the click box, in this example » ✕2001:DB8::1/64
Setting up the DHCP Pool
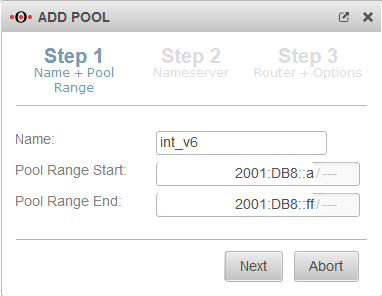
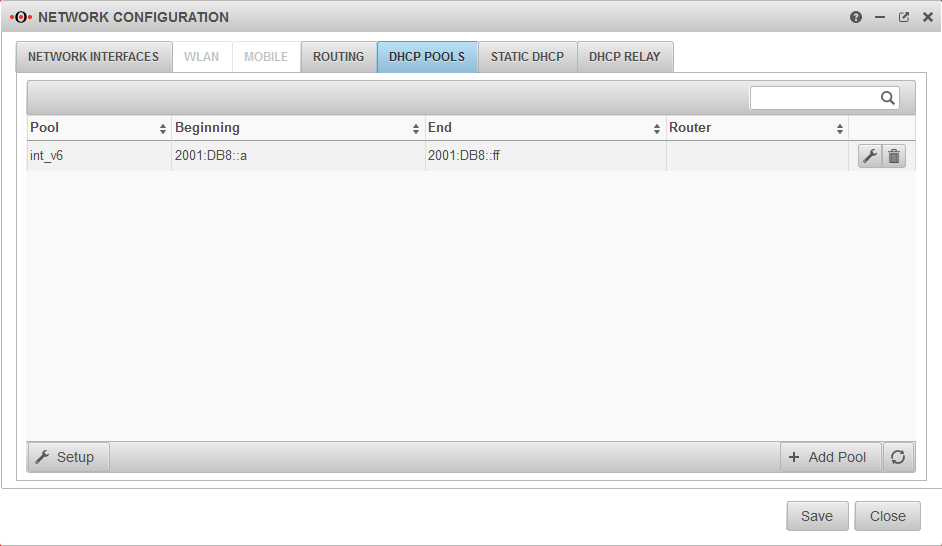
The DHCPv6 address pool for this subnet is set up in the menu tab DHCP Pools.
The button starts the wizard.
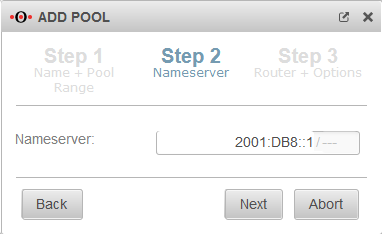
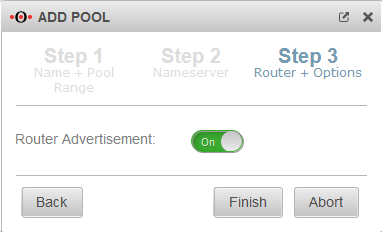
In step 1 a unique name for the pool, as well as the start and end address must be specified.
The name is freely selectable, pool start and end address are addresses from the previously defined subnet.
The button starts the wizard.
In step 1 a unique name for the pool, as well as the start and end address must be specified.
The name is freely selectable, pool start and end address are addresses from the previously defined subnet.
DHCP Setup
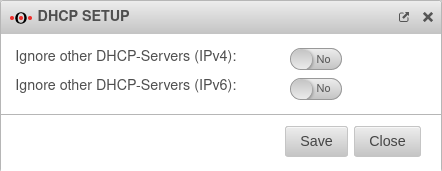
The button opens a dialogue for the DHCP settings.
Widget
In the administrator interface of the UTM, there is a DHCP widget that provides an overview of the existing DHCP connections.
Further information can be found in the Wiki article UTM Widgets.
