Keine Bearbeitungszusammenfassung |
Keine Bearbeitungszusammenfassung |
||
| Zeile 1: | Zeile 1: | ||
{{DISPLAYTITLE:Securepoint Antivirus Pro Wizard Installation}} | {{DISPLAYTITLE:Securepoint Antivirus Pro Wizard Installation}} | ||
=== Installationsschritt 1 === | === Installationsschritt 1 === | ||
<div> | |||
<div style="display: flex;padding-right:10px;float:left;"> [[Datei:alert-yellow.png]] </div> | |||
<div style="display: flex;"><span style="background-color: #ffc926;padding:10px;border-radius:4px;font-weight:bold;">Für die Installation mit dem Wizard werden Administratoren Rechte benötigt.</span></div> | |||
</div> | |||
<div style="clear: both;"></div> | |||
<br /> | <br /> | ||
<br /> | <br /> | ||
| Zeile 37: | Zeile 37: | ||
<br /> | <br /> | ||
<br /> | <br /> | ||
<div> | |||
<div style="display: flex;padding-right:10px;float:left;"> [[Datei:alert-yellow.png]] </div> | |||
<div style="display: flex;"><span style="background-color: #ffc926;padding:10px;border-radius:4px;font-weight:bold;">Der Standardordner sollte nicht geändert werden.</span></div> | |||
</div> | |||
<div style="clear: both;"></div> | |||
Version vom 10. Juli 2017, 09:07 Uhr
Installationsschritt 1
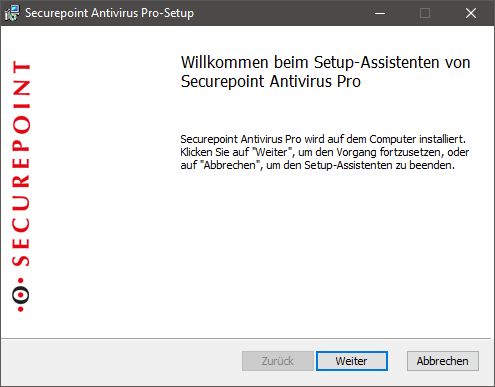
Der Wizard wird durch einen Doppelklick gestartet.
Installationsschritt 2
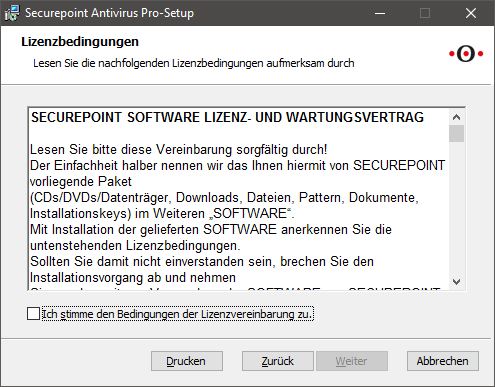
Die Lizenzbedingungen müssen durchgelesen und akzeptiert werden.
Installationsschritt 3
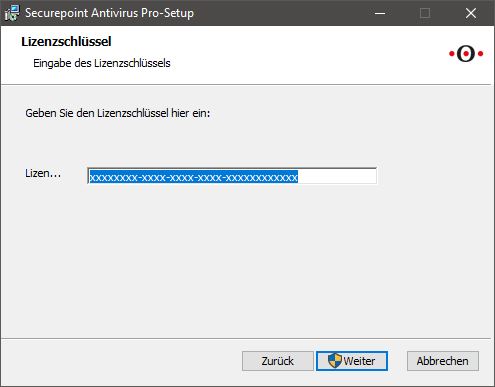
Die TID muss eingetragen werden.
Installationsschritt 4
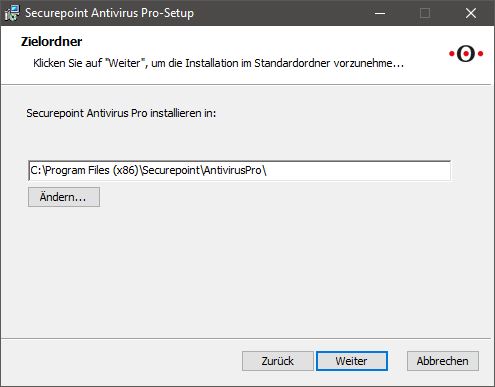
Der Zielordner kann hier ausgewählt werden.
Installationsschritt 5
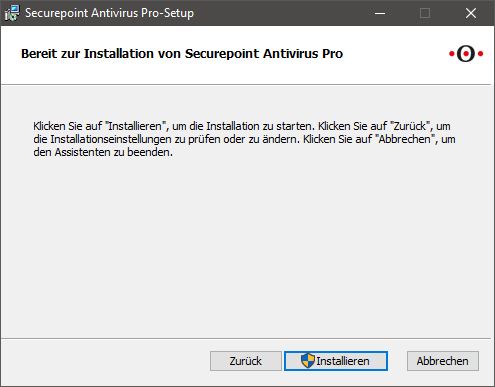
Die Installation kann gestartet werden.
Installationsschritt 6
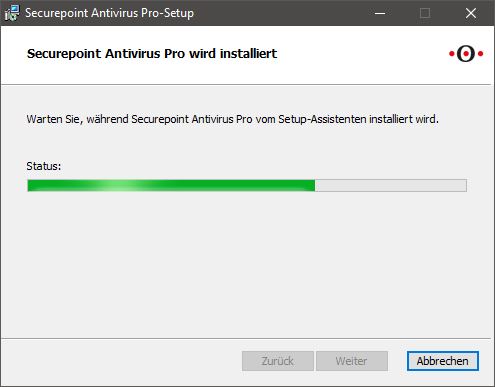
Die Installation wird durchgeführt.
