notempty
notempty
notempty Dieser Artikel bezieht sich auf eine nicht mehr aktuelle Version!
notempty
Der Artikel für die neueste Version steht hier
Zu diesem Artikel gibt es bereits eine neuere Version, die sich allerdings auf eine Beta-Version bezieht
notempty
Hint
- For reliable operation of our hardware throughout its life cycle, it must be operated within its specifications:
- The maximum ambient temperature for operation is 40°C
- The minimum ambient temperature for operation is 0°C
- Relative humidity must be between 10% and 80% and condensation must be prevent
- The maximum ambient temperature for operation is 40°C
- For installation, make sure that the firewall is mounted/set up as follows:
- Sufficient supply of cool air
- The device must not be covered
- The device must be as free-standing as possible
- When mounting in a network rack, special attention must be paid to:
- The rack must be ventilated
- Passively cooled devices (Black Dwarf G3+G5, RC100 G3, RC200 G3) must not be placed directly below or above heat emitting devices.
- There must be no build-up of heat
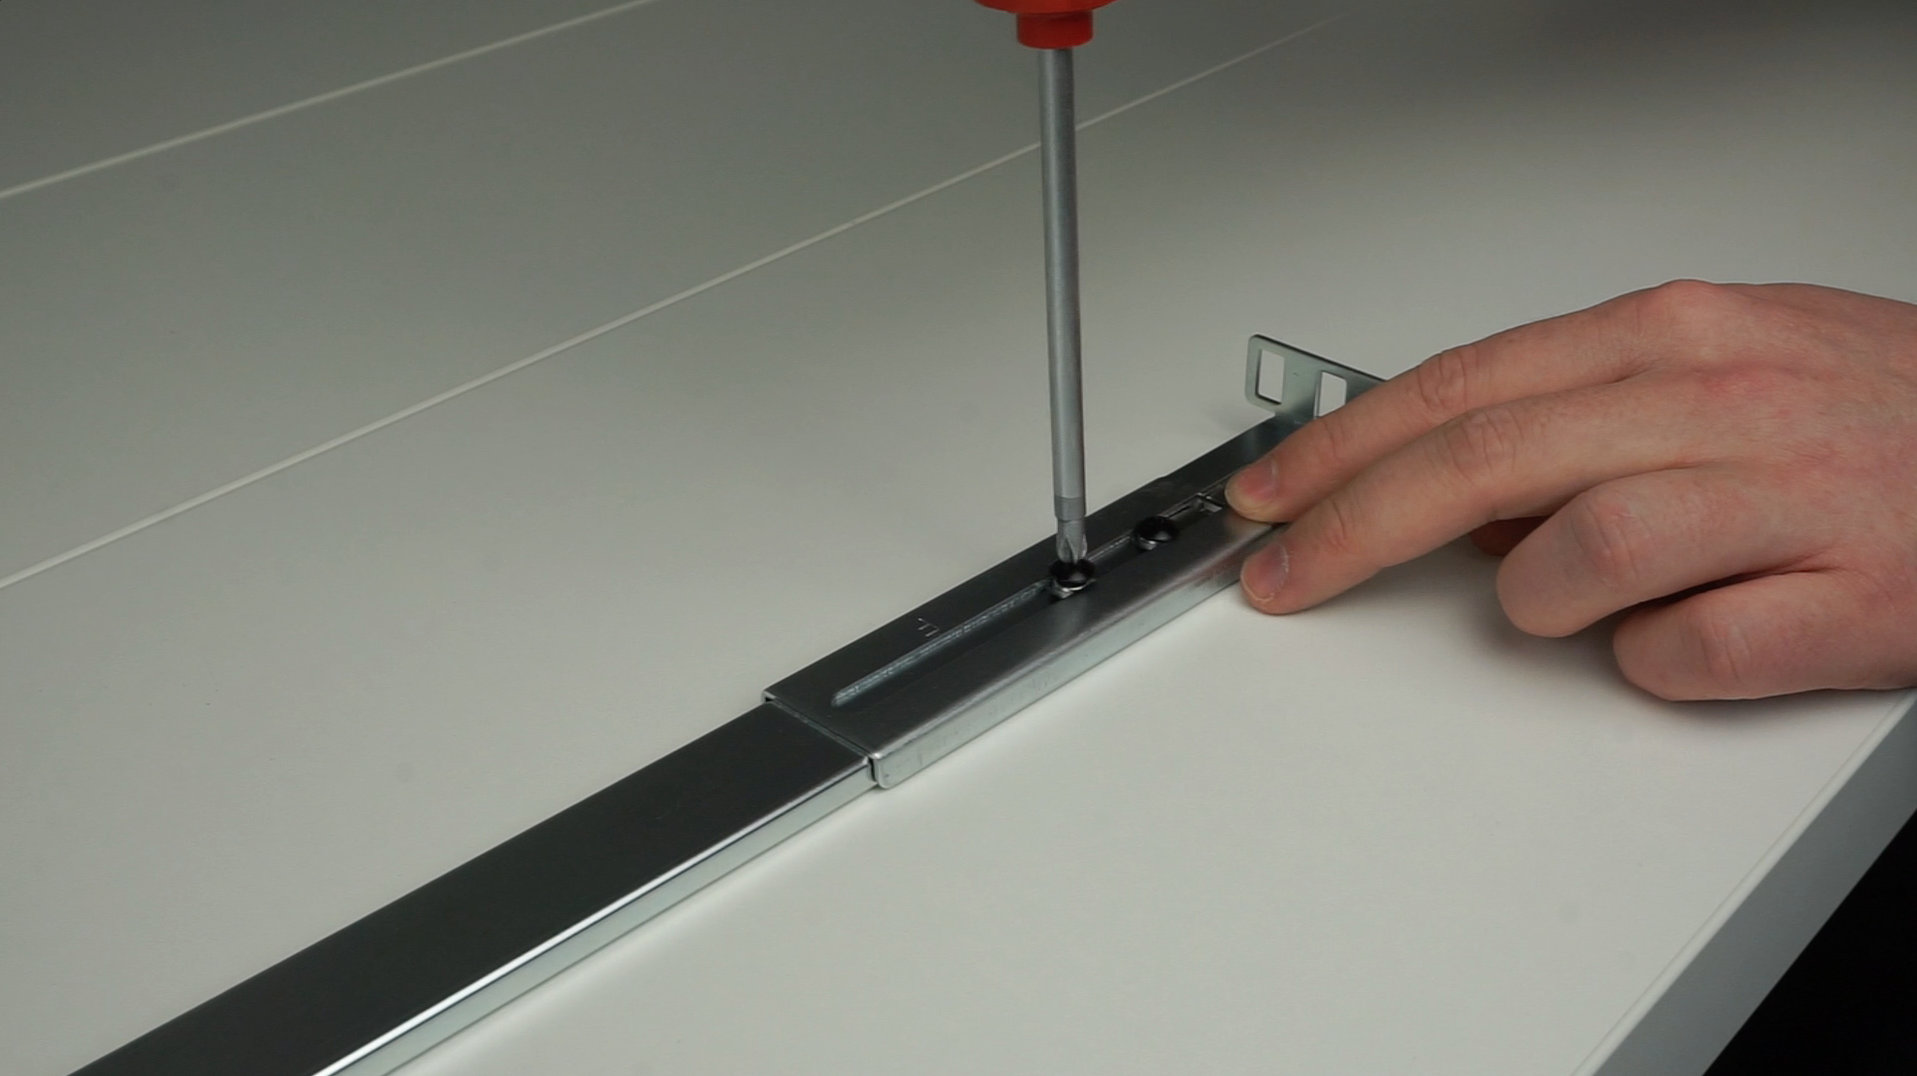
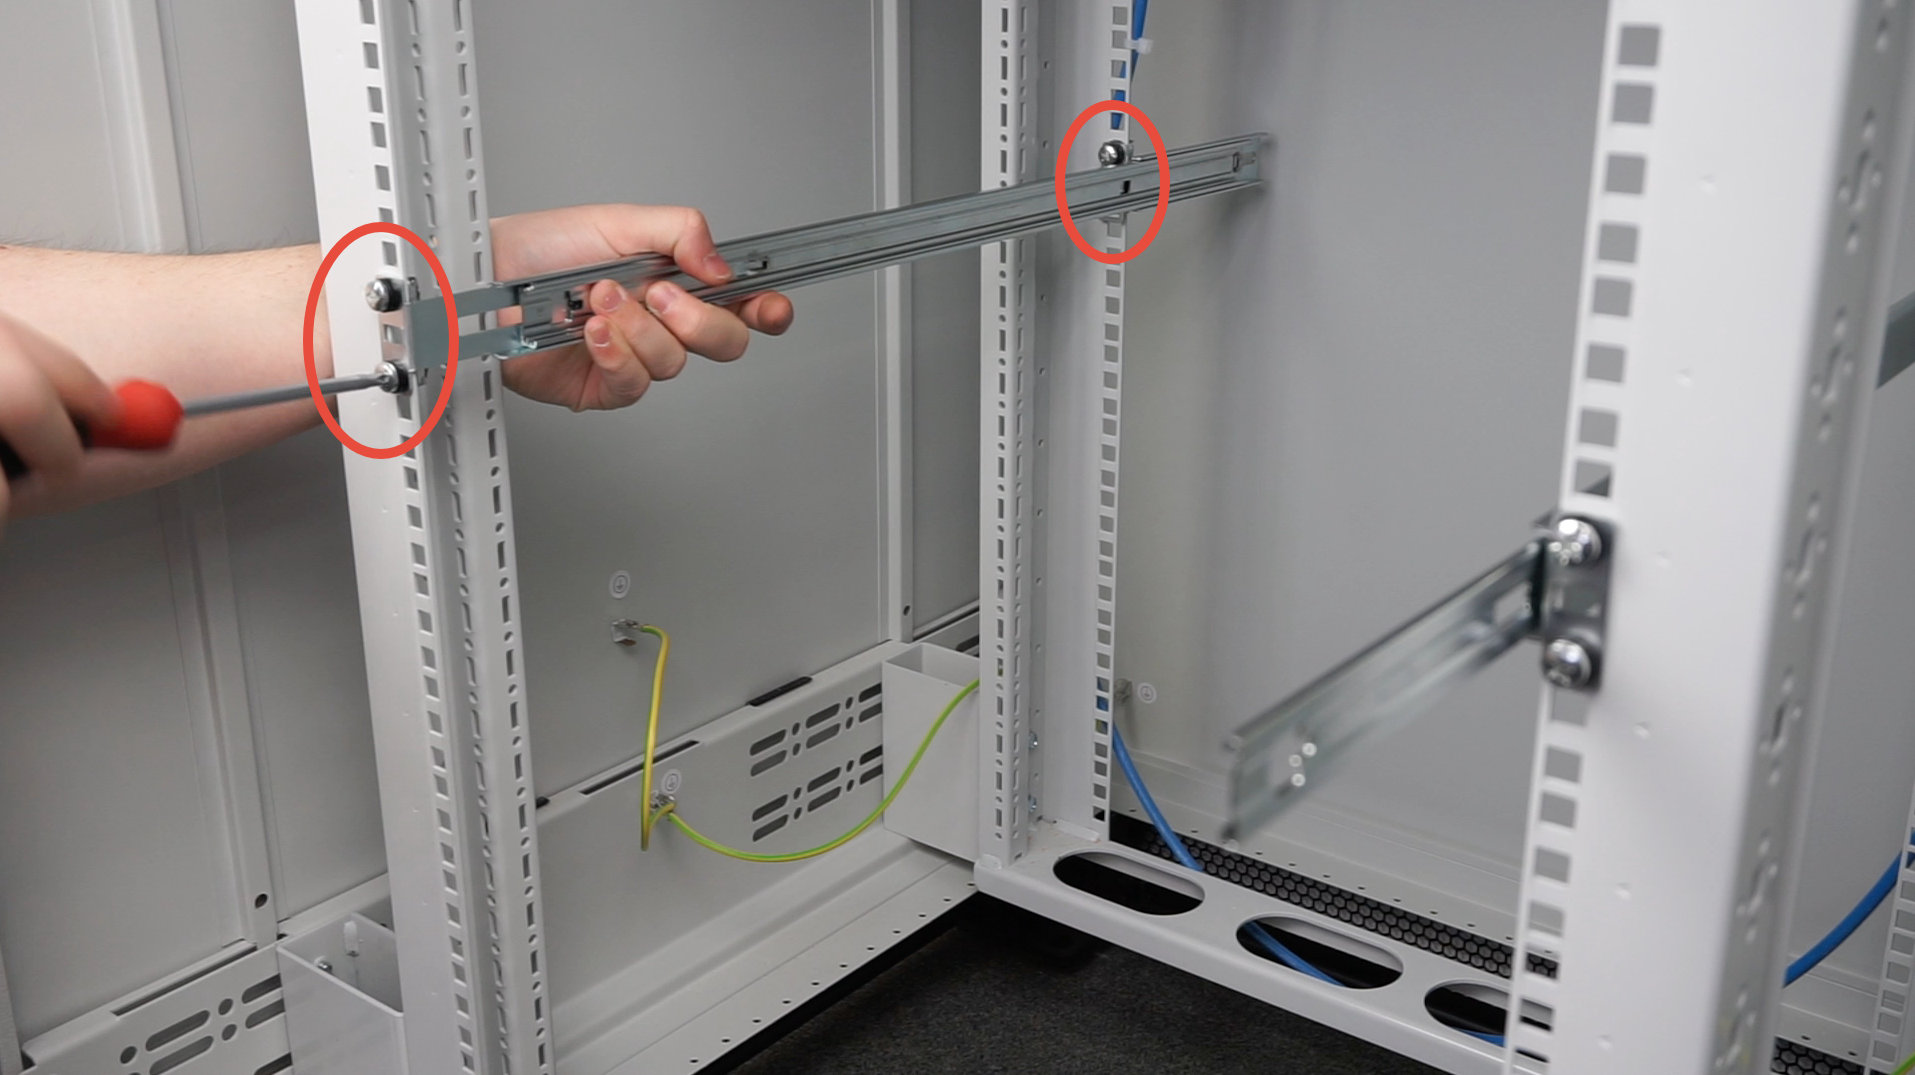
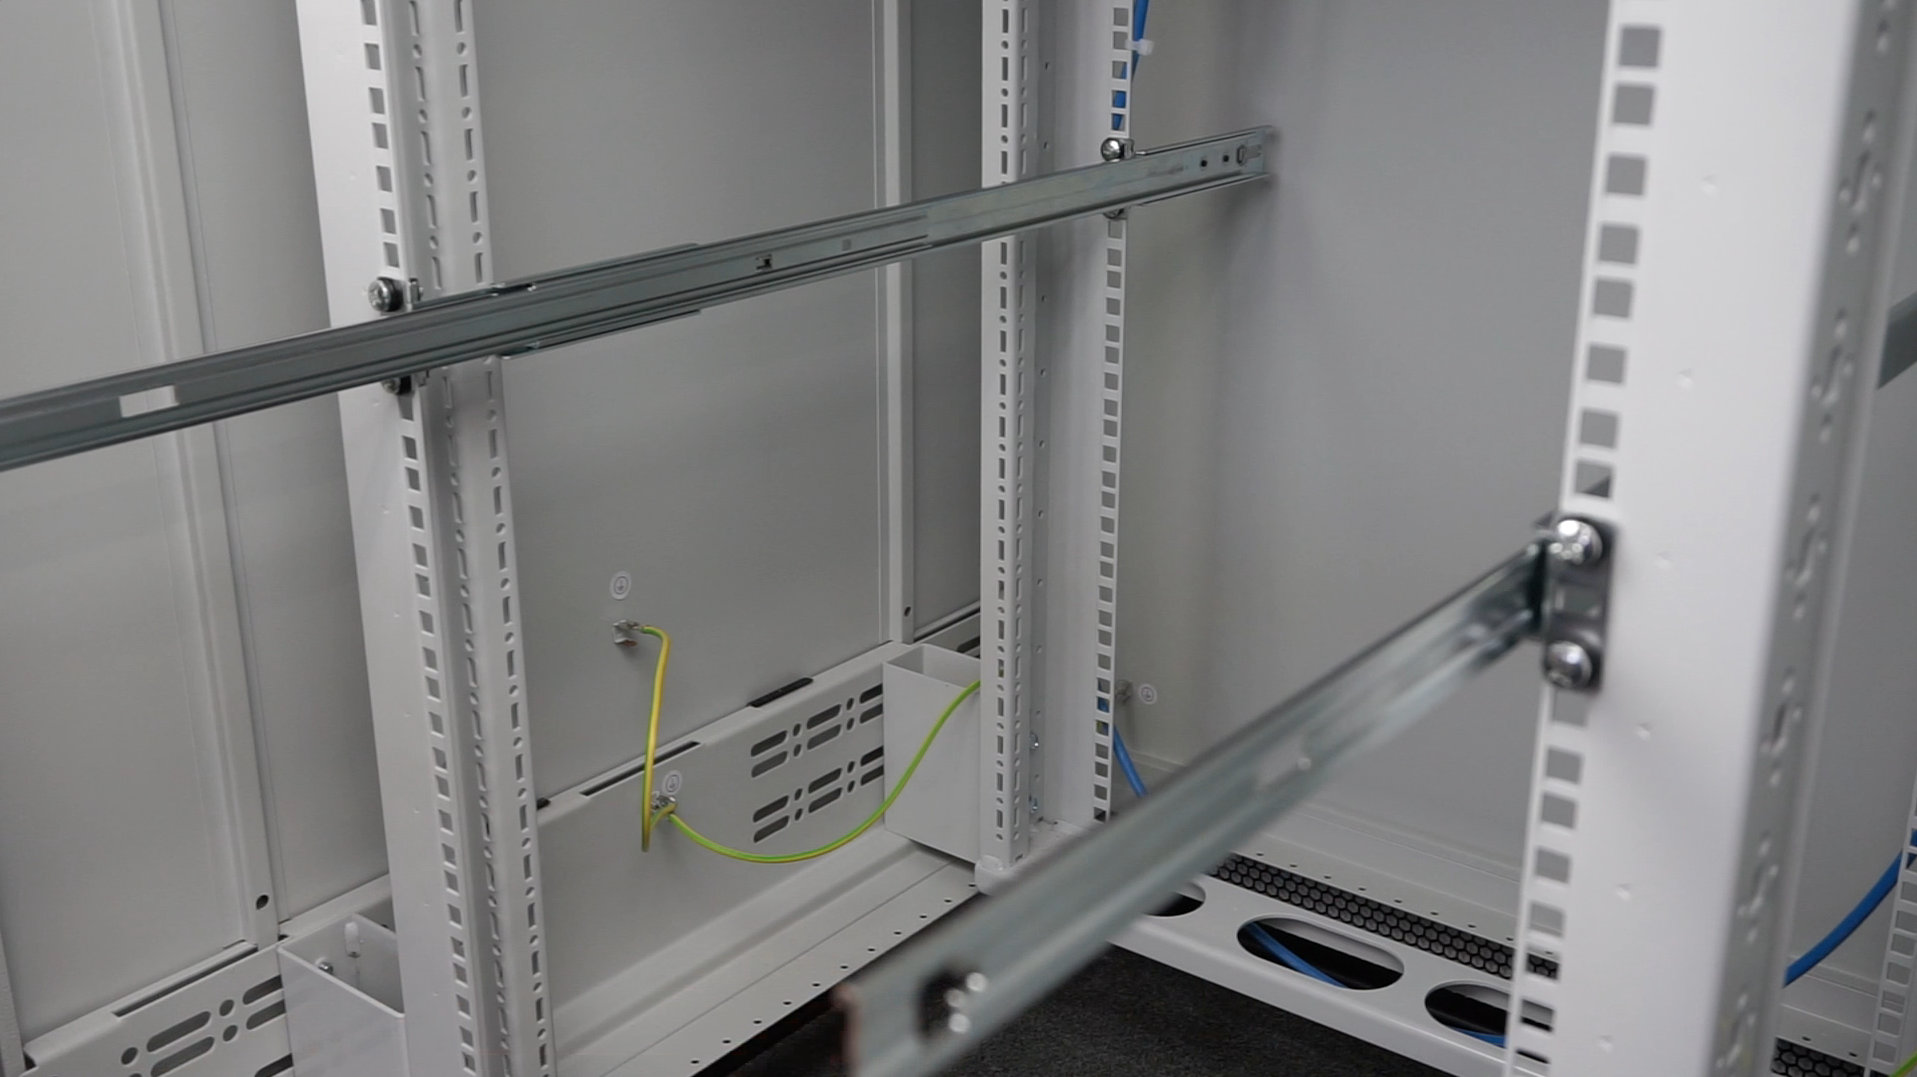
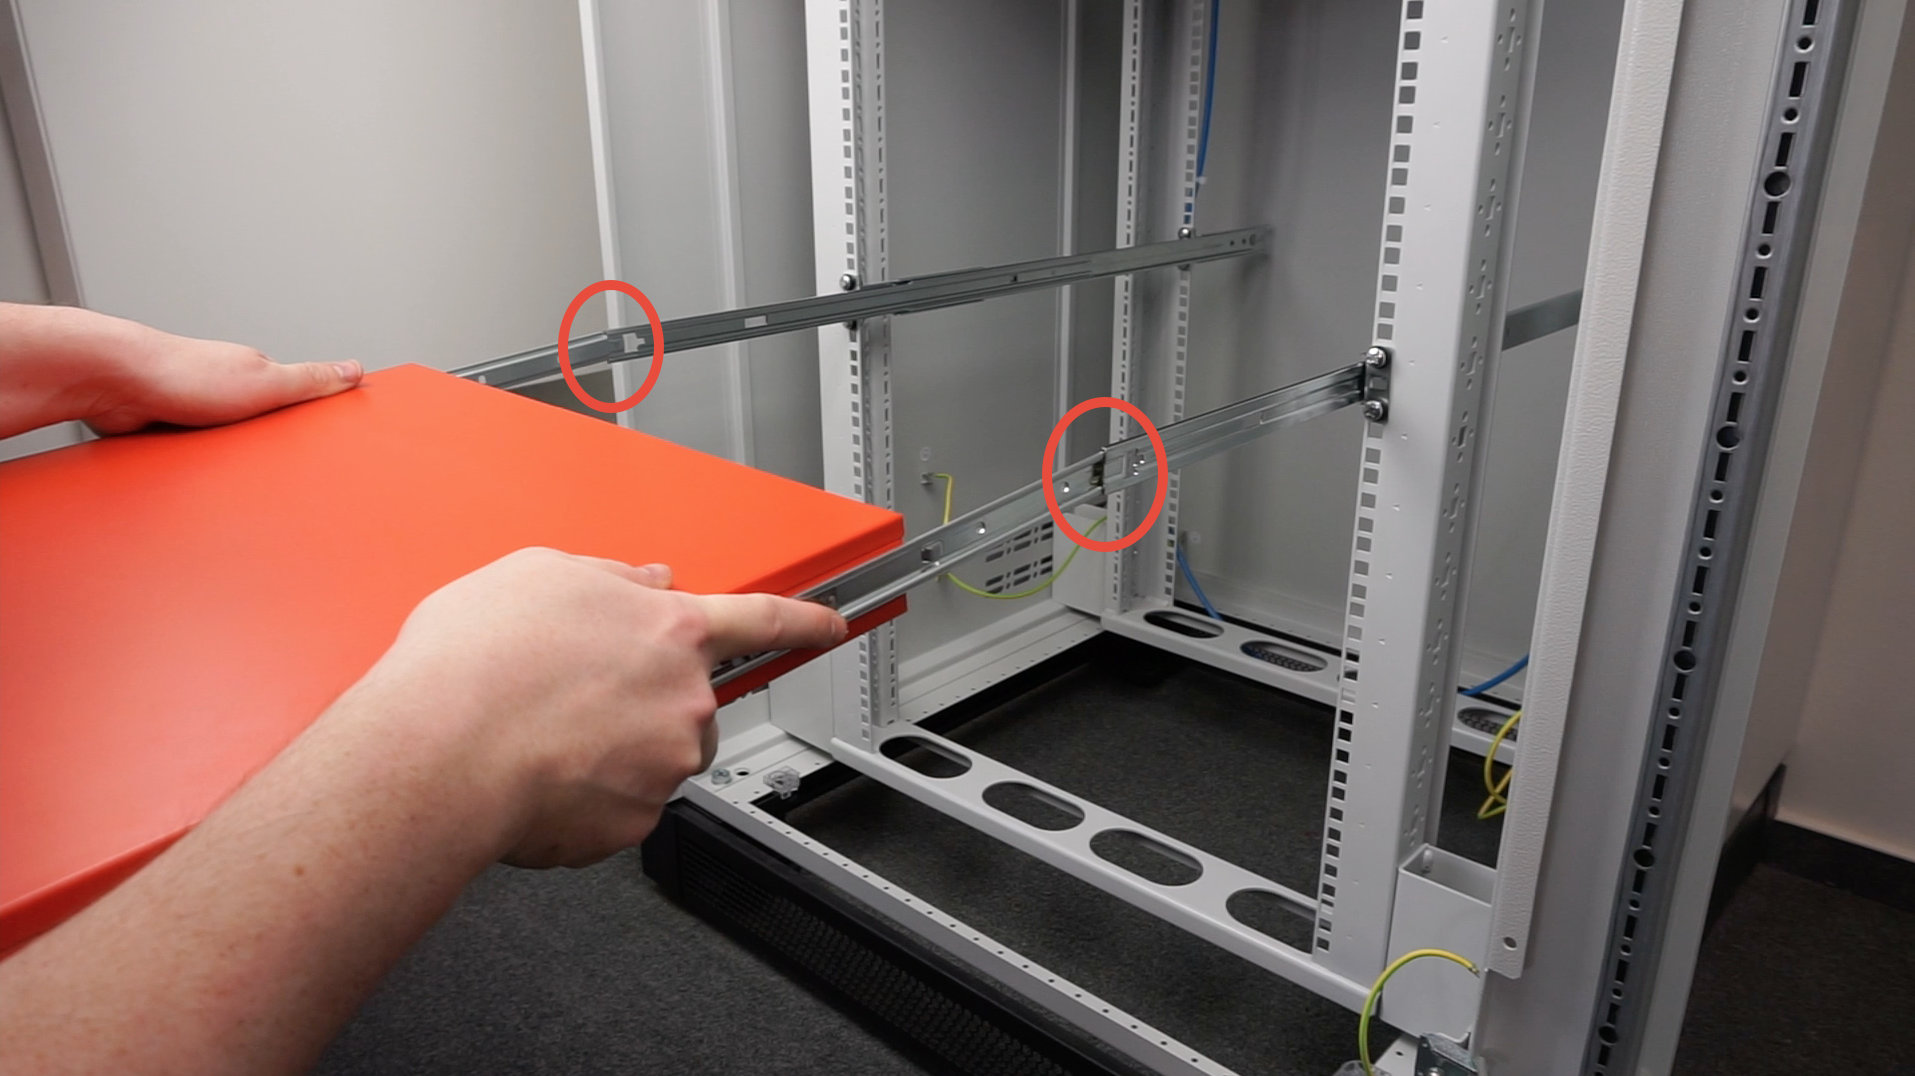
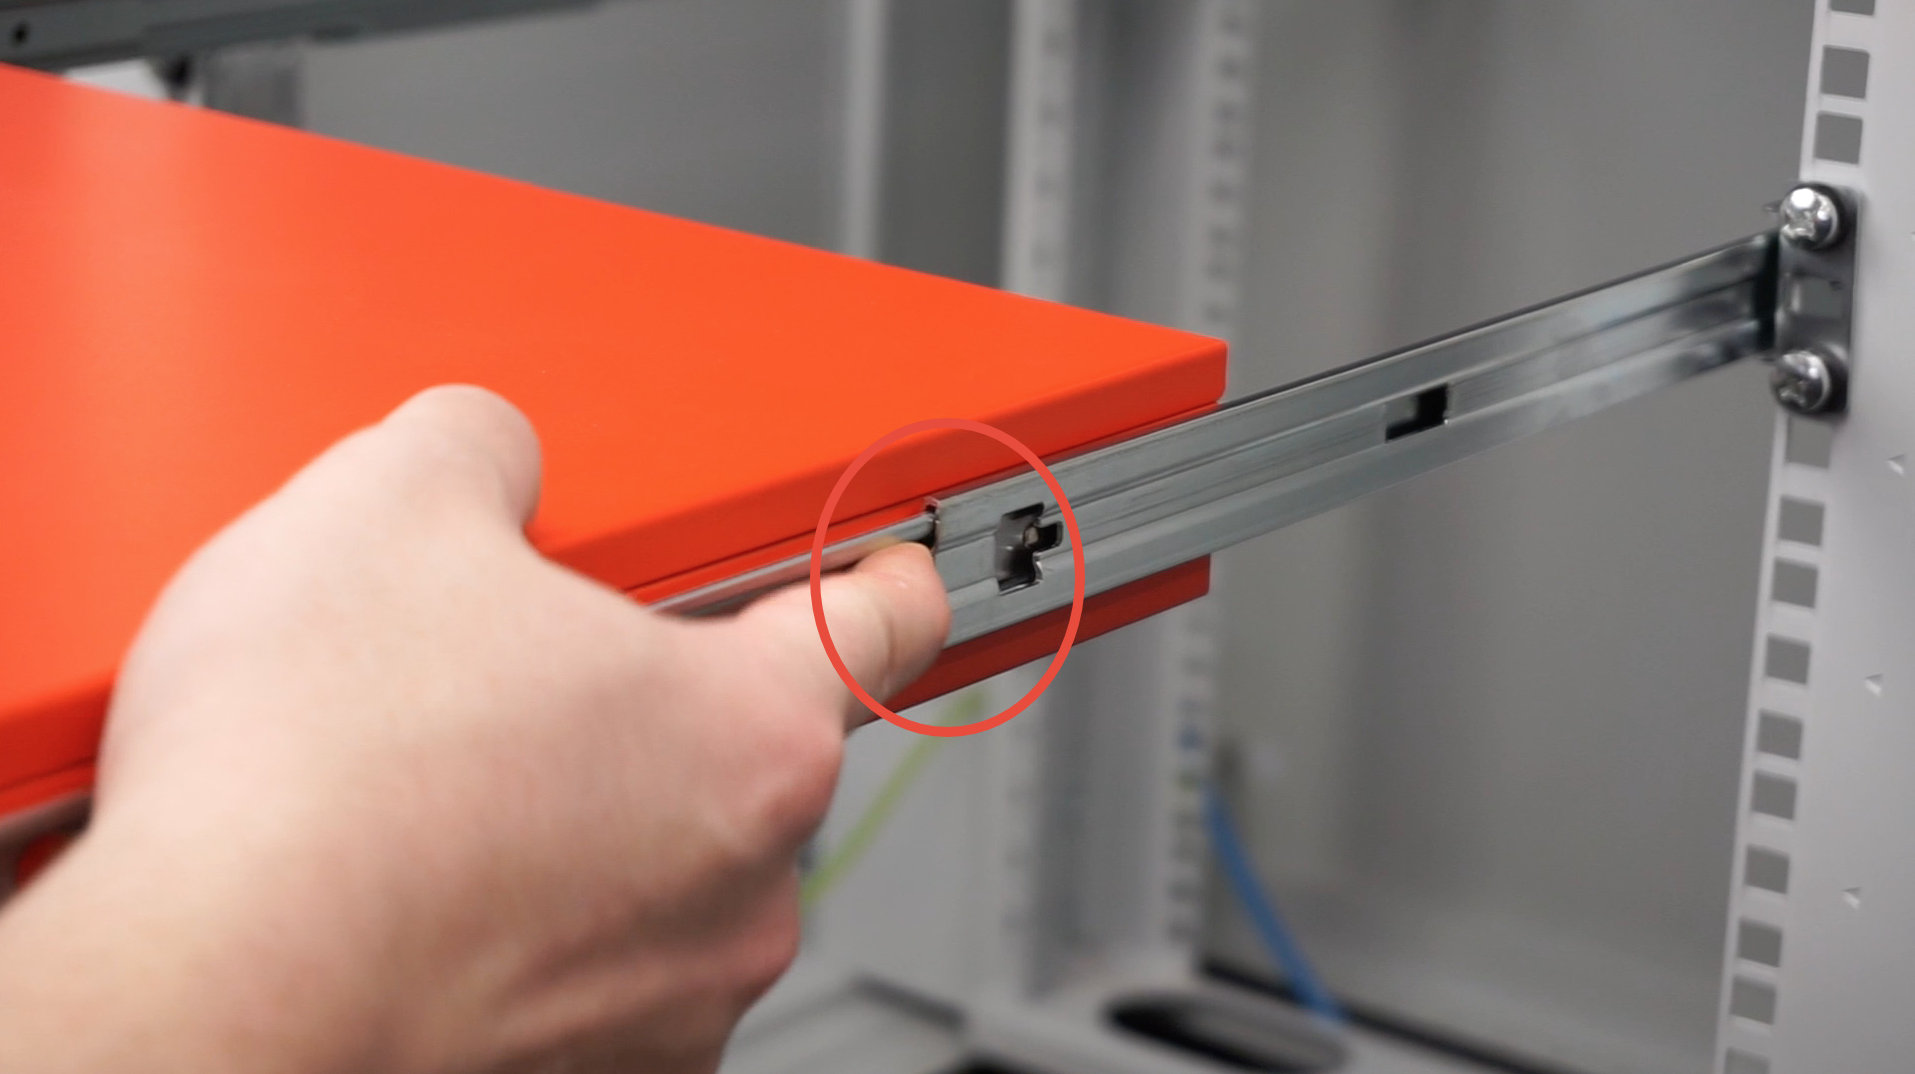
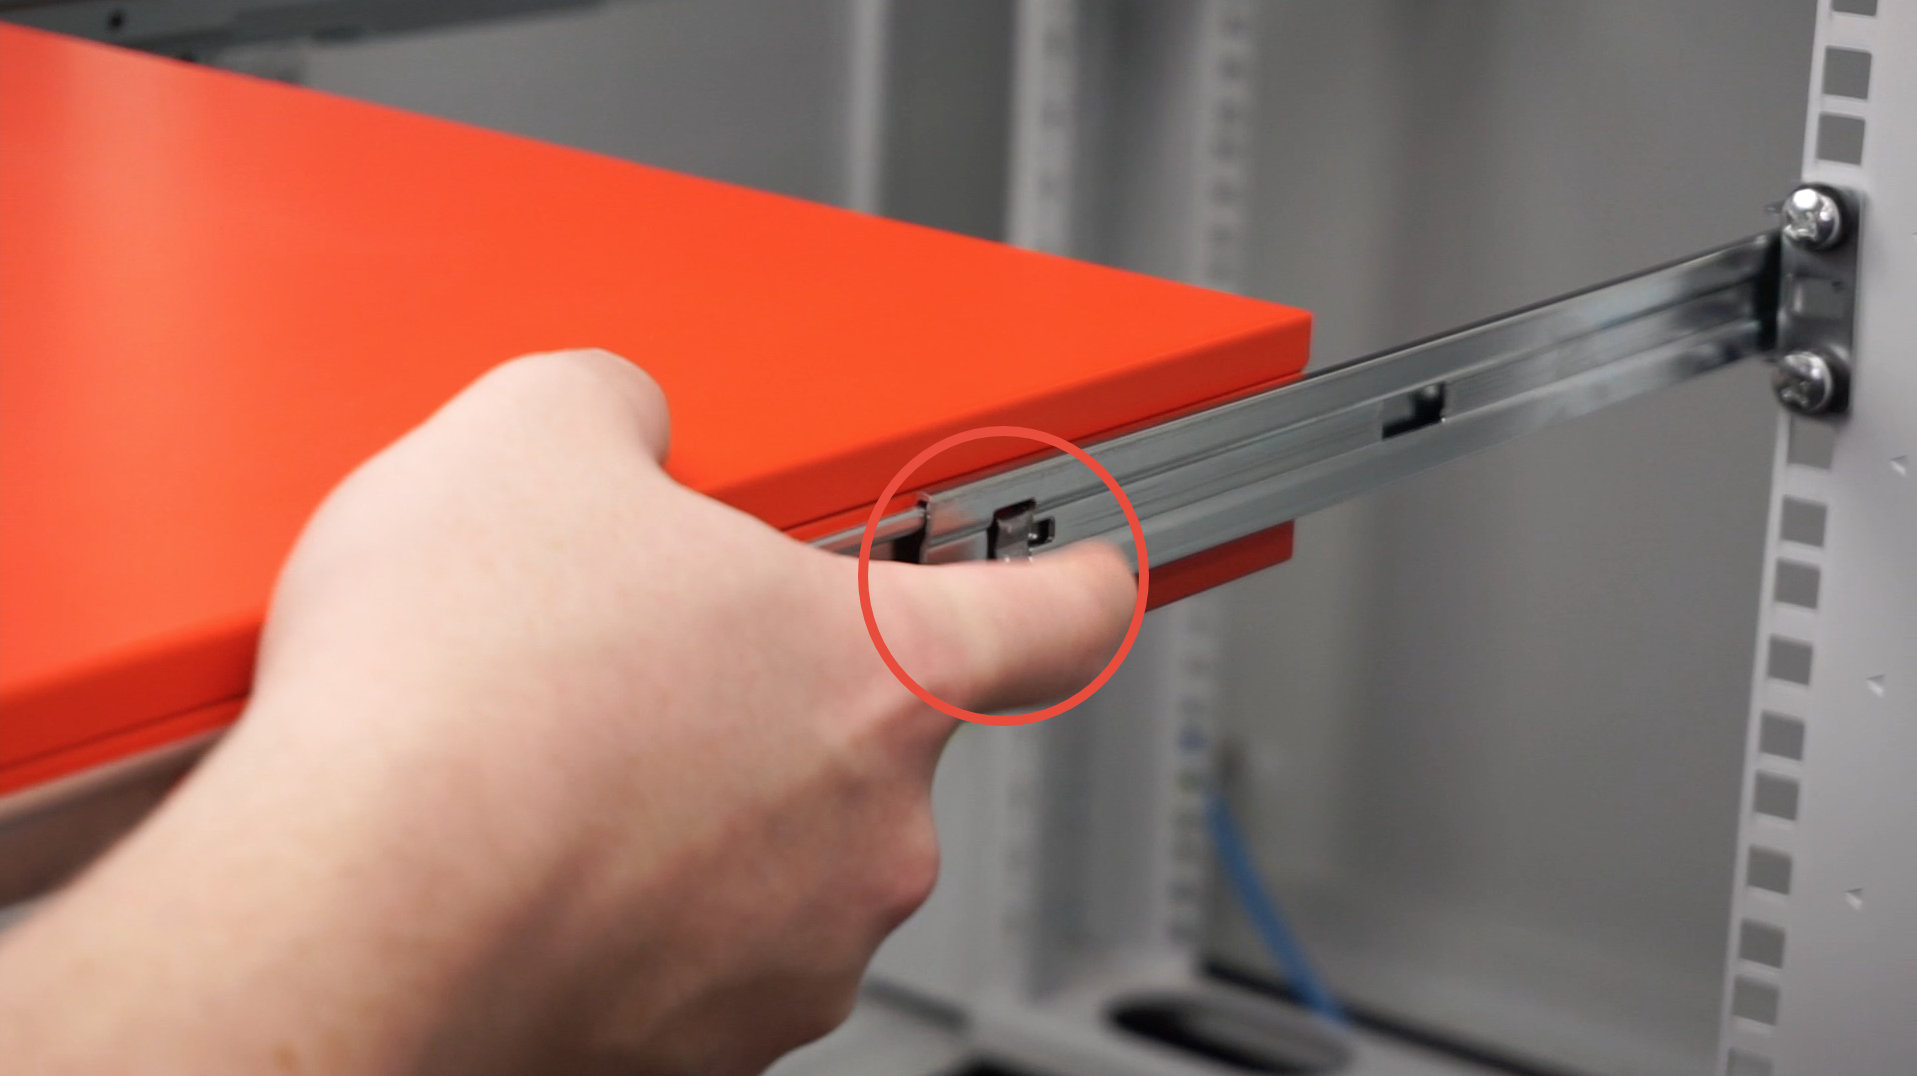
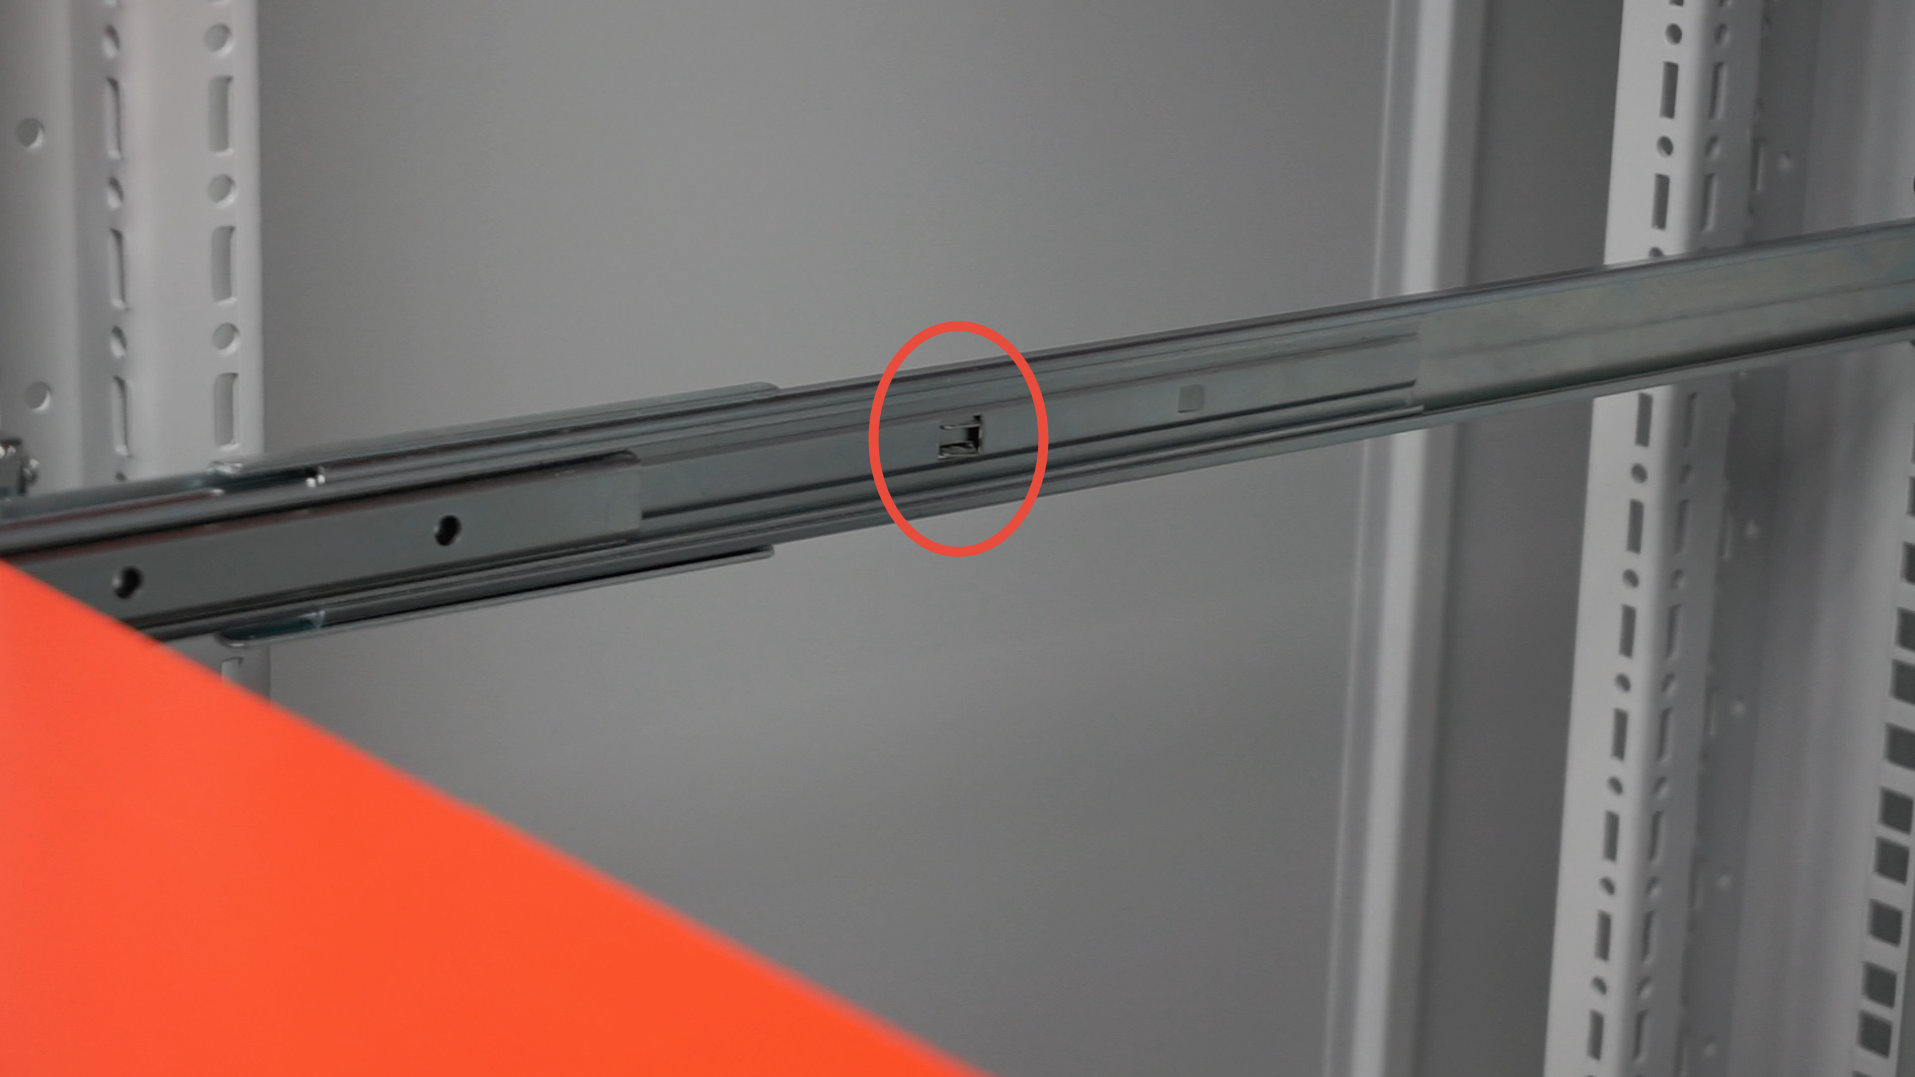
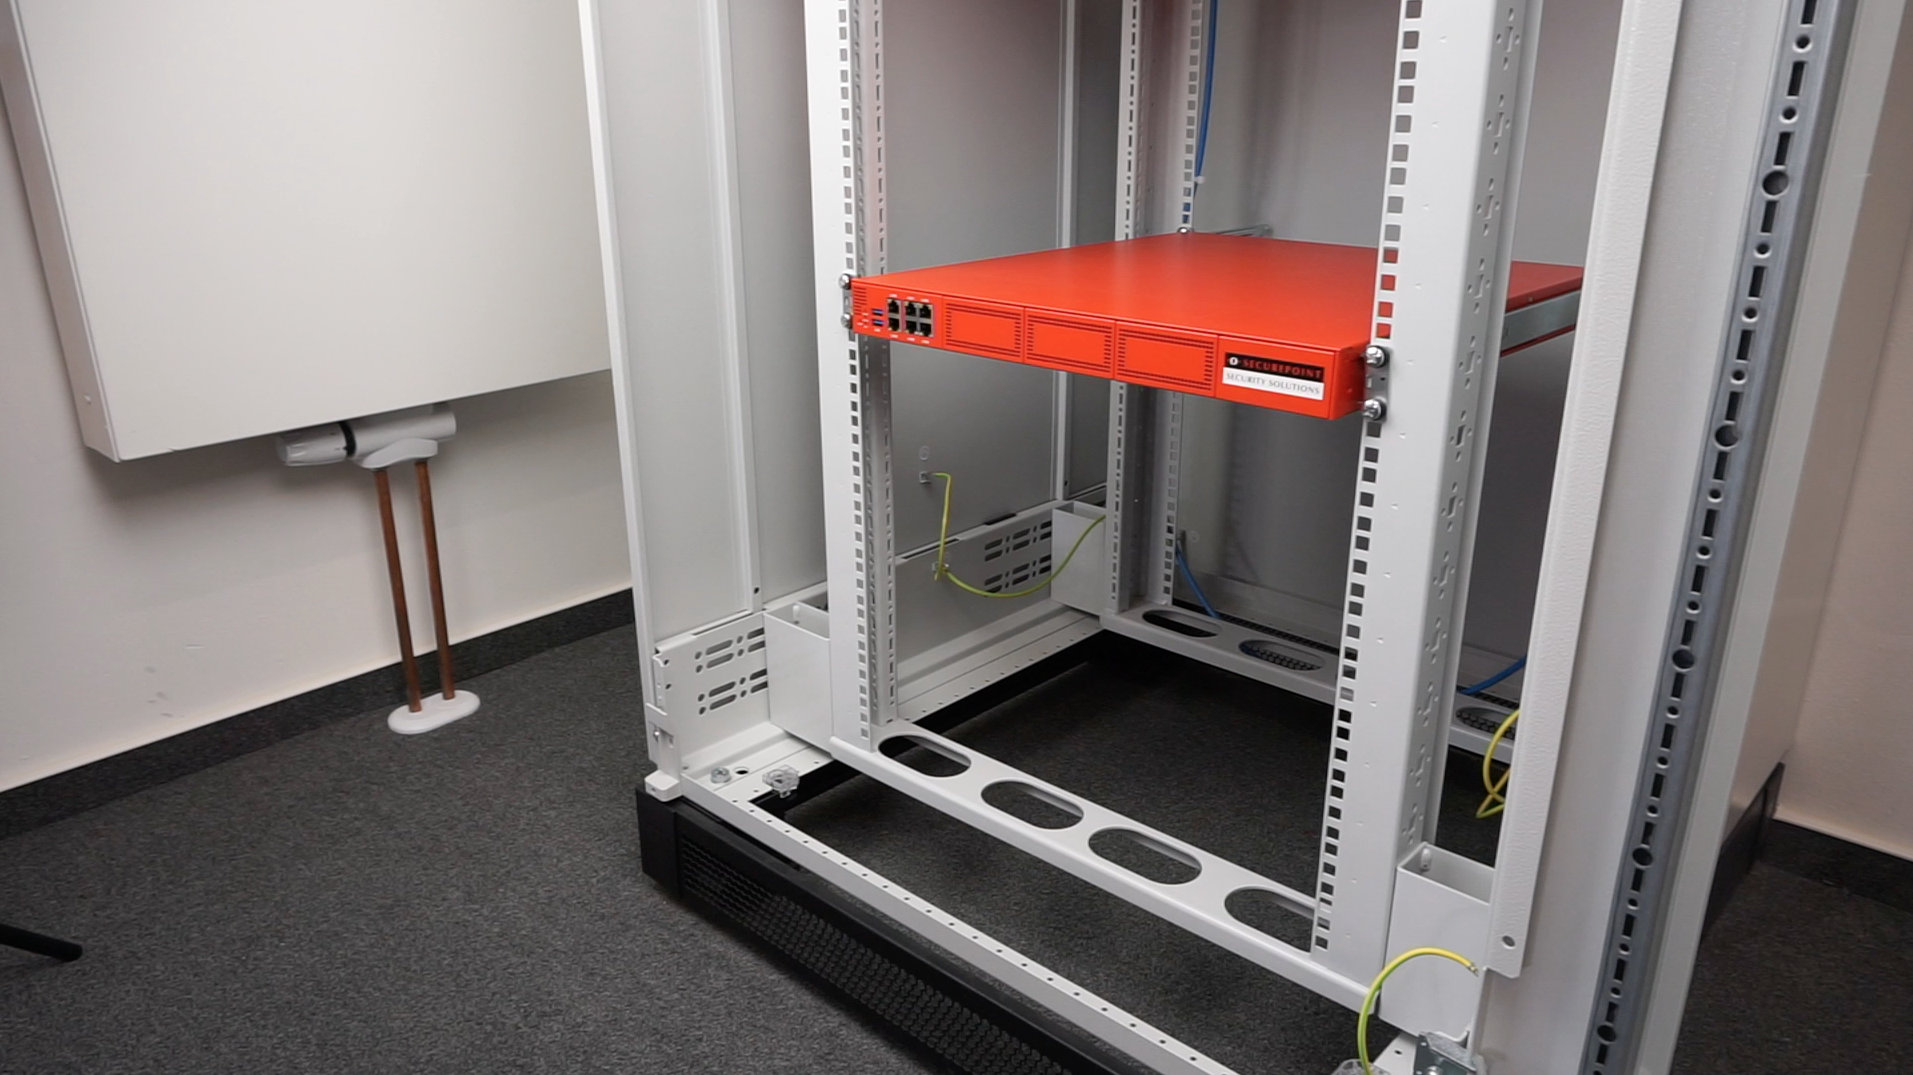
Instructions for installation of RC300/RC400/RC1000 in a server rack (example shown with RC300)
Last adaption: 08.2022
New:
- Added hint to the specifications
This article refers to a Beta version
-
Preparation
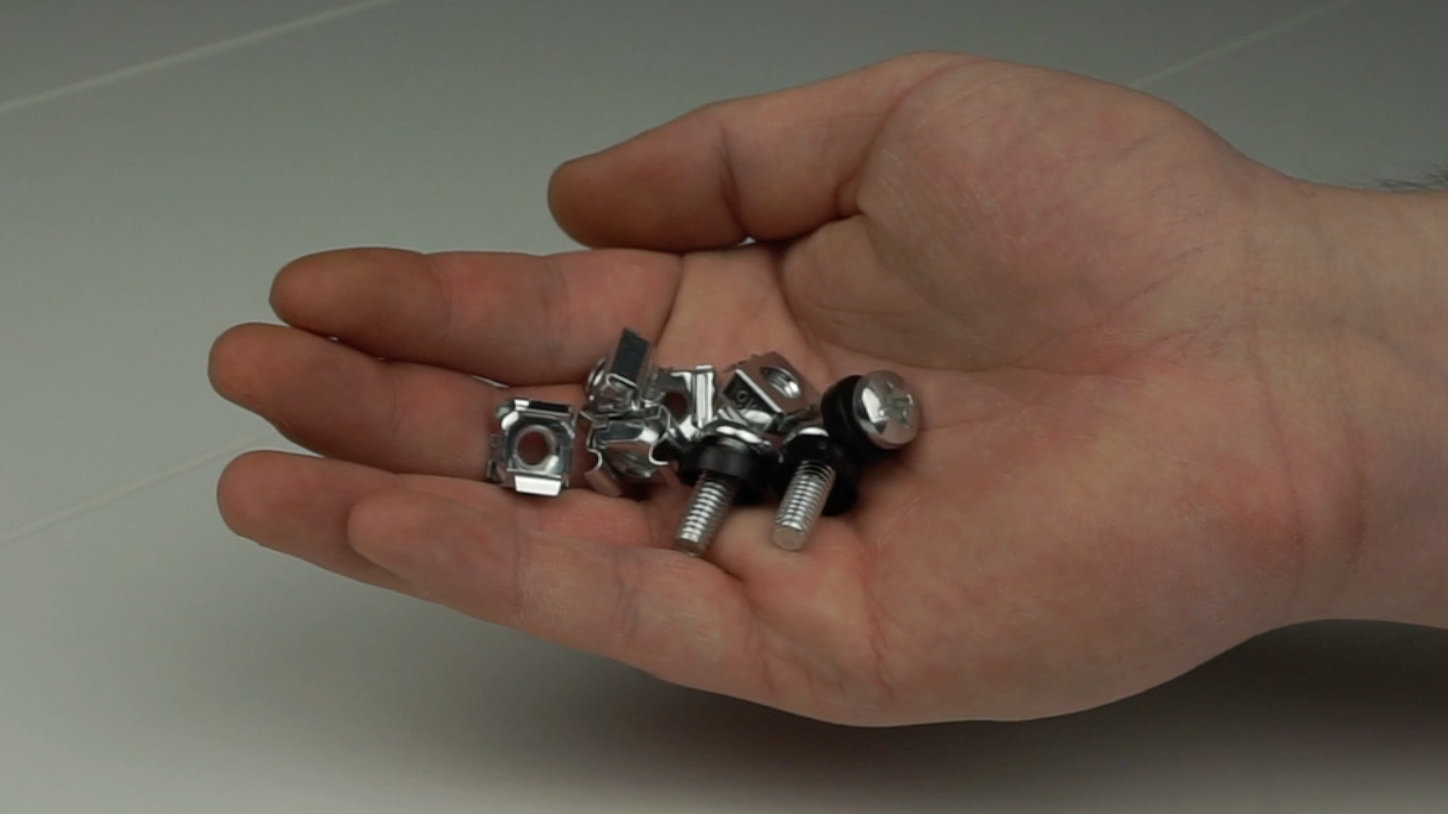
- 8 cage nuts and matching screws
- Cross-head screwdriver


