notempty
- Update of the section: Benutzer mit OTP einrichten
- [|Security note for OTP seed with LDAP]
Foreword
If the OTP method is activated, login is only possible by entering a correct OTP.
Exception on user basis is not possible
SSL-VPN:
Since SSL VPN re-authenticates every hour, a new OTP must also be entered every hour.
Of course, disabling is not recommended. A change is transmitted by the UTM to the SSL VPN clients.
Saving the password in the SSL VPN client is not possible because the password that is passed is composed of the static user password and the OTP.
In case of malfunction of the OTP generator (smartphone or hardware token), the OTP can only be generated if there is access to the QR code or the secret code. This can be found under .
If this is not available, access to the UTM is only possible with physical access directly at the device (keyboard and monitor at the UTM).
Printout of this code for the administrators as described in OTP Secret. File in the documentation.
The time of the UTM system can be checked in three ways:
- Using the administration web interface: The time is shown in the widget selection if it is not expanded or in the network menu under server settings in the time settings section.
- Using the CLI with the command system date get
- Using the root console with the command date
The system time can then be set using the following options:
- Using the administration web interface in the network menu under the menu item server settings in the section time settings
- Using the CLI with the command system date set date then seperated with spaces the current date and time in the format YYYY-MM-DD hh:mm:ss
OTP - One-Time-Password
The One-Time-Password (OTP) is an additional authentication mechanism that provides extra security when a user logs in.
In the UTM the time-based method is being used (TOTP = Time-based One Time Password). A new OTP is calculated every 30 seconds based on the shared secret code and the current time.
To generate this 6-digit password, a smartphone app is used as the token, such as the Google Authenticator. This is available for Android, as well as for iOS devices.
Other apps, such as FreeOTP for Android, are also possible.
Set up OTP
Activation procedure
- Ensure that the time of the UTM and the token runs synchronously
- Transmission of the secret code to the token
- Activating the OTP method on the UTM
- Testing the login, before the current session has ended
Exceptions are not possible.
Configure OTP User
First, the users are created under as usual.
See also Benutzerverwaltung.
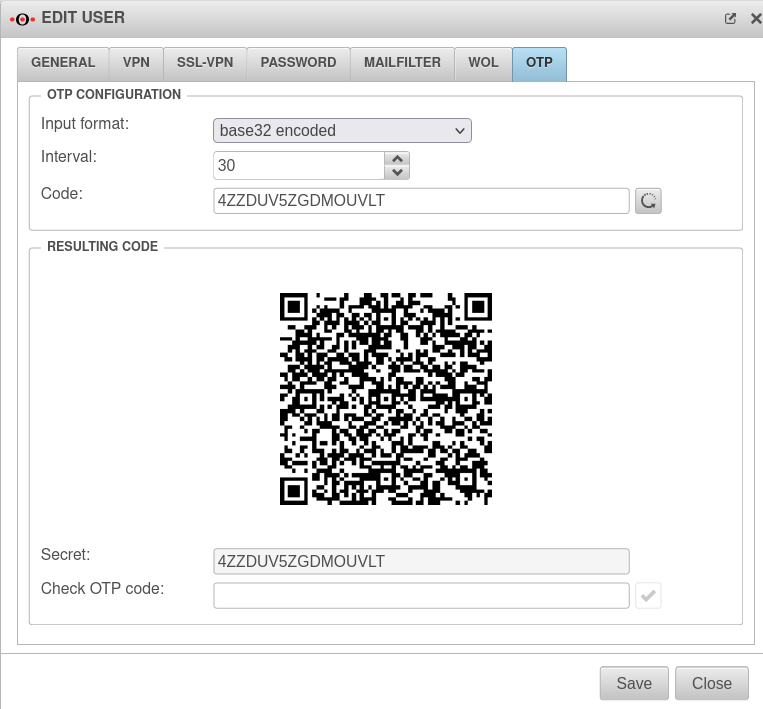
The OTP code for this user can only be displayed after the user's entries have been saved.
Display or change by clicking on the edit button in the user row in the tab OTP on the right side.
The code can be created automatically by the Securepoint UTM and is available in two formats.
On the one hand as a QR code, which can simply be photographed with the smartphone app, and on the other hand in text form to be entered using the keyboard.
OTP Secret
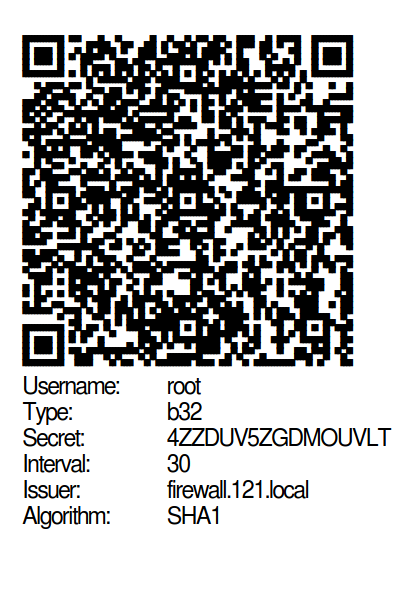
For distribution to the users there is a possibility to print the created codes.
A document in PDF format will then be generated as follows:
Setting up an Authenticator
| First, the Google Authenticator must be downloaded from the App Store, installed and opened. The first window contains an overview of the two steps for authentication with Google Account: |
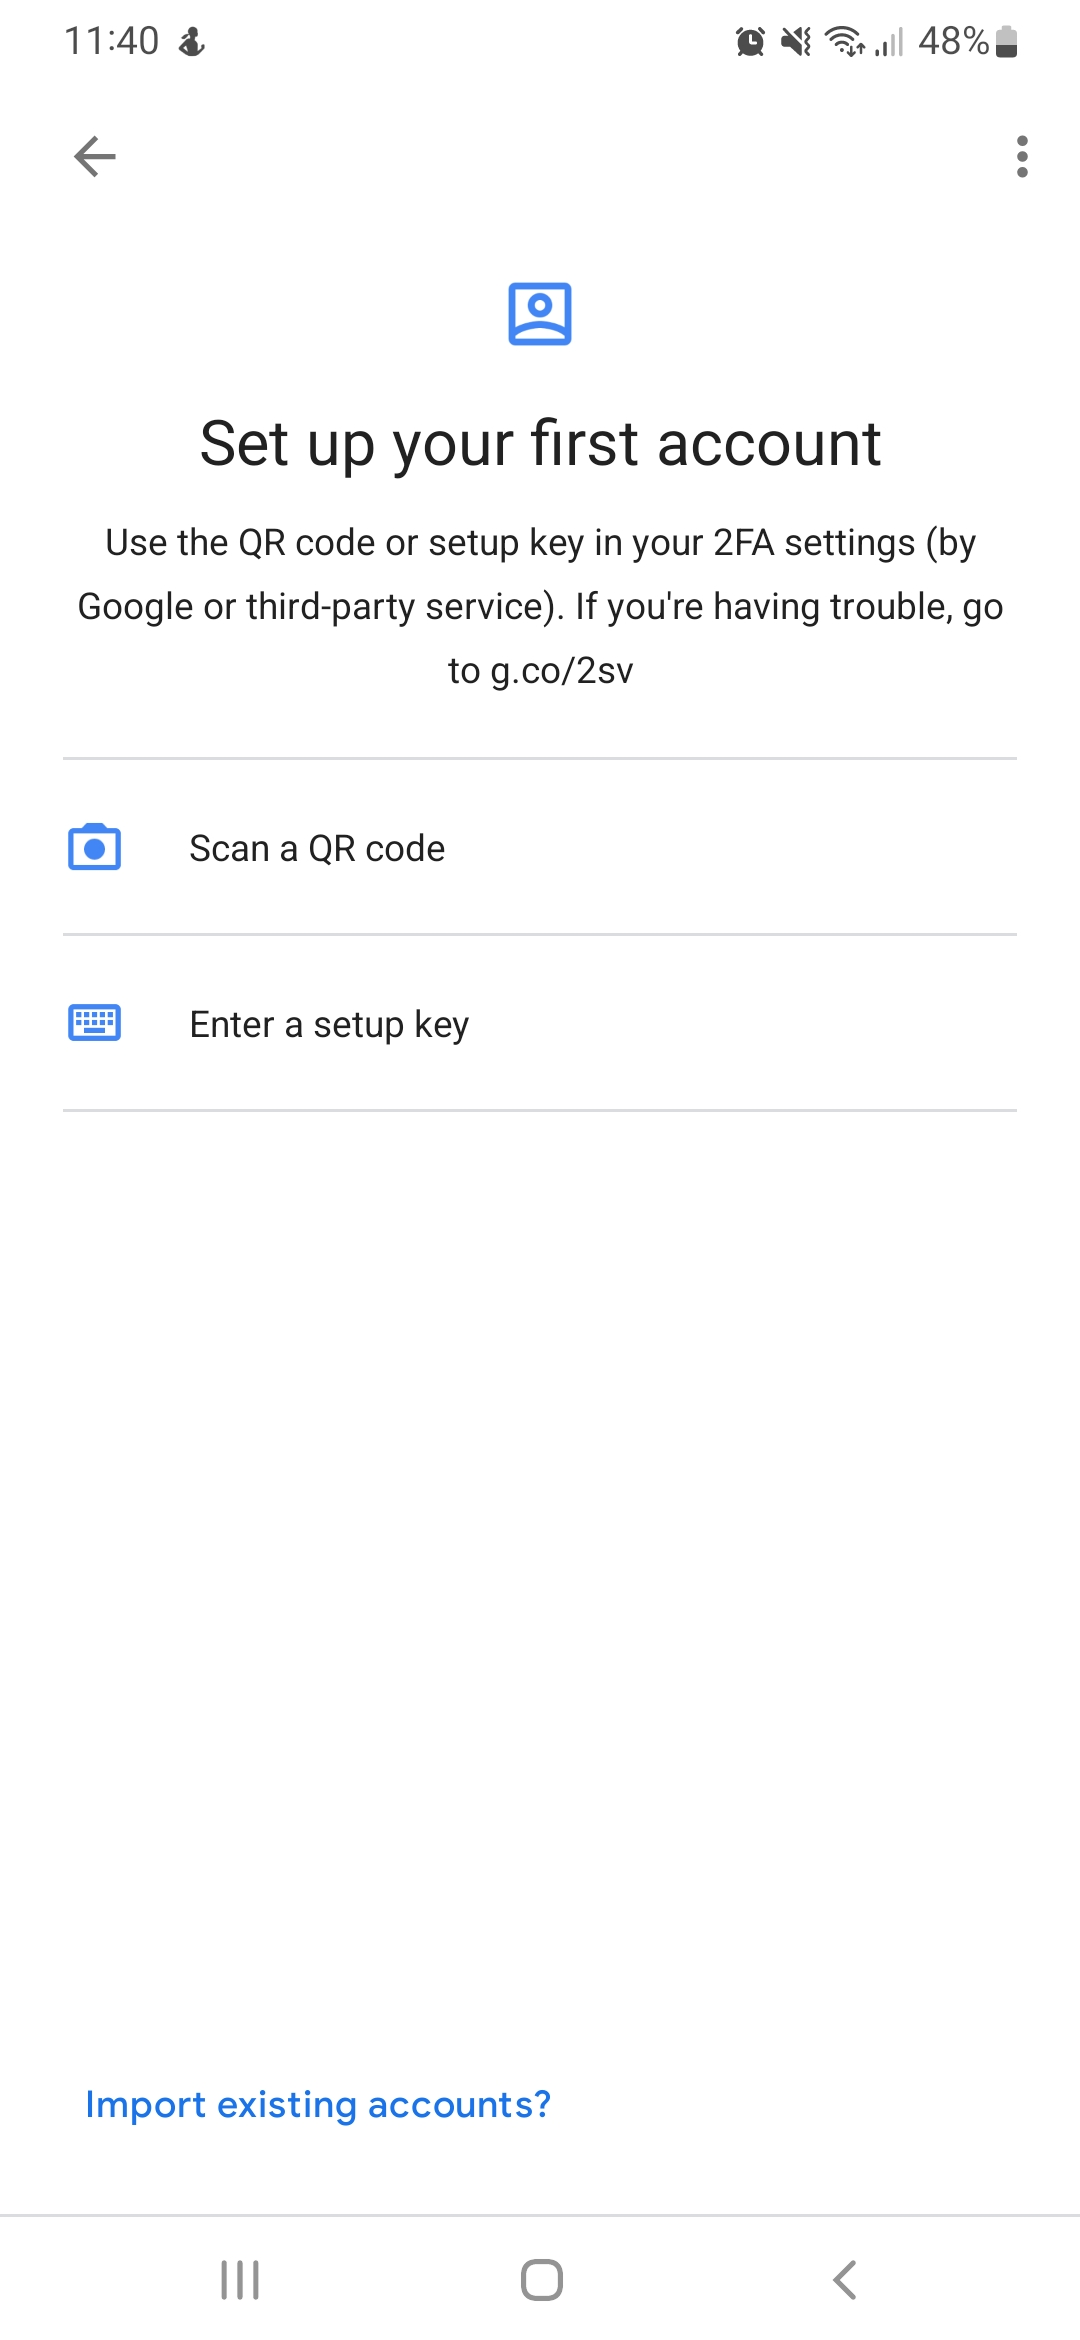 |
Set up with QR code:
| |
Set up with setup key:
| |
Use of a hardware tokenThe use of a hardware token is also possible. We currently support the Feithan OTP c200. The following parameters must be used:
|
Optional: SEED programming
The ID is a serial number of the token and the key is a 32 to 40 character code as shown in the figure.
Assign OTP to applications
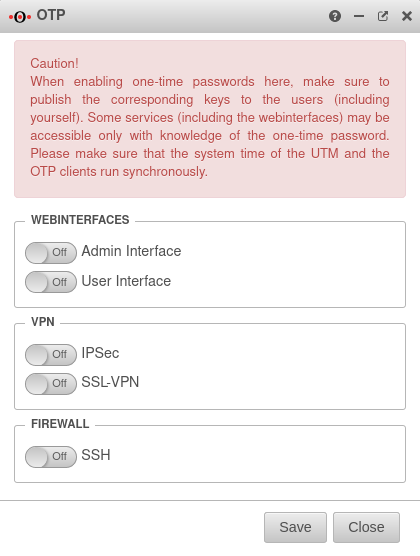
Under you can select for which applications the users should additionally authenticate themselves with the one-time password.
Web interfaces
| ||
| Off | Admin Web Interface | If the OTP generator for administrator access fails, you require a printed version of the QR code.
If this is not available, access to the UTM is only possible with physical access directly at the device (keyboard and monitor at the UTM). |
| Off | User web interface | |
VPN (Roadwarrior connection)
| ||
| Off | IPSec | |
| Off | SSL-VPN | |
Firewall
| ||
| Off | SSH (console) | |
Use OTP
Web interface
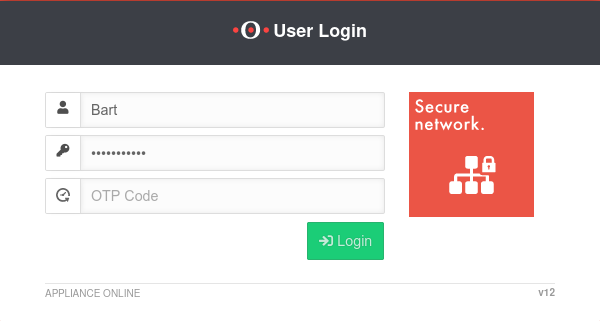
When logging in to the administration or user web interface, there is now an additional authentication field for the OT code.
Here, in addition to the user name and password, the generated code is entered.
VPN
In the SSL-VPN Client, you can set whether the OTP code is to be requested separately. A more detailed explanation can be found here.
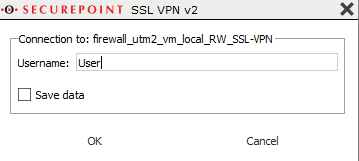
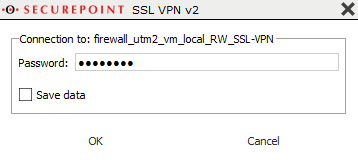
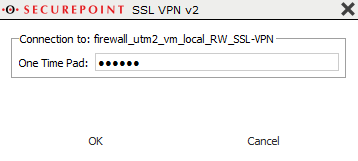
If the remote terminal allows a separate transmission of the OTP password (UTM from version 11.8), the following procedure can be followed:
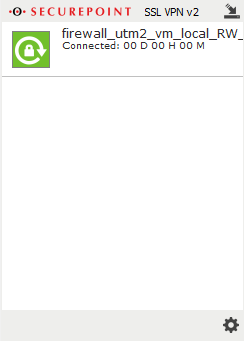
Start the SSL VPN connection on the client (on Windows: double-click the lock icon in the taskbar).
Establish the connection by clicking on ![]()
The connection is established in three steps:
If OTP is used in combination with an SSL VPN or Xauth VPN connection and the remote terminal does not support the separate transmission of the OTP code, the OTP code must be entered directly after the user password without spaces during the password query.
Example:
| Password: | insecure | Saving the password in the SSL VPN client is not possible because the password that is passed is composed of the static user password and the alwys changing OTP. |
| OTP: | 123456 | |
| password | insecure123456 |
SSH connection
If access is used with an SSH console and OTP, the OTP code is requested in a separate row Pin.
When accessing with an SSH console and OTP, and the counterpart does not allow separate transmission of the OTP code, the OTP code is entered without spaces directly after the user password.
Example:
| Password in UTM: | insecure |
| OTP | 123456 |
| Password | insecure123456 |
